
Measure, hand-crosscut and check a softwood blank
Lay out, hand-crosscut and check a 300 mm nonstructural softwood blank, keeping the saw kerf on the waste side.
What will you learn?
Lay out, hand-crosscut and check a 300 mm nonstructural softwood blank, keeping the saw kerf on the waste side.
Tools
- Metric tape measure and sharp pencilSearch Amazon Mexico ↗
- Known accurate squareView at Casa Myers México (Starrett 3020-6) ↗Search Amazon Mexico ↗
- Wood crosscut handsawSearch Amazon Mexico ↗
- Stable bench, padded clamps and separate offcut supportSearch Amazon Mexico ↗
- Safety glasses and flat sanding blockSearch Amazon Mexico ↗
Materials
- Sound planed untreated softwood about450×95×18mm with straight reference edge and square starting endSearch Amazon Mexico ↗
- Scrap wood guide and abrasive paper for light deburringSearch Amazon Mexico ↗
Step by step
Photorealistic illustration · Waey
1. Choose sound stock and a reliable datum
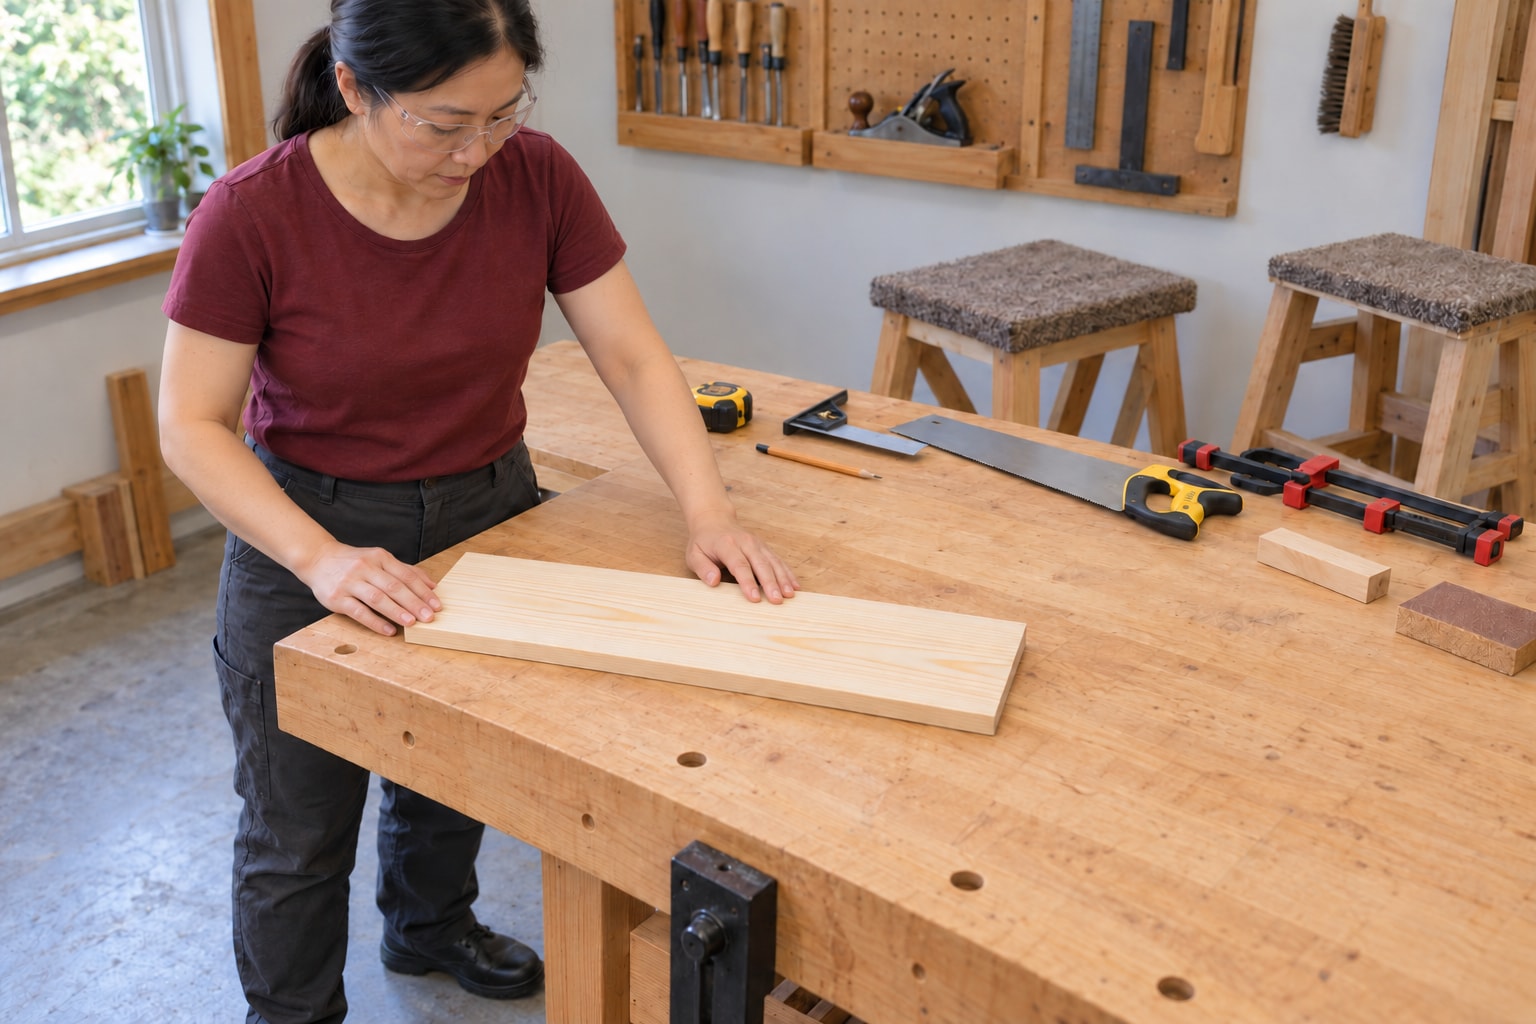
Use a small, planed, untreated softwood board with a straight reference edge and an already square starting end. This example makes a 300 mm nonstructural blank from stock about 450 × 95 × 18 mm; those are example dimensions, not a universal specification. Reject bowed, split or nail-contaminated stock. Check the starting end against a known accurate square across the face and edge. If it is not square, obtain suitable stock first rather than measuring from a misleading corner.
Photorealistic illustration · Waey
2. Measure from the same starting end
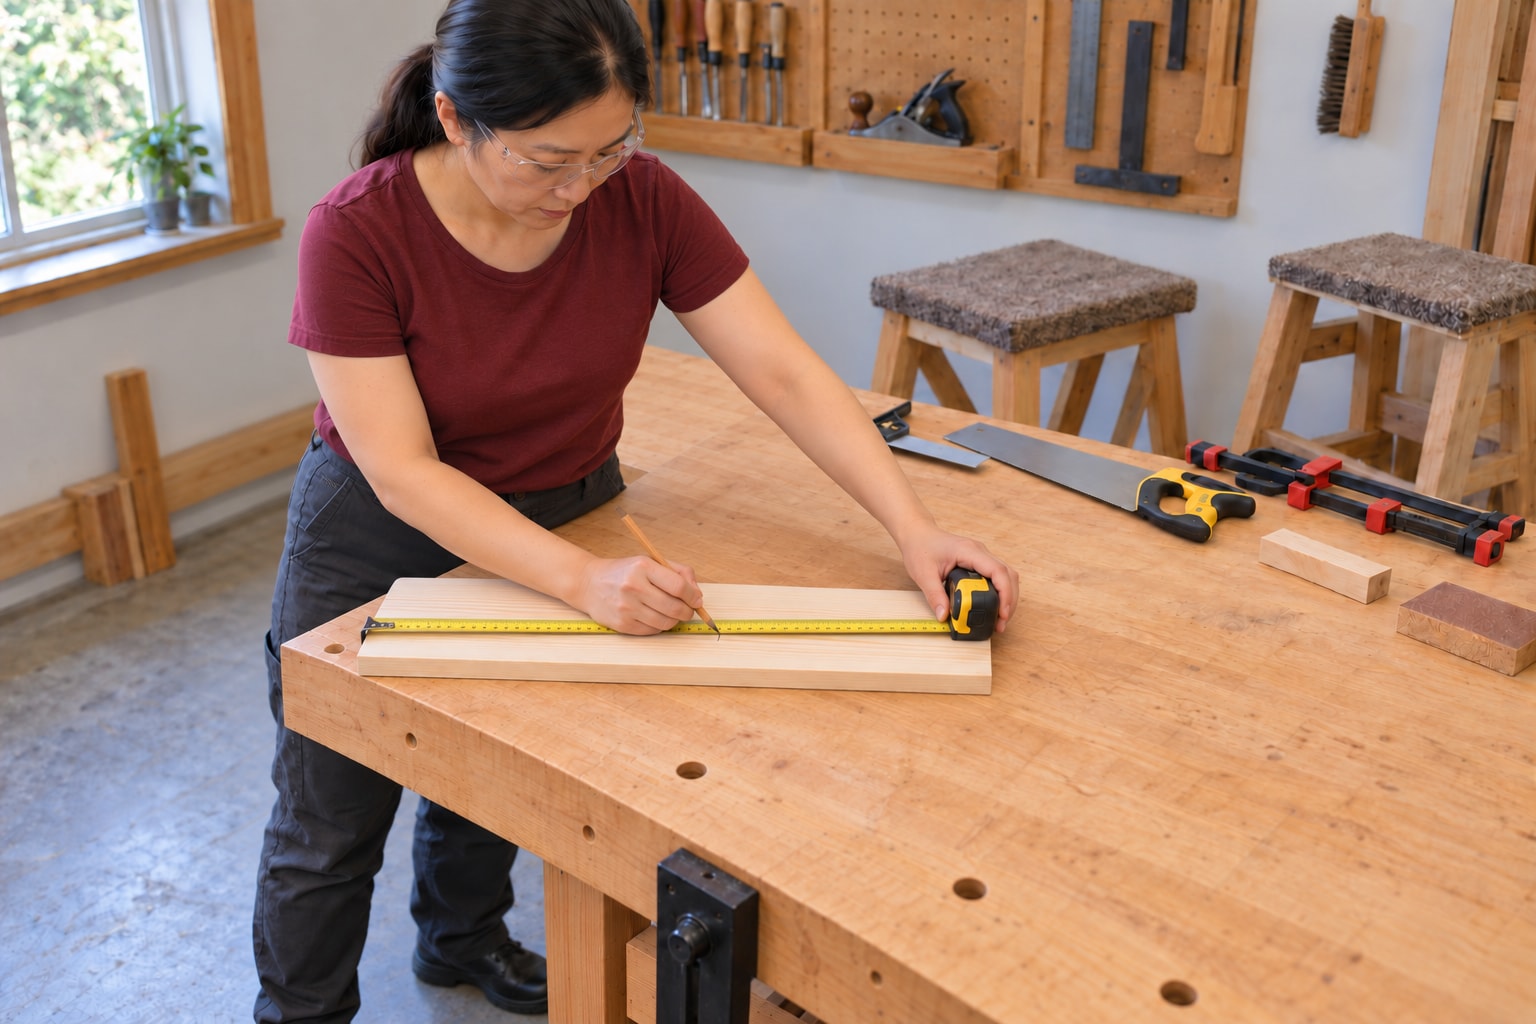
Inspect the metric tape for a bent hook, damaged blade or unreadable graduations. Small designed hook movement compensates for its thickness; do not glue it rigid. Hook the same square starting end, extend the blade straight along the board and read directly above 300 mm, equal to 30 cm. Make a fine V with its point at the reading. Retract the tape slowly under control, keeping fingers clear of its edges. Recheck from the same end before adding the cut line.
Photorealistic illustration · Waey
3. Square the line and identify waste
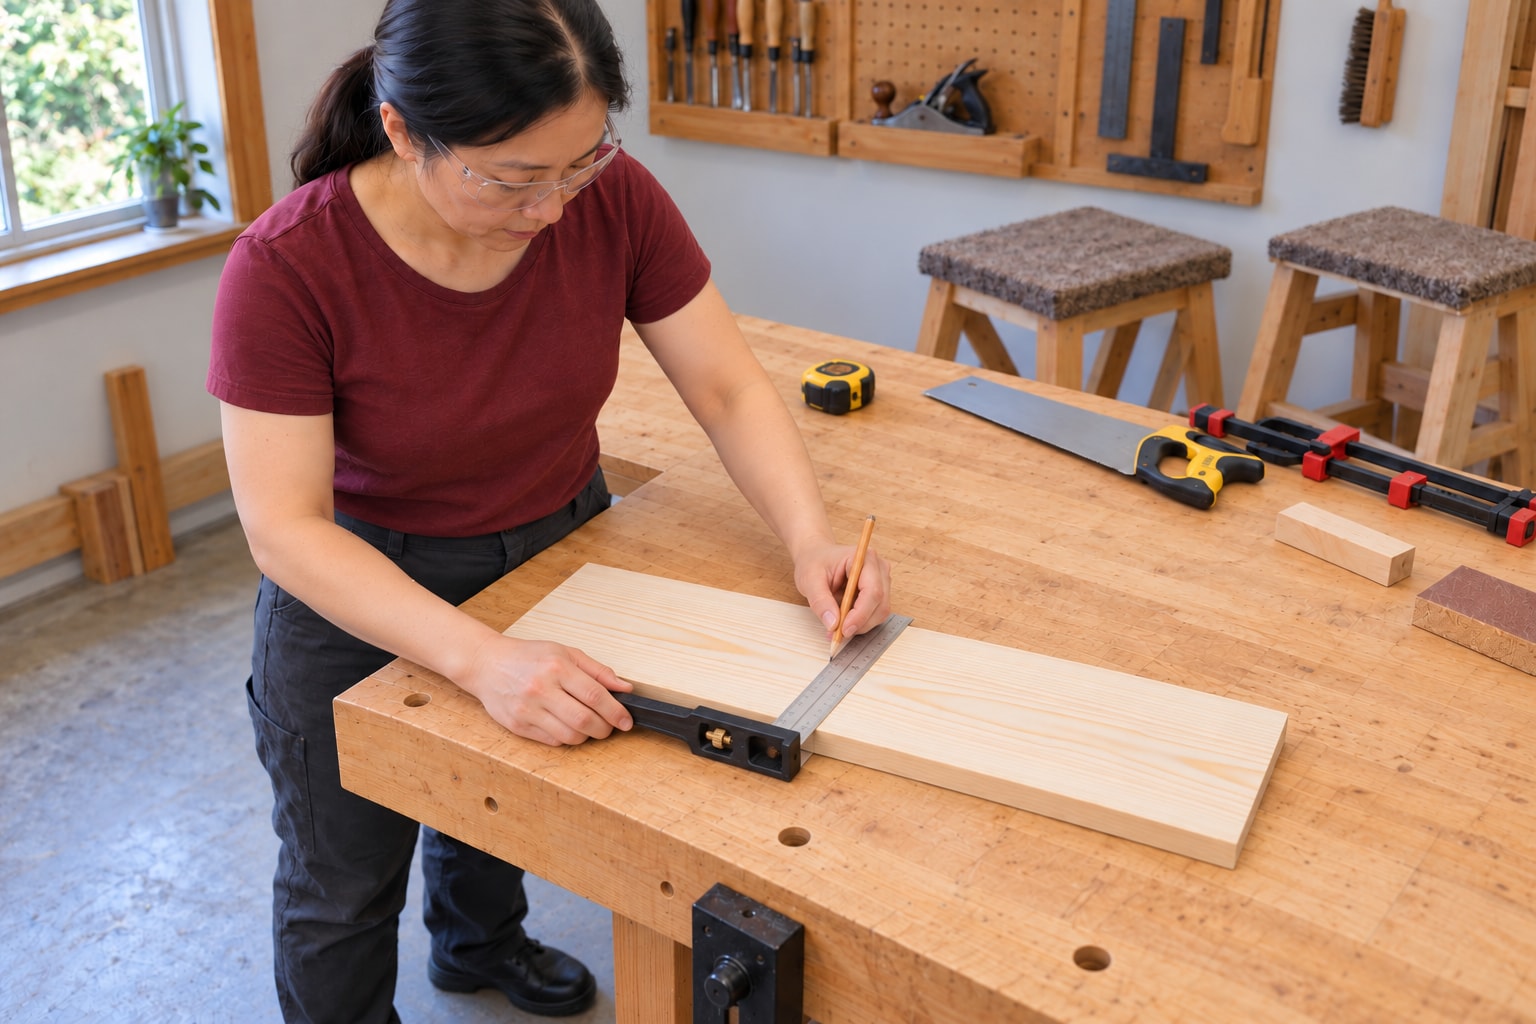
Seat the square’s stock firmly against the straight reference edge, with its blade passing through the V point. Draw a fine line across the face and transfer it onto the adjacent edge without changing the datum. Mark an X on the offcut side. The saw removes a kerf: keep that width on the waste side so it does not shorten the retained blank. Do not measure from the tape case or use a thick pencil stripe as a precision reference.
Photorealistic illustration · Waey
4. Clamp and support a clear cutting path
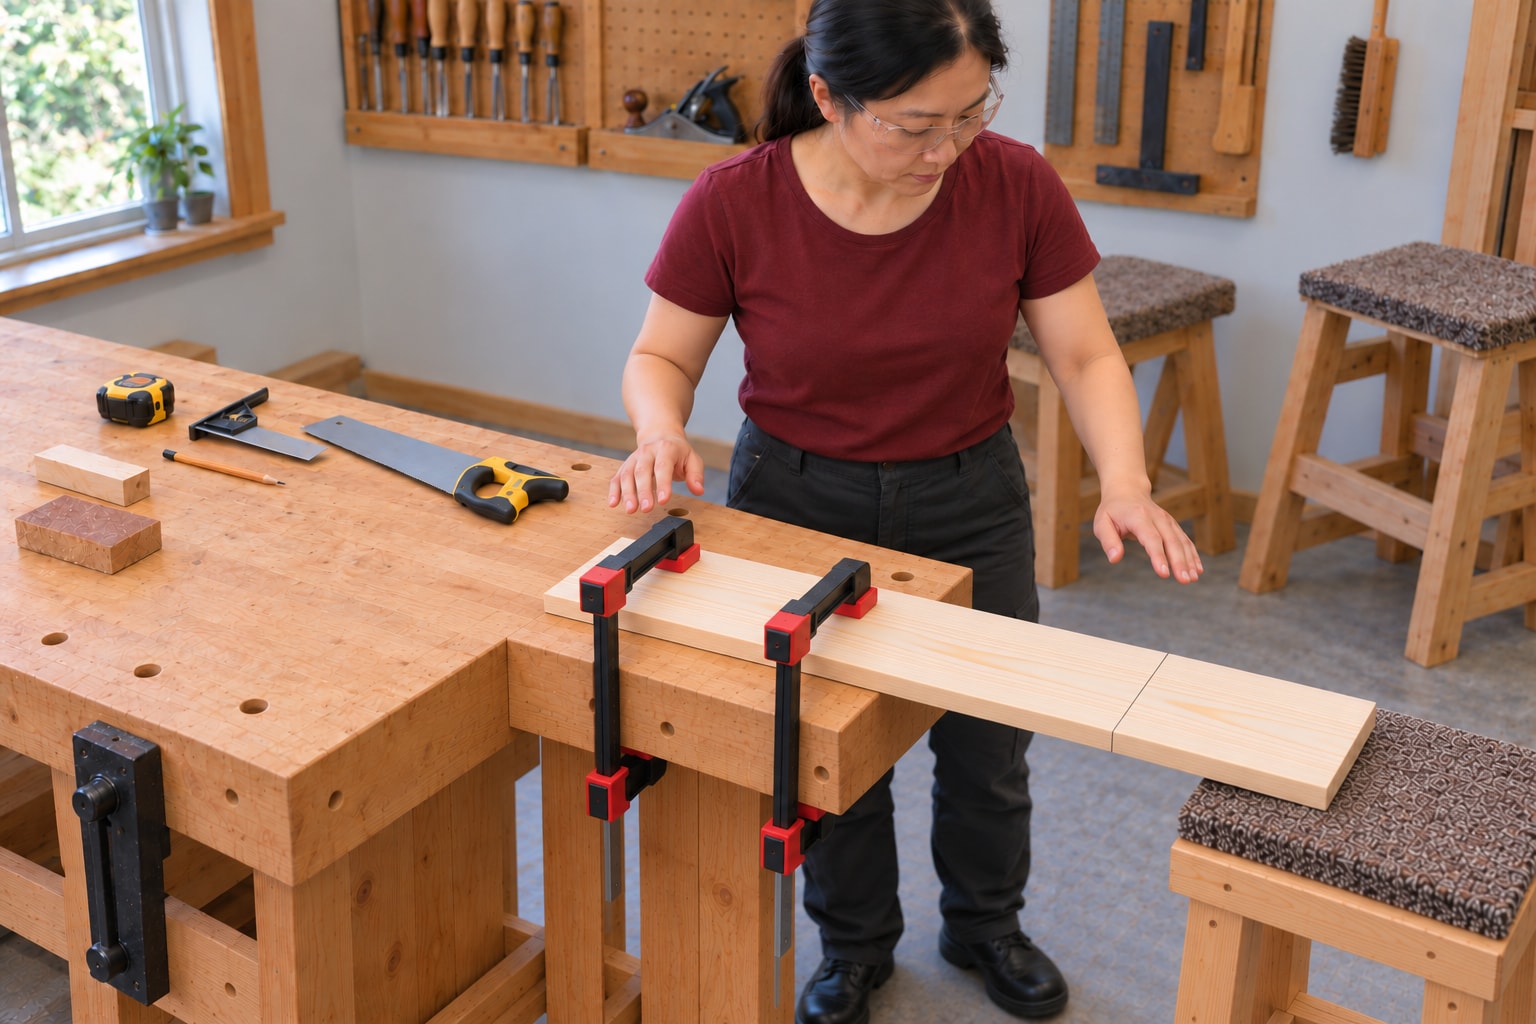
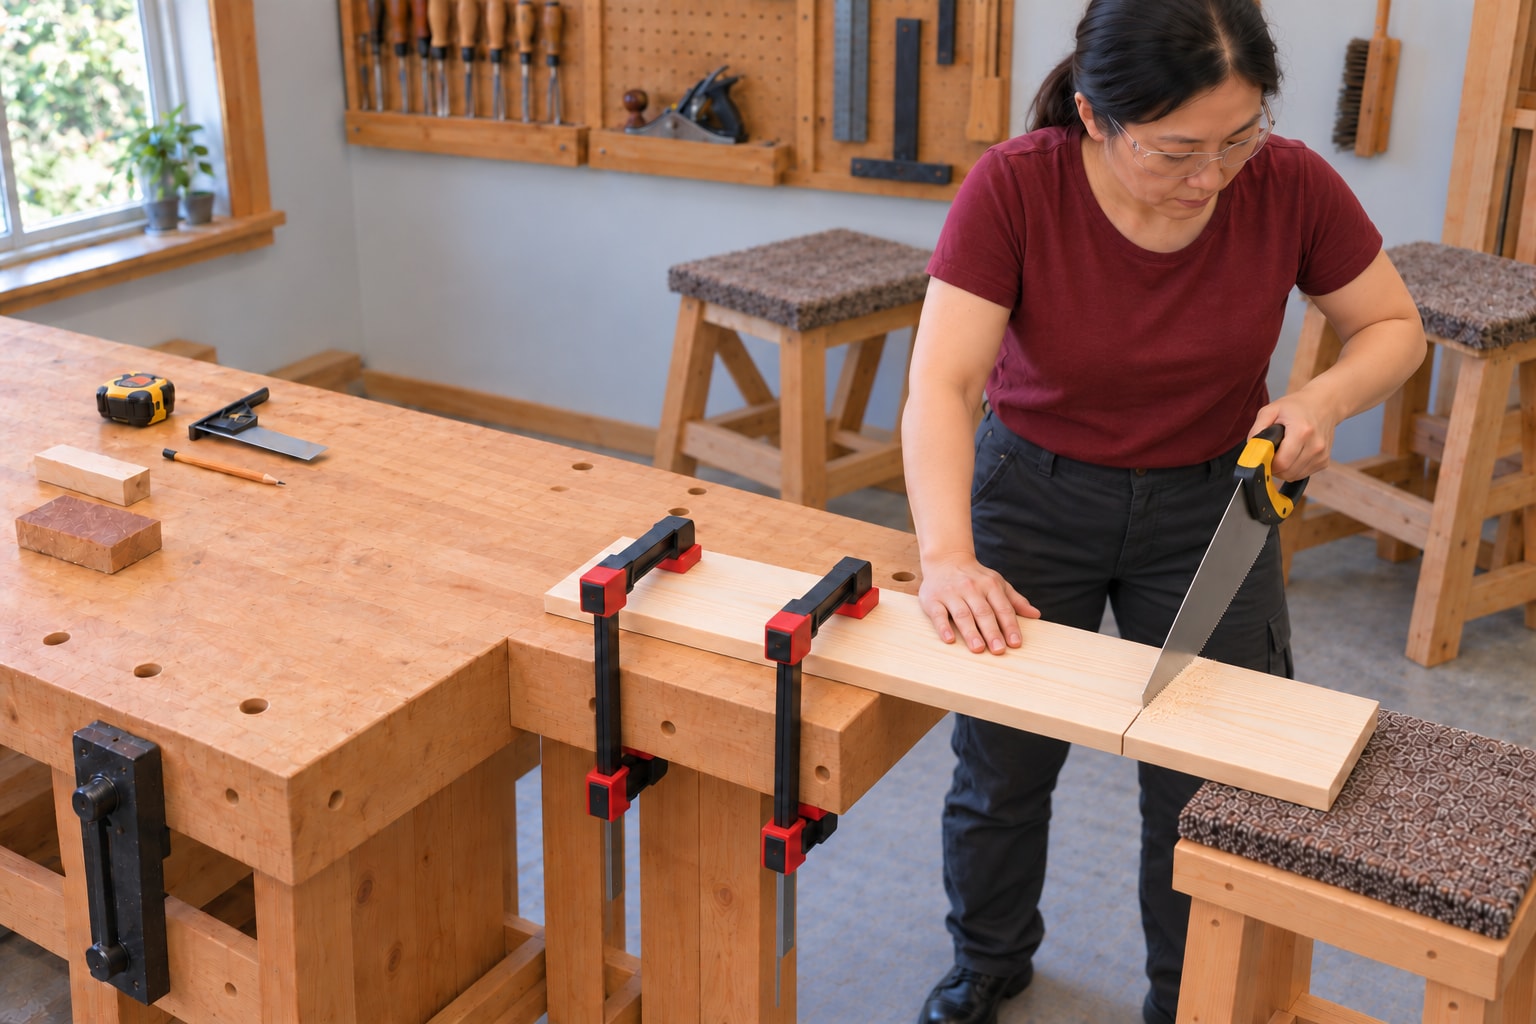
Wear safety glasses and secure the retained part to a stable bench with padded clamps. Position the cut beyond the bench edge with clear space for the entire saw stroke. Arrange a separate support for the offcut so its weight cannot tear the last fibres or trap the blade; keep it clear of the kerf. Confirm the board cannot shift. Choose a sharp wood crosscut handsaw suited to this stock. Keep the free hand, clamps and body outside the blade path.
Photorealistic illustration · Waey
5. Start lightly and follow both lines
Place the cutting edge on the waste side and use a light pull to establish the starting kerf. A securely positioned scrap guide can help start the cut without using a thumb against the blade. Keep your wrist, elbow and shoulder aligned, with a firm but relaxed grip. Use steady, unhurried strokes and check progress against the face and edge lines. If it drifts, slow down; do not twist or force the saw to disguise an inaccurate start.
Photorealistic illustration · Waey
6. Finish gently and remove loose splinters
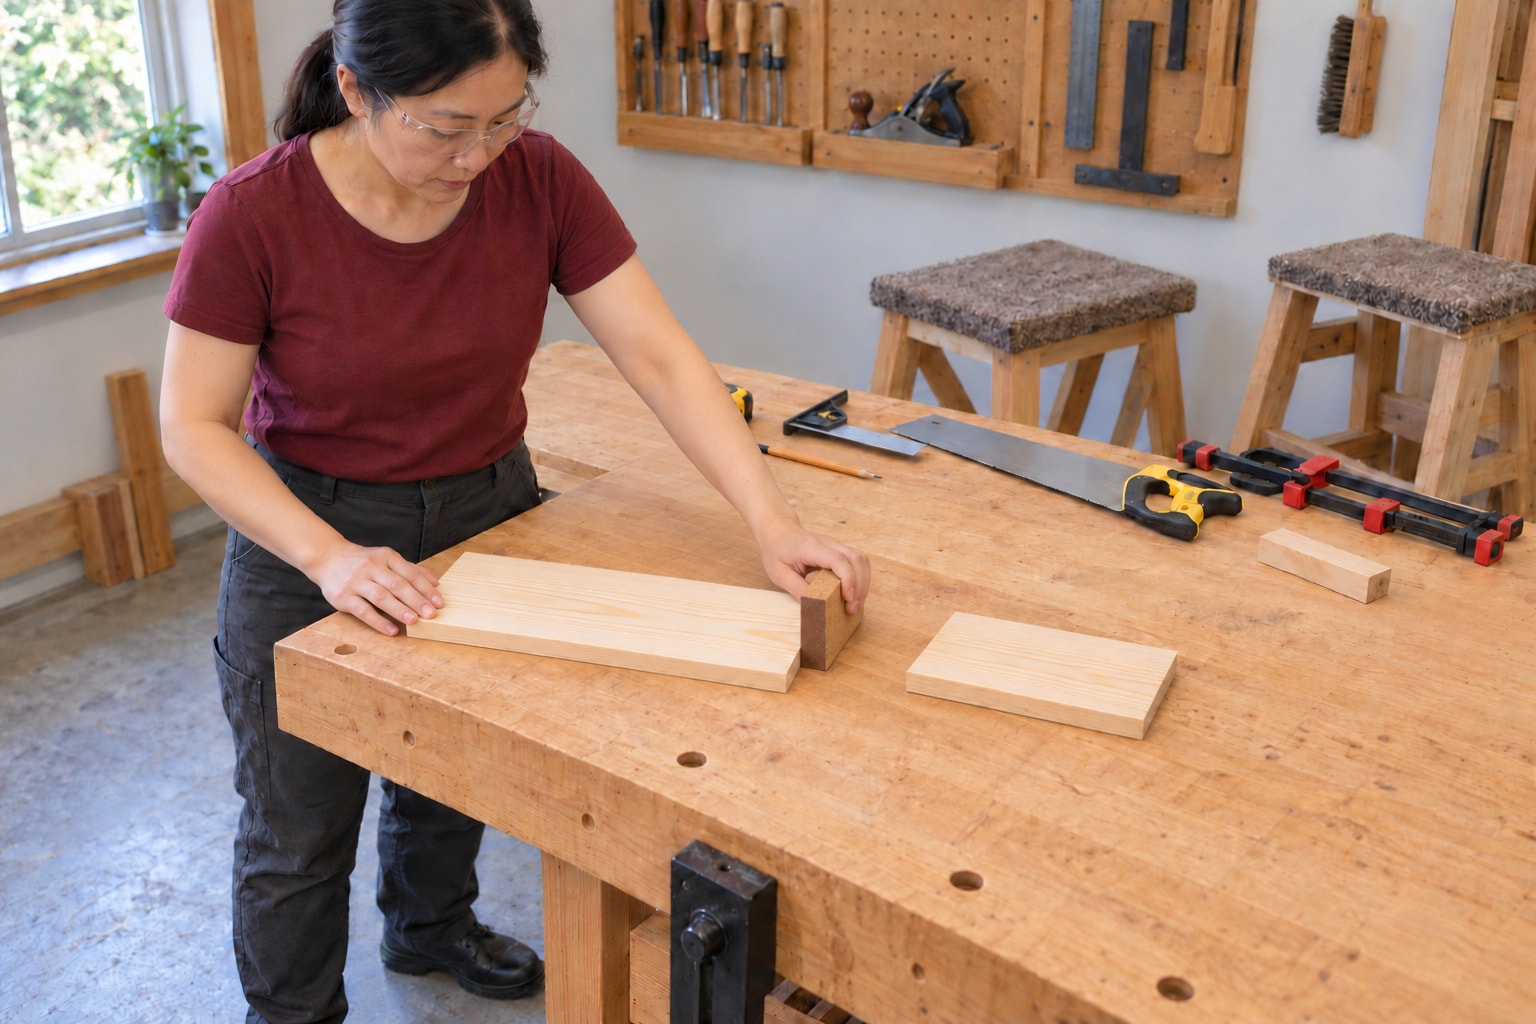
As the cut approaches completion, reduce pressure and confirm the offcut remains supported without closing the kerf. Let the saw finish the fibres instead of snapping the piece away. Set the saw safely aside before handling the cut end. With the blank secured, lightly remove loose fibres using abrasive paper on a flat block, keeping it flat and avoiding rounded corners. This is a light deburr, not a way to sand a visibly crooked end back to square.
Photorealistic illustration · Waey
7. Verify the blank before using it
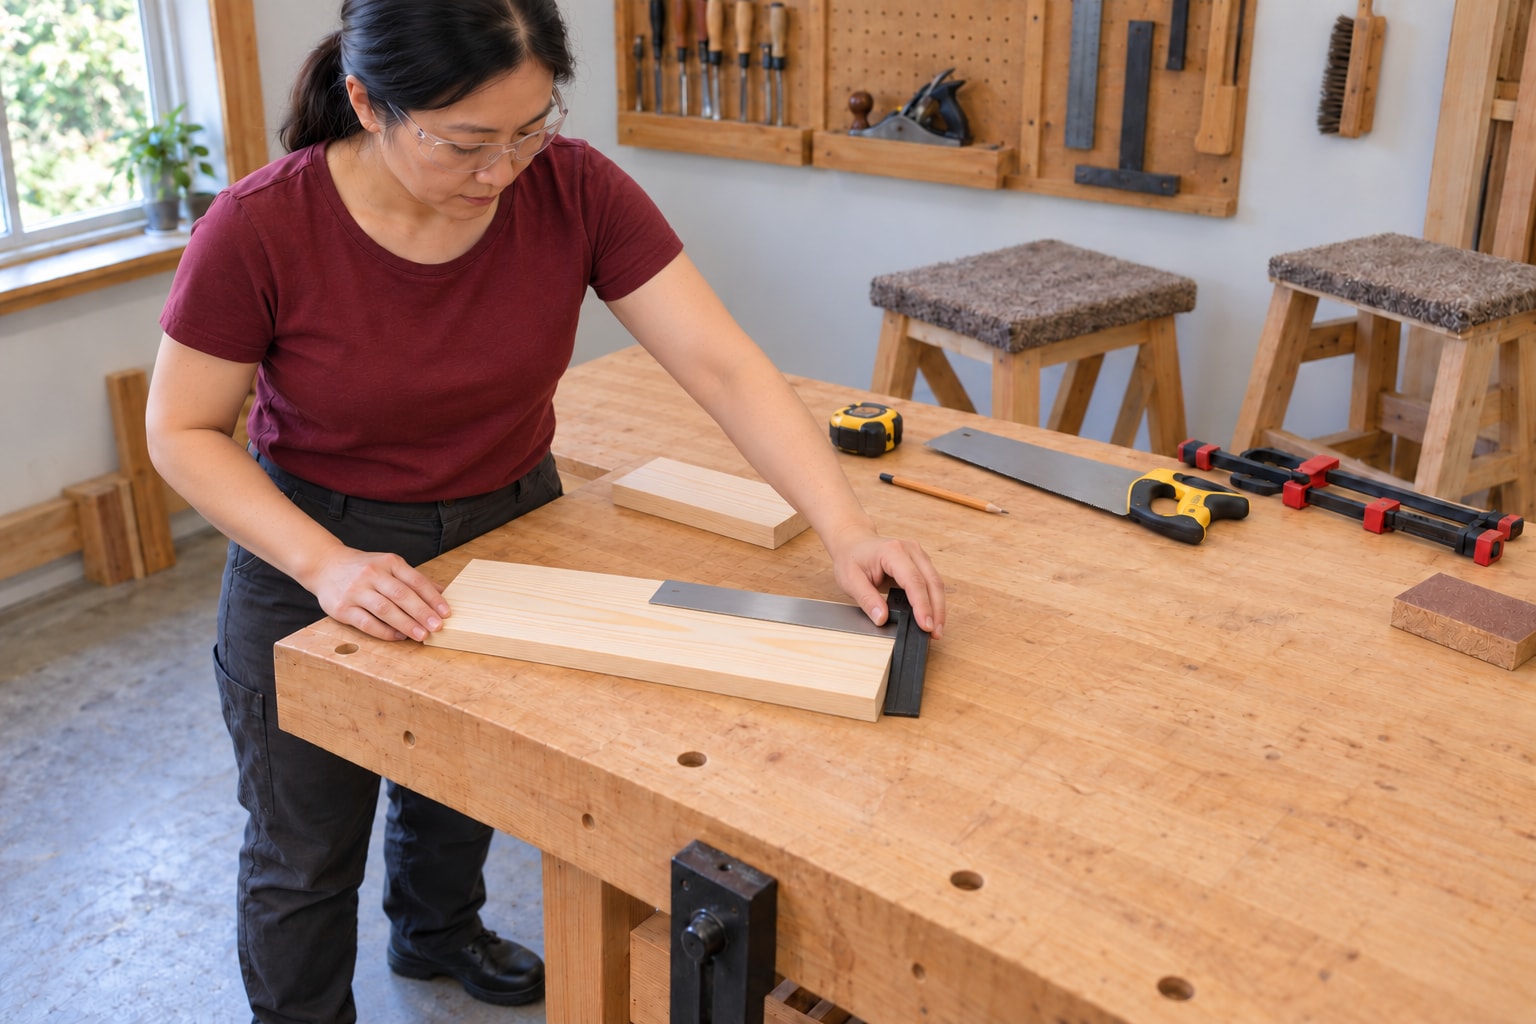
Measure the retained length again from the original starting end. Then check the new end against the same straight reference edge and across the thickness with the square, looking for gaps rather than forcing the tool against the wood. Record the actual result and compare it with the needs of its intended nonstructural project. A short or visibly out-of-square blank needs replacement or a separately planned correction. Do not claim a precision fit simply because the pencil line has disappeared.
Video demonstrations
ALL TAPE MEASURE TRICKS Explained...In Just 13 Minutes! (Measuring Tape Pro TIPS, TRICKS + ADVICE!) - YouTube
Tape and hook demonstration mainly uses inches; worked layout here is metric.
The Honest Carpenter · English
Watch on YouTube ↗How to Crosscut Square with a Handsaw | Paul Sellers - YouTube
Crosscut-squareness demonstration; use the clamped-stock, pencil-line and scrap-guide procedure written here.
Paul Sellers · English
Watch on YouTube ↗How to Saw Straight & Square Across Wood | Paul Sellers - YouTube
Related crosscut accuracy scenarios; fine-joinery knife-wall or planing methods are outside this worked blank.
Paul Sellers · English
Watch on YouTube ↗Final checks
Check actual retained length and squareness in both directions. Example dimensions do not define a universal tolerance. Do not use sanding to hide a short or crooked cut.
Where to find supplies
Sources
Stanley handsaw selection and technique, wood pages1–2 ↗
Johnson Level tape measure guide ↗
REEKON designed tape-hook movement ↗
Photographs are credited beside each image. Photorealistic illustrations by Waey. Video belongs to its credited creator.