
Fit a battery door contact sensor
Pair and stick a Tapo T110 contact sensor to an indoor door. A compatible Tapo hub is required.
What will you learn?
Pair and stick a Tapo T110 contact sensor to an indoor door. A compatible Tapo hub is required.
Tools
- 1 smartphone with Tapo app; 1 ruler; 1 soft clothSearch Amazon UK ↗
Materials
- 1 Tapo T110 sensor and magnet with installed battery and supplied adhesive padsSearch Amazon UK ↗
- 1 compatible Tapo hub already paired; working home networkSearch Amazon UK ↗
Step by step
Photorealistic illustration · Waey
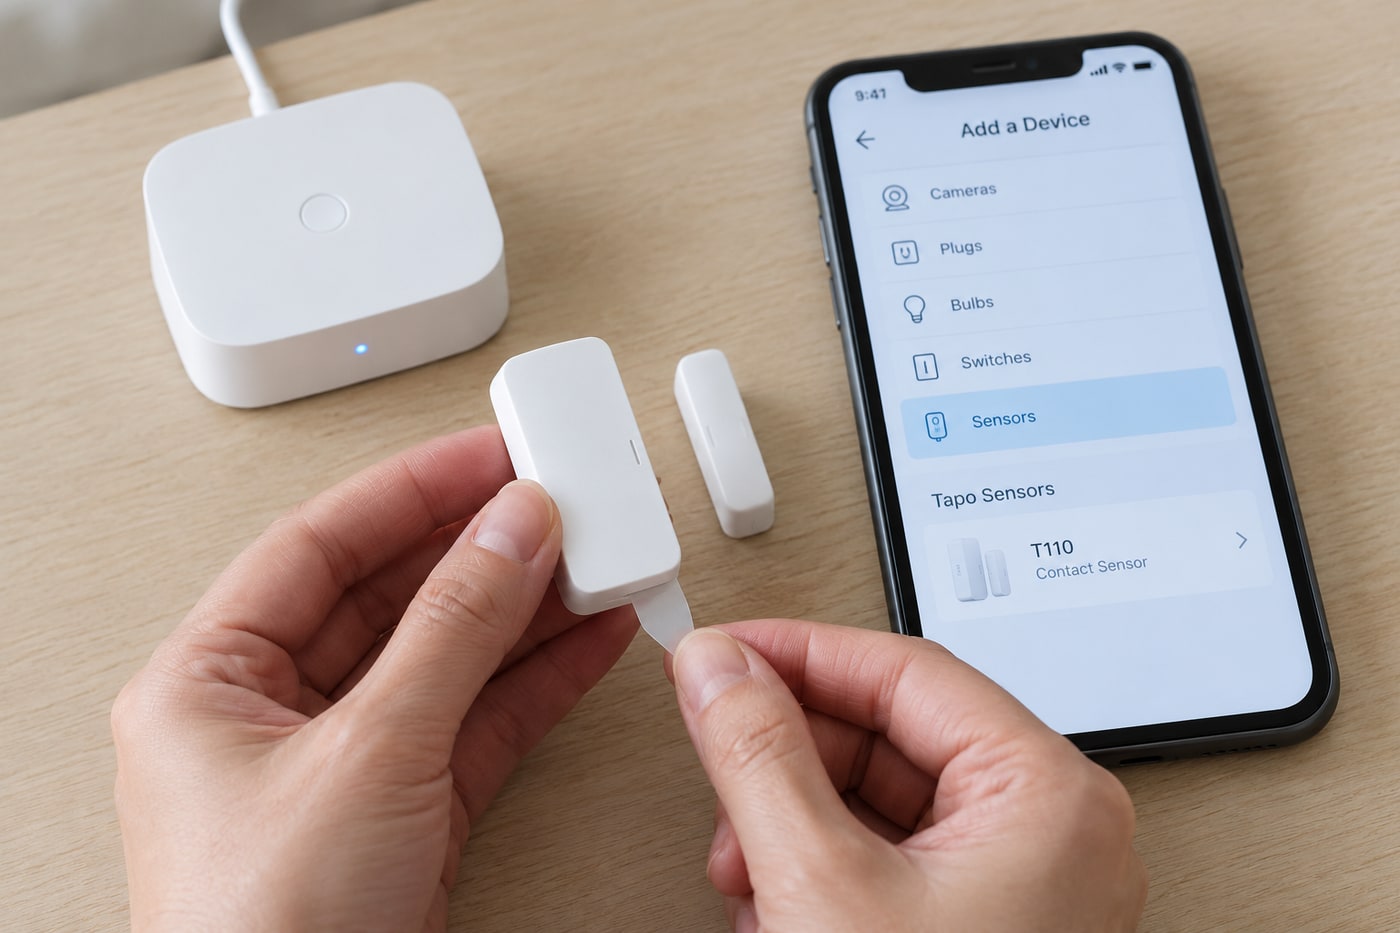
1. Pair beside the hub
Remove the sensor’s battery insulation tab. In Tapo, choose Add device, Sensors, T110. Select the compatible hub and follow the pairing prompts.
Photorealistic illustration · Waey
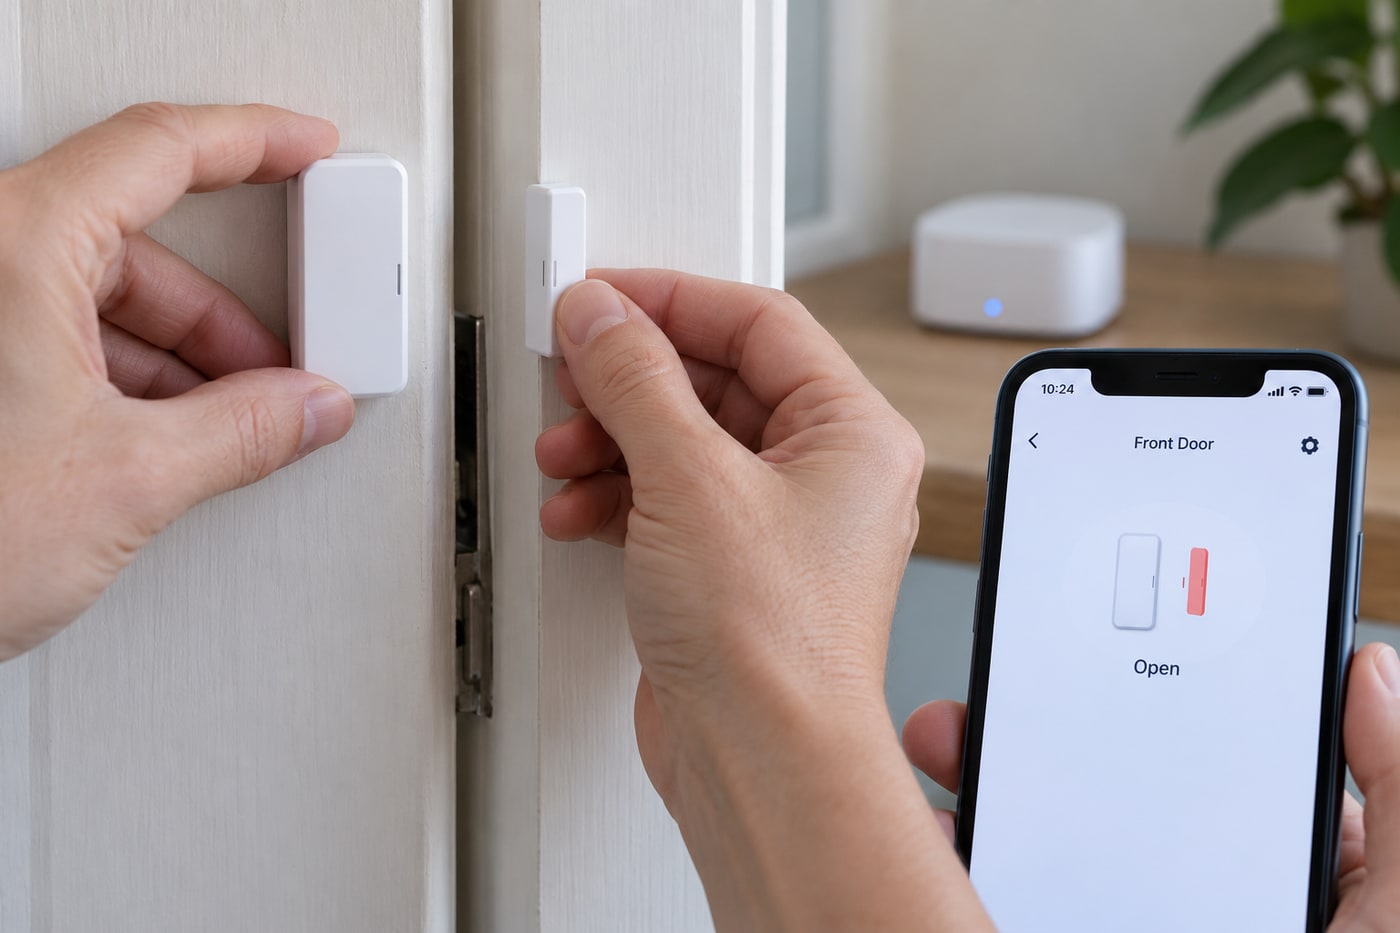
2. Test before sticking
Hold the sensor and magnet at the intended location. Separate and reunite them. Confirm that open and closed events appear correctly in the app.
Photorealistic illustration · Waey
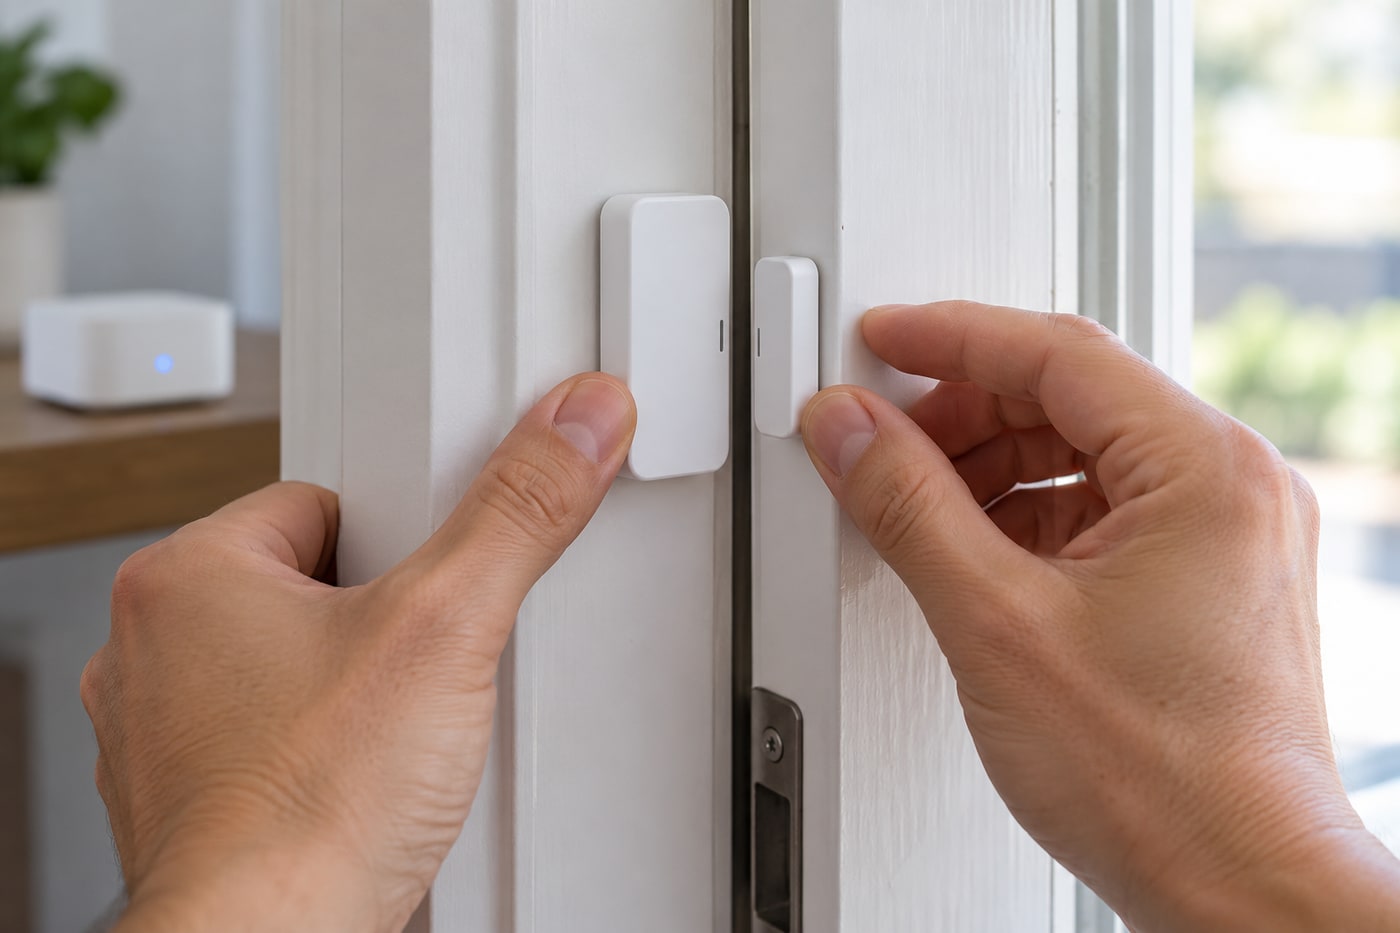
3. Align and attach
Clean and dry the mounting faces. Put one part on the fixed frame and the other on the moving door. Align their marks; keep the closed gap no more than 15 mm. Press the supplied pads firmly.
Photorealistic illustration · Waey
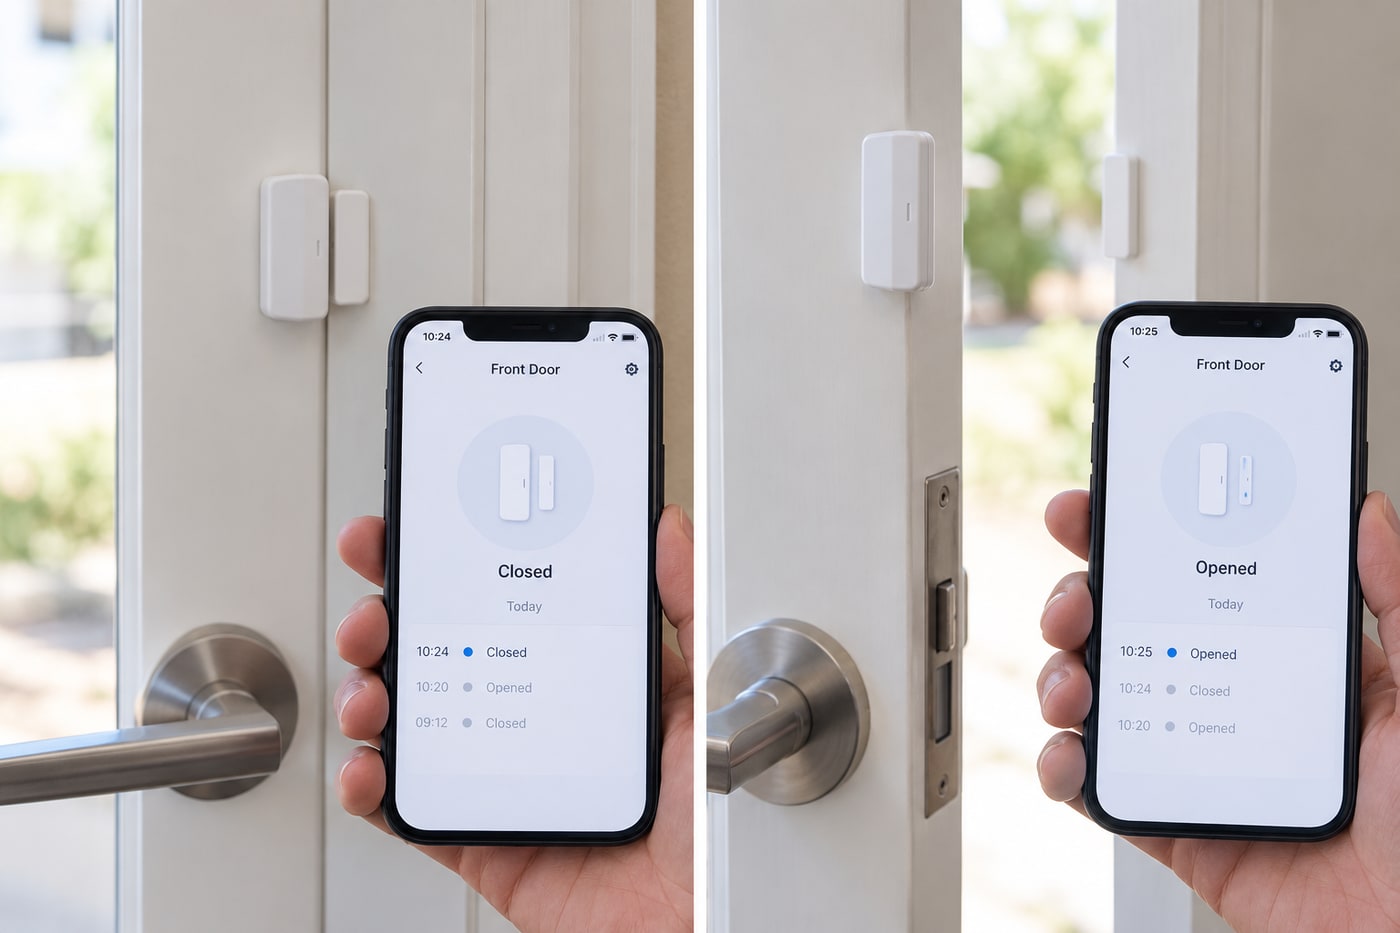
4. Check alerts
Open and close the door several times. Check status and event history. If you want phone alerts, enable them in Tapo and allow notifications in phone settings, then test again.
Watch the method
Watch the method
Official T110 pairing and placement demonstration. Screens may vary with app and hardware version.
TP-Link Global Support · English
Watch on YouTube ↗Final checks
Do not mount until the location test passes. If events are unreliable, move the hub or sensor and retest before attaching.
Software & apps
Tapo app; a compatible hub must already be added.
Sources
Photographs are credited beside each image. Photorealistic illustrations by Waey. Video belongs to its credited creator.