
Make a clean timber screw joint with pilots and countersinks
Build a two-screw face-joint sample while learning bit selection, clearance and pilot holes, shallow countersinks, clamping and controlled driving without splitting or stripping.
What will you learn?
Build a two-screw face-joint sample while learning bit selection, clearance and pilot holes, shallow countersinks, clamping and controlled driving without splitting or stripping. The illustrations show a fully aligned face-to-face practice sample; exact fasteners, hole sizes and tool settings must follow the actual parts and instructions.
Tools
- Cordless drill-driver with its instructions, suitable wood/pilot bits and depth limitSearch Amazon South Africa ↗
- Matching screwdriver bit and hand driver; countersink matched to screw-head angleSearch Amazon South Africa ↗
- Two suitable clamps; stable bench; rule, pencil and squareSearch Amazon South Africa ↗
- Eye protection; suitable dust collection and other protection required for the workSearch Amazon South Africa ↗
Materials
- Two sound flat softwood offcuts; spare timber of the same species for trialsSearch Amazon South Africa ↗
- Two matching ordinary countersunk wood screws of verified suitable length; spare screws for trialsSearch Amazon South Africa ↗
- Sacrificial backing boardSearch Amazon South Africa ↗
Step by step
Photorealistic illustration · Waey
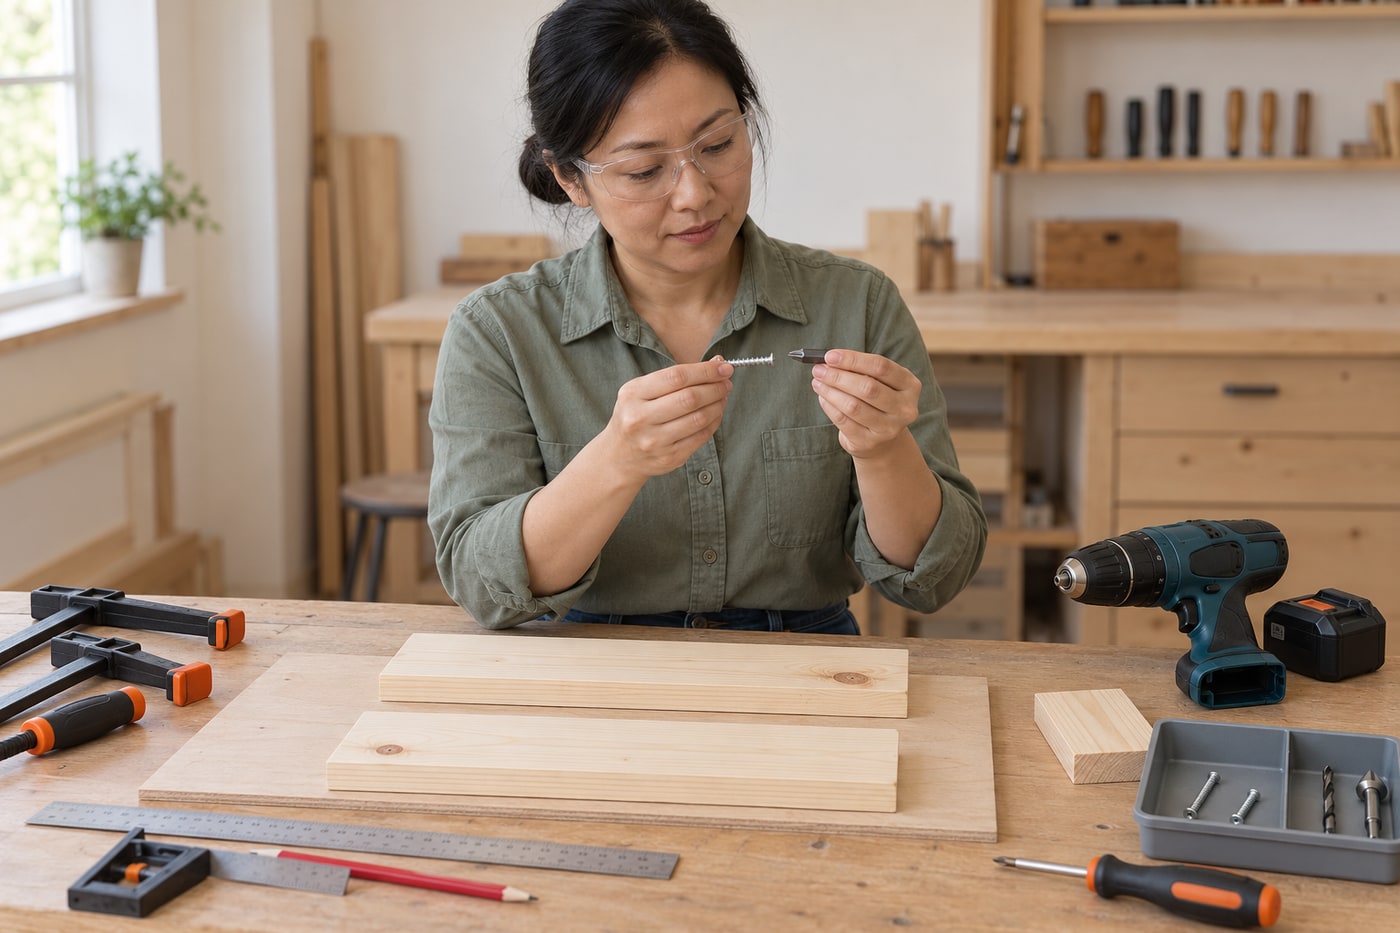
1. Select a screw, matching bit and suitable practice timber
Use two sound, flat softwood offcuts and ordinary countersunk wood screws intended for that timber. Inspect the recess and choose the exact matching drive family and size: Phillips and Pozidriv are different even though both look cross-shaped, while a Torx screw needs its matching star bit. Test the fit with the loose screw and tool unpowered; it should seat fully without rocking. Replace damaged tips or screw heads. The finished face joint is a skill sample, not a structural or load-rated connection.
Photorealistic illustration · Waey
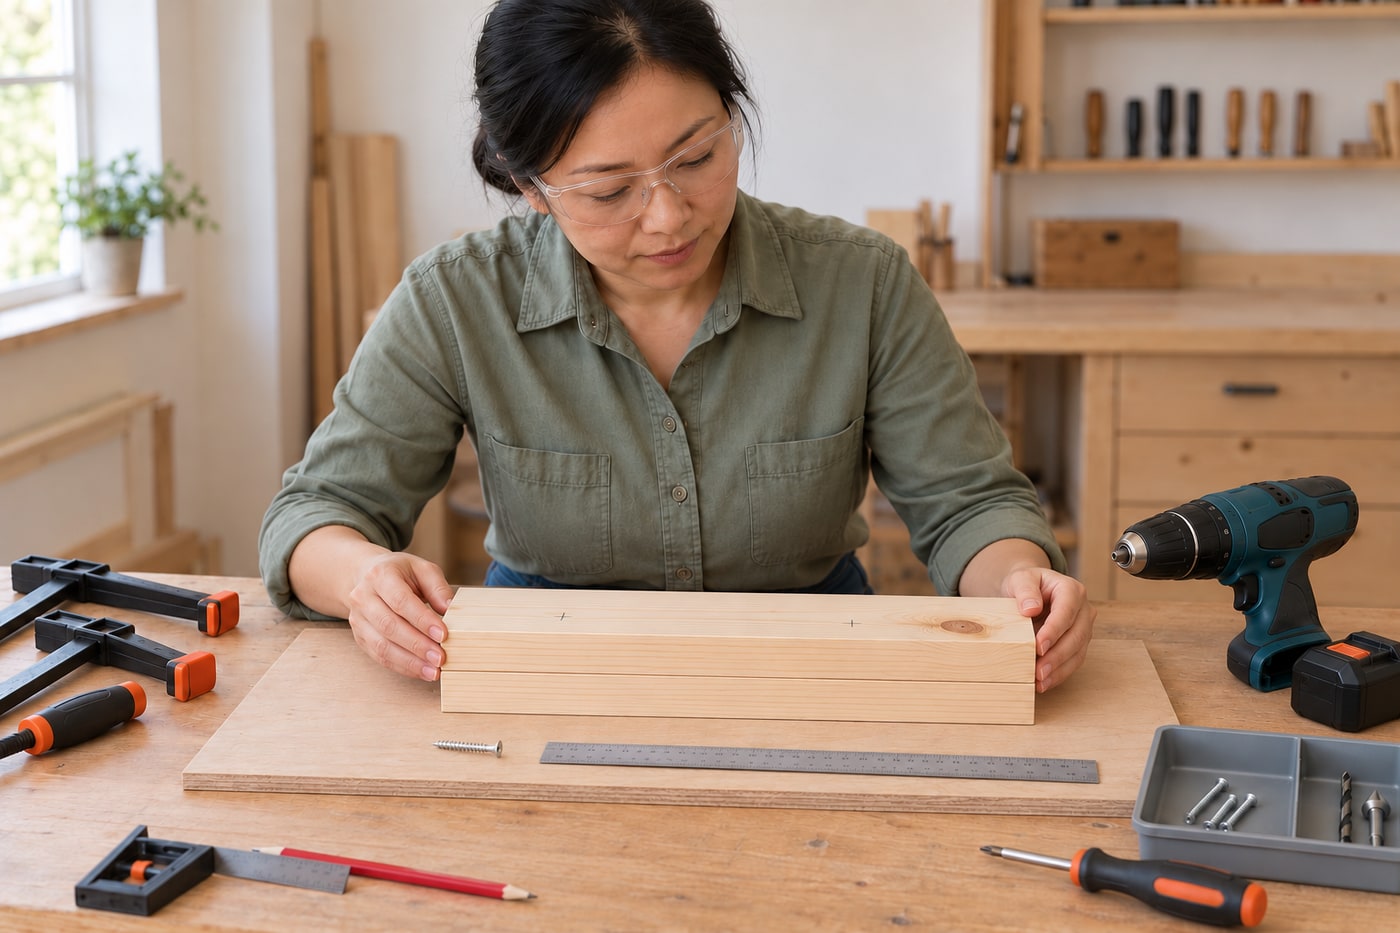
2. Plan the alignment, screw path and remaining thickness
Lay one board flat over the other with their ends and long edges aligned and mark two fixing positions clear of their ends and edges, following the fastener guidance. Choose a screw long enough to grip the lower board but short enough that its point cannot emerge below it when the head is flush. For example, two genuinely 18 mm boards total 36 mm; a 30 mm screw leaves a nominal 6 mm margin. Verify the actual pieces and head seating rather than relying on a timber label or copying the photograph’s proportions.
Photorealistic illustration · Waey
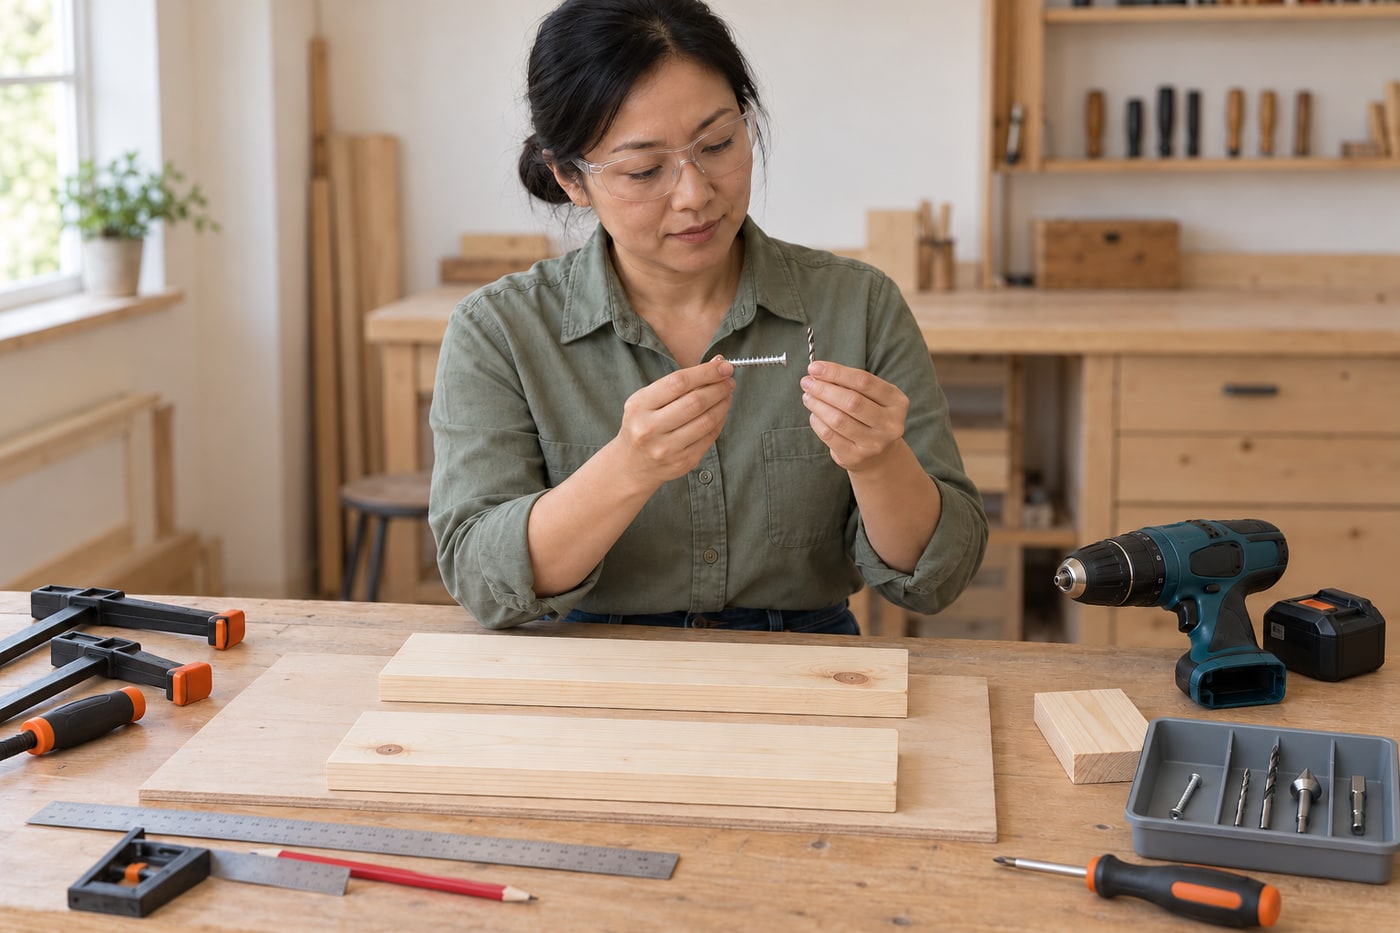
3. Distinguish pilot, clearance and countersink before drilling
The lower board needs a pilot that makes room for the screw core while leaving wood for its threads to grip. The upper board needs clearance so the screw passes through without threading into it, allowing the head to draw the joint together. The countersink matches the conical head rather than a flat-bottomed counterbore. Use the screw maker’s pilot guidance and test on spare timber of the same species. Do not choose every hole from the screw’s outside thread diameter: that can leave the lower board with nothing to grip.
Photorealistic illustration · Waey
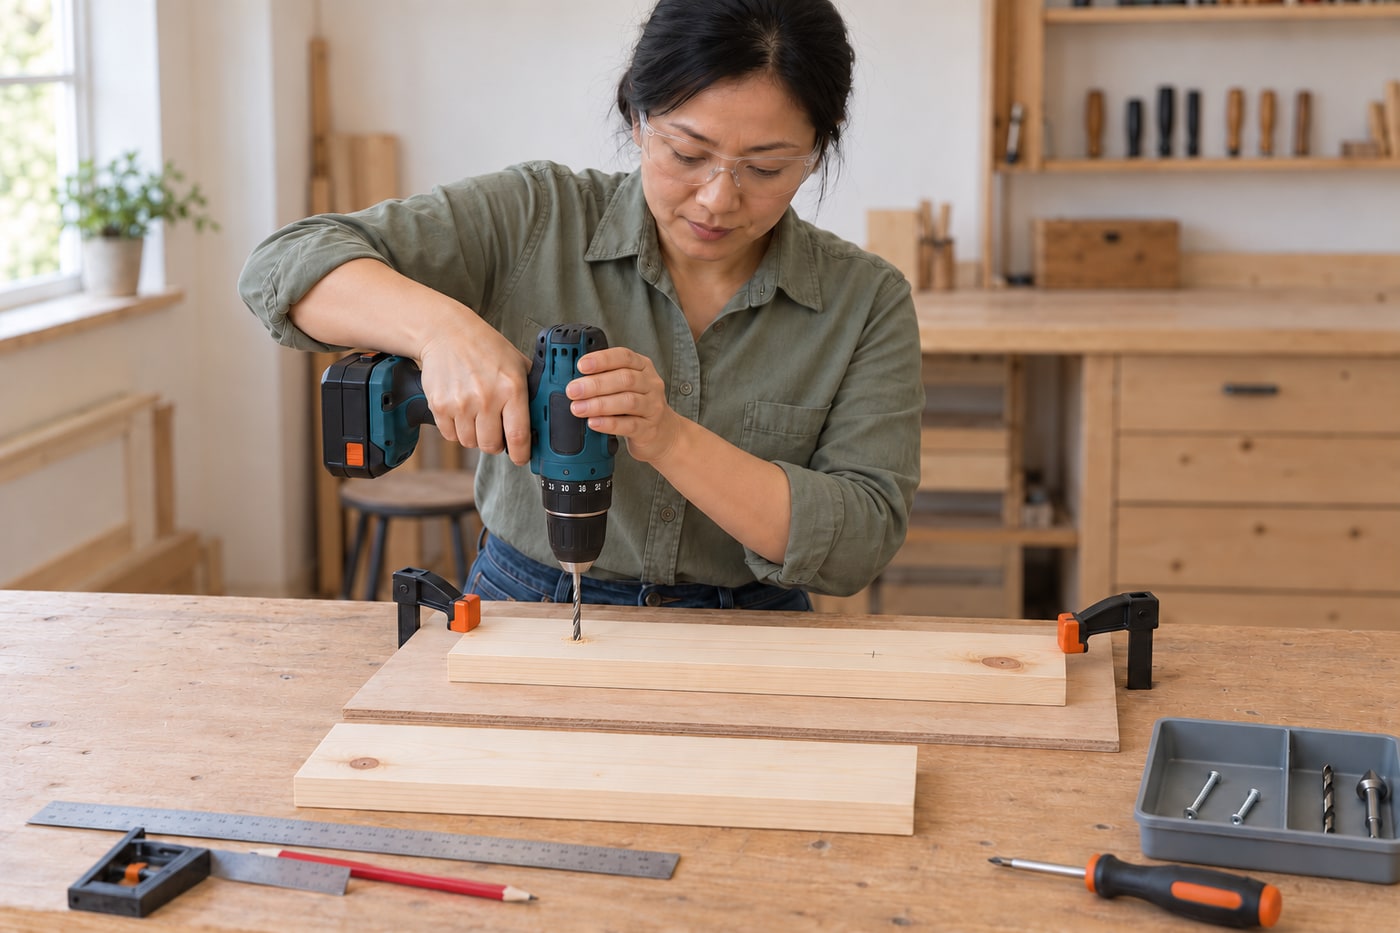
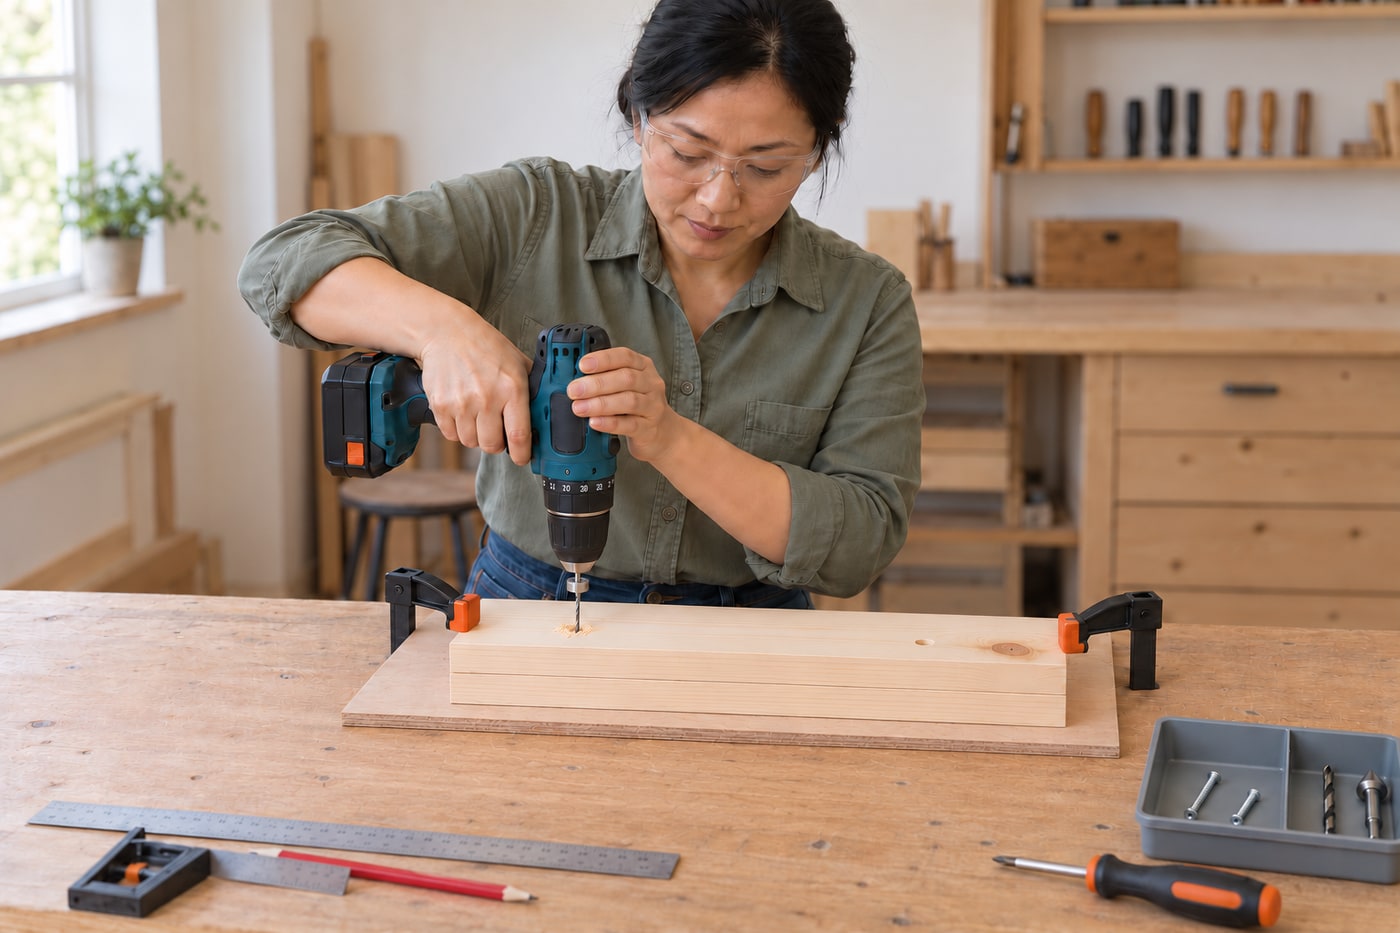
4. Clamp the upper board and drill its clearance holes
Separate the boards and clamp the upper piece onto a sacrificial backing board, with both marked positions accessible. The backing supports the exit and protects the bench; your hand must never be beneath the drilling path. Remove the battery before fitting a suitable wood bit that lets the actual screw pass freely. Refit the battery, use the drill’s wood-drilling setting without hammer action, and bore squarely through the upper piece into the backer. Let the bit stop before withdrawing chips or moving clamps. Check both holes with a loose screw.
Photorealistic illustration · Waey
5. Cut a shallow seat for each countersunk head
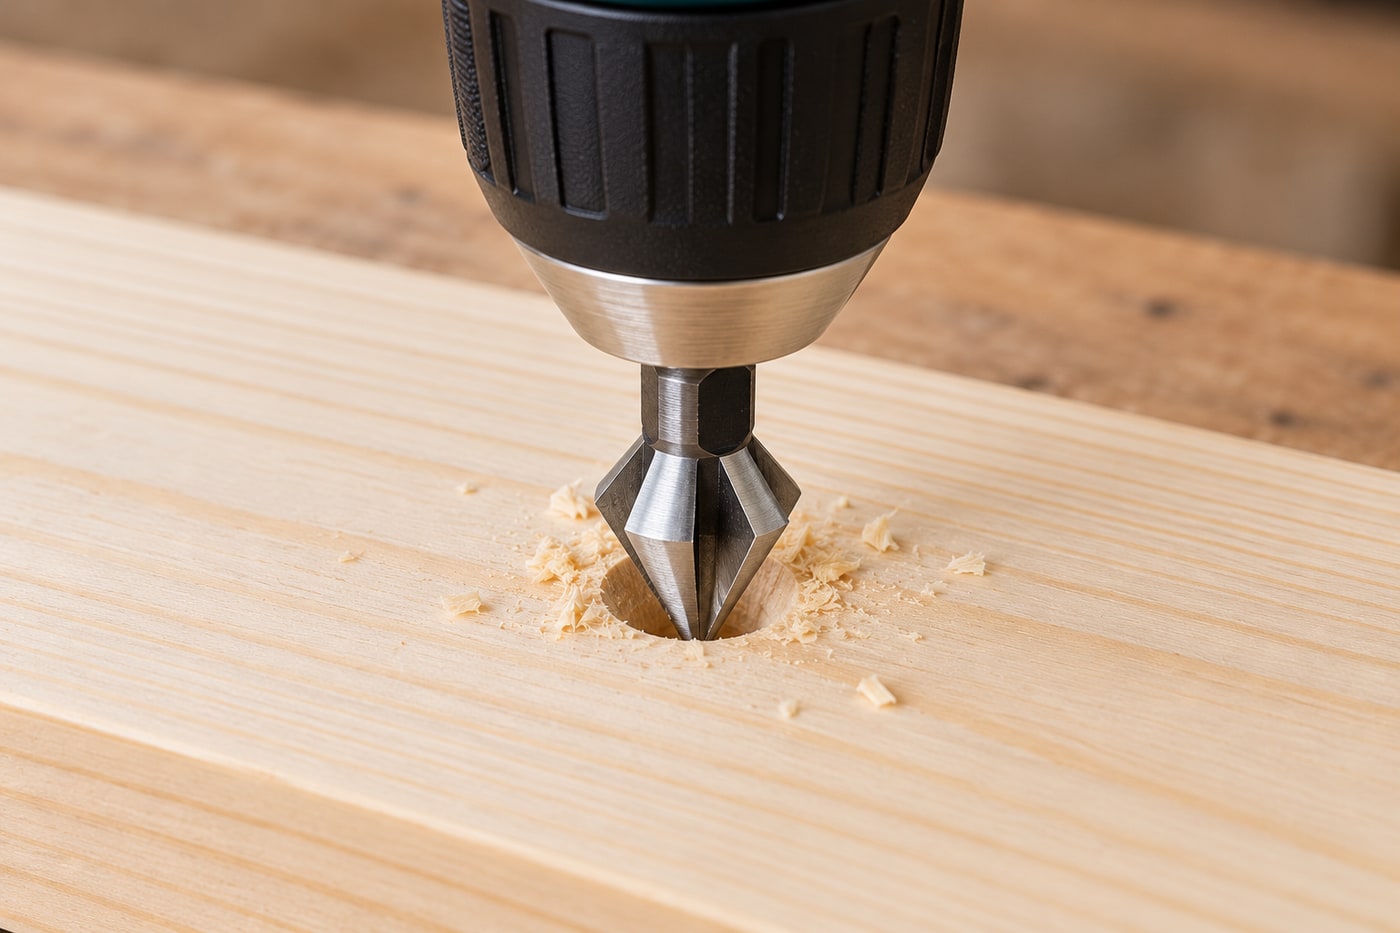
With the upper board still securely supported, fit a countersink suitable for the screw-head angle and timber, disconnecting the battery for the change. Make shallow controlled cuts and test the head fit frequently. Stop when the head can sit level with the face without a wide crater or crushed fibres; do not use extra driving torque as a substitute for cutting the seat. A counterbore designed for a flat-bottomed pocket screw is a different tool and should not be substituted for this conical recess.
Photorealistic illustration · Waey
6. Reassemble, clamp and drill controlled pilots in the lower board
Return the pieces to the marked face-to-face alignment with clean mating faces, then clamp both boards firmly together on the backing. The screws should secure a joint that is already aligned, not drag loose parts into position. Centre the smaller pilot through each clearance opening. Set a reliable depth limit from the actual screw penetration and board thickness, accounting for the drill point, so it cannot reach the underside. Drill straight into the lower board without enlarging its pilot to clearance size, then clear the chips after the bit stops.
Photorealistic illustration · Waey
7. Fit the driver bit and control the start and finish
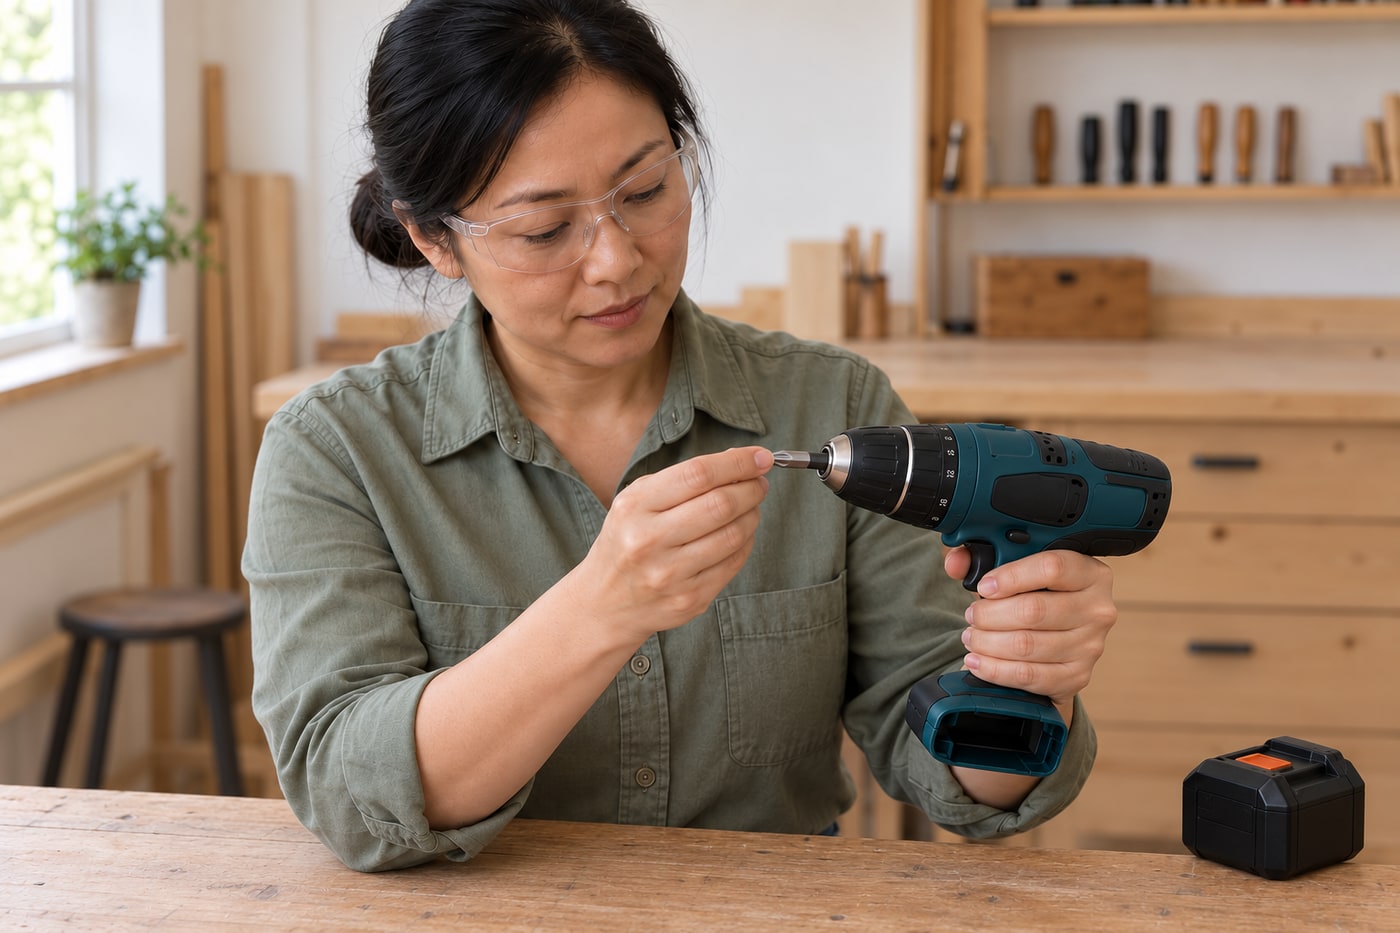
Fit the verified driver bit with the battery removed. Select the drill’s low-speed screwdriving range and begin with a low clutch setting, increasing only enough to turn the screw smoothly in a trial hole. With the work still clamped, keep the bit fully seated and the driver aligned with the screw axis. Start slowly and ease off as the head approaches its seat. Keep the other hand clear of the rotating chuck and fixing path. Never grasp the chuck to slow it or continue spinning a bit that is slipping.
Photorealistic illustration · Waey
8. Seat both screws and diagnose resistance instead of forcing it
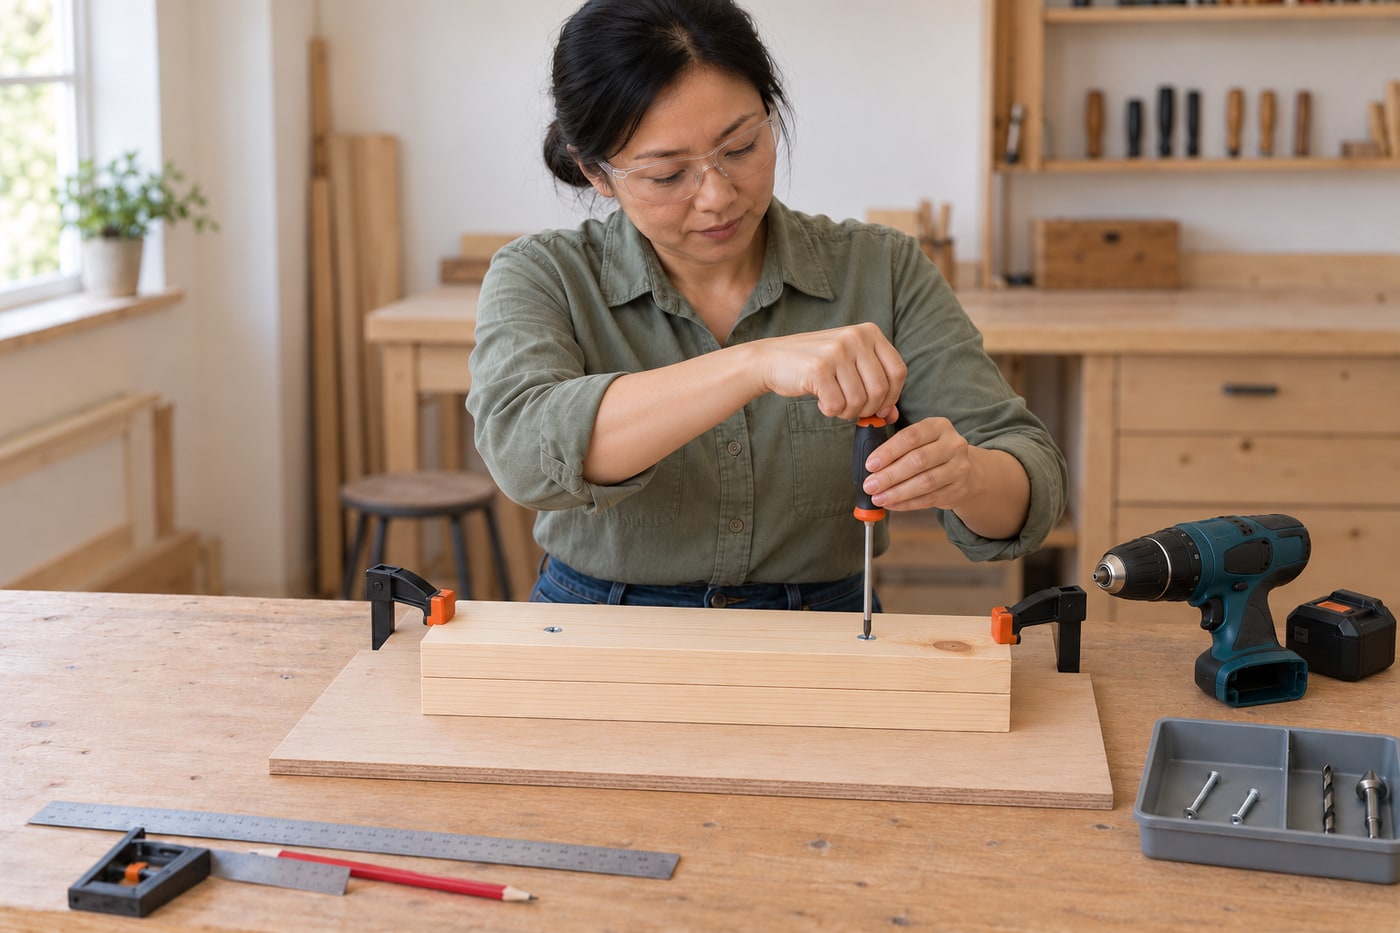
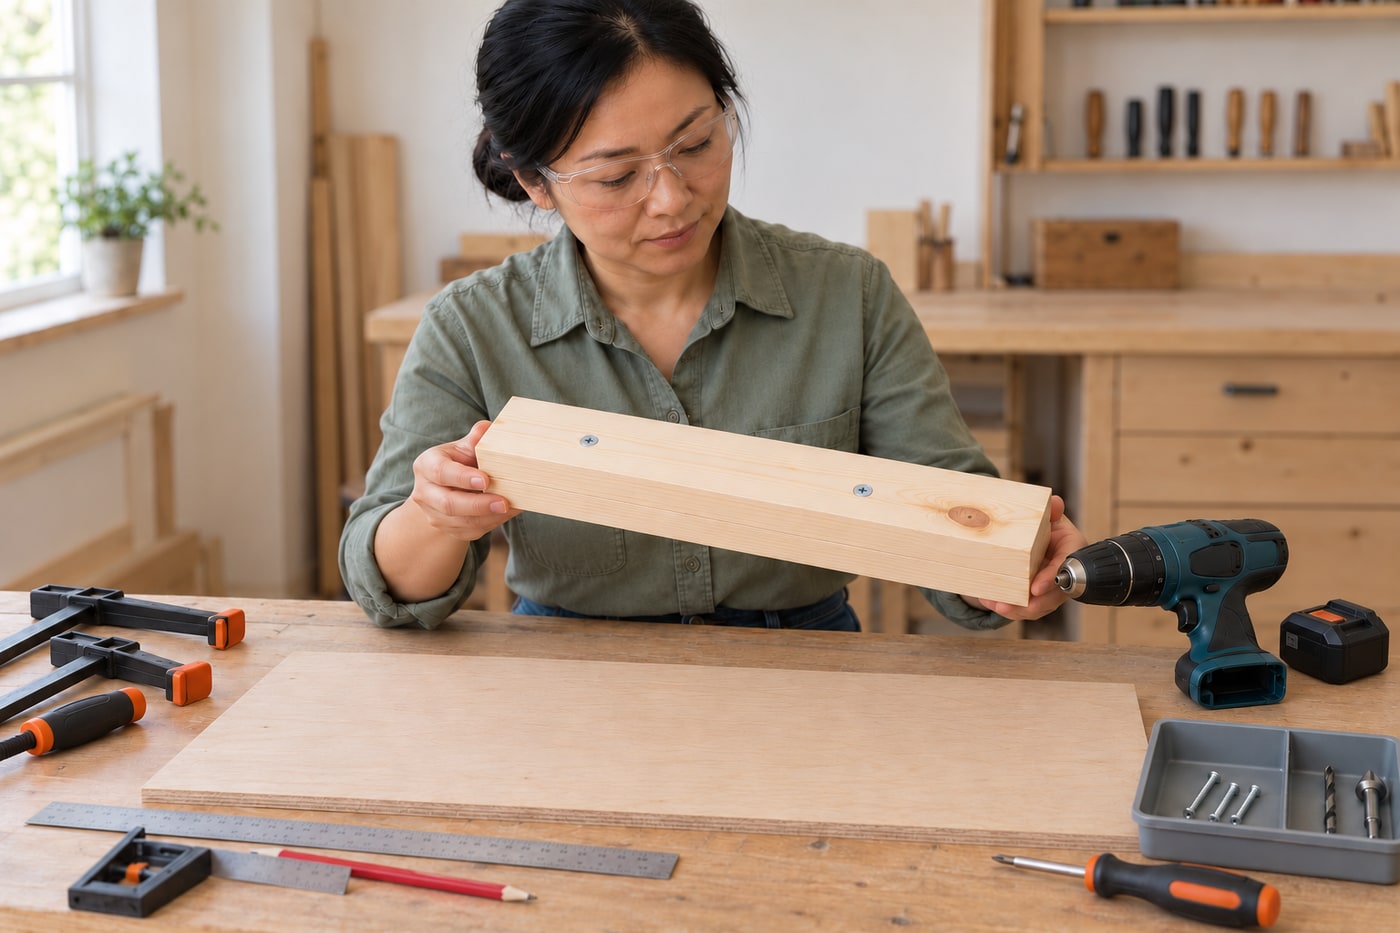
Bring the screws down progressively, alternating between them while watching that the boards remain flat together. Finish carefully by hand if that gives better control, stopping when each head is flush and the joint is snug. If the clutch releases too early, first check pilot size, bit fit and alignment rather than immediately selecting maximum torque. A gap between boards can mean threads are biting in the upper piece; crushing around a head suggests an inadequate countersink. Stop for a split, stripped head or freely spinning screw and correct the cause before reassembly.
Photorealistic illustration · Waey
9. Unclamp and inspect the completed joint
Remove the clamps only after both screws are properly seated and the tool has stopped. Check the mating faces for a gap, the heads for proud edges or over-deep craters, and the underside for any emerging point without running your hand across it. The joint should remain aligned during gentle handling; this is an assembly check, not a load test or strength certification. If a fixing has lost its grip, dismantle the sample and remake the affected part or use a suitable repair instead of repeatedly tightening into damaged wood. Keep the sample as a reference for your tested screw and hole sizes.
Video demonstrations
Tips for Driving Wood Screws | Rockler Skill Builders
Shows pilot/clearance/countersink roles and the problems they prevent. Its imperial screw/bit example is not a universal drill-size chart; match your actual screw and timber.
Rockler Woodworking and Hardware · English
Watch on YouTube ↗How to SCREW wood together | 2 Minute Tuesday
Demonstrates drawing two timber components together with controlled screw fixing; linked by the teacher’s woodworking school. This guide uses a face-to-face sample, not the cabinet’s complete joint design.
Matt Estlea · English
Watch on YouTube ↗Drill/Driver 101: How to Set a Screw Properly
Mark Clement demonstrates keeping the driver in line and controlling the start/finish. Here the screw starts in a prepared pilot with the timber clamped; do not replace the preparation with force or copy an unspecified clutch number.
This Old House · English
Watch on YouTube ↗Final checks
Matched drive; suitable screw length; clearance only in upper board; pilot grip in lower; shallow matching countersink; stable clamps/backing; flush heads, closed joint and no protruding points. No load-rating claim.
Sources
Rockler: pilot, clearance and countersink demonstration/transcript ↗
Matt Estlea: correctly joining wood with screws ↗
Wiha: drive profiles and Phillips/Pozidriv distinction ↗
This Old House: drill alignment, low-speed driving and stopping flush ↗
Bosch PS31 instructions: accessory changes, chuck and work holding ↗