
Replace one cracked ceramic wall tile on a sound dry wall
Remove the isolated damaged tile, prepare the recess, fit a matching replacement and finish the joints through the correct curing stages.
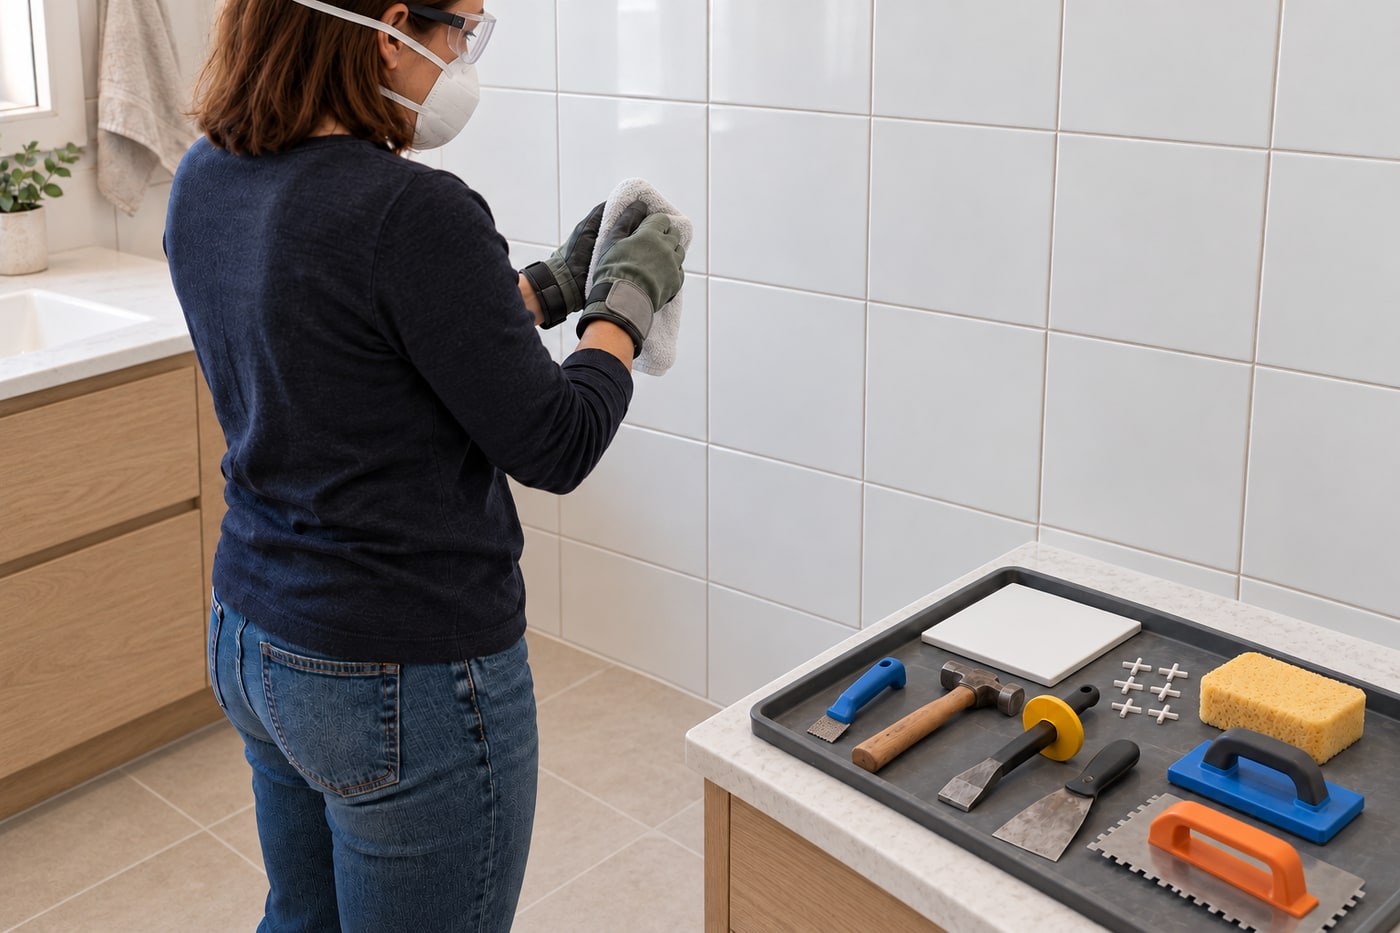
What will you learn?
Remove the isolated damaged tile, prepare the recess, fit a matching replacement and finish the joints through the correct curing stages.
Tools
- Eye protection; heavy work gloves; closed footwear; suitable properly fitted particulate respiratorSearch Amazon USA ↗
- Hand grout rake; small hammer; small cold chisel with hand guard; scraperSearch Amazon USA ↗
- Masonry-dust-rated extraction equipment and suitable dust-control accessoriesSearch Amazon USA ↗
- Notched trowel specified for the tile and adhesive; rubber grout float; matching spacersSearch Amazon USA ↗
- Protective sheet; drain cover; clean sponge; buckets; clean cloths; straightedge; phone for brief condition recordSearch Amazon USA ↗
Materials
- One matching ceramic wall tile of the correct size and thicknessSearch Amazon USA ↗
- Wall-tile adhesive approved for this tile and sound dry substrate; specified primer only if requiredSearch Amazon USA ↗
- Compatible grout matching the existing joint width and colour; clean waterSearch Amazon USA ↗
- Protective tape and suitable container for sharp non-hazardous tile wasteSearch Amazon USA ↗
Step by step

Photorealistic illustration · Waey
1. Confirm the repair and match the replacement
Take one clear photograph and check the replacement tile’s size, thickness, finish and joint width before buying adhesive. This method is for one impact-damaged ceramic tile on a known sound, dry solid-render wall, outside a shower or other waterproofed wet area. Resolve active leaks or movement first. Do not disturb unknown old adhesive or suspected asbestos. Check the wall information for concealed services; this method uses no drilling, but tools must still remain within the tile and adhesive layers.

Photorealistic illustration · Waey
2. Protect the room and prepare dust controls
Cover the floor and nearby counter or basin, block the drain against fragments and keep others out of the working area. Wear eye protection, suitable heavy gloves, closed footwear and respiratory protection appropriate to the materials and dust assessment. A tight-fitting respirator needs an effective face seal; it is not a substitute for dust control. Use controlled hand tools and extraction rated for masonry dust, following their instructions. Keep electrical equipment away from water and do not use dry grinding or an ordinary household vacuum.

Photorealistic illustration · Waey
3. Remove the grout around all four edges
Use a hand grout rake to remove the grout surrounding only the damaged tile, keeping the blade centred in each joint. Work slowly along all four sides so the old tile is separated from its neighbours before any tapping begins. Control dust as you work and avoid dragging the rake across the glazed faces. Remove the joint material to the tile’s depth without cutting into the backing. If the tool slips or adjoining tiles move, stop and reassess rather than forcing the joint open.

Photorealistic illustration · Waey
4. Remove the damaged tile in small controlled pieces
Cover the cracked face with a protective cloth to contain fragments, then use light controlled hammer taps to break the already damaged centre into manageable pieces. With eye and hand protection in place, lift pieces from the centre outward using a small chisel at a shallow angle. Direct force into the damaged tile rather than levering against neighbouring edges or punching into the wall. Keep fingers clear, collect sharp fragments promptly and stop if the backing or surrounding tiles begin to come away.

Photorealistic illustration · Waey
5. Prepare the recess and check the dry fit
Remove remaining loose adhesive with a scraper or controlled shallow-angle hand tool, keeping the sound render intact. Extract dust with equipment rated for the material; do not blow or dry-sweep it around the room. The recess must be sound, clean and dry, with enough depth for the replacement and its specified adhesive bed. Hold the new tile in the opening with the intended joint gaps to check size and alignment. Repair damaged backing appropriately before proceeding; adhesive must not disguise a loose or damp substrate.

Photorealistic illustration · Waey
6. Spread a compatible adhesive with the correct notch
Use a wall-tile adhesive approved for the tile, substrate and room conditions, applying any primer only if its instructions require it. Spread a thin contact coat in the recess, then comb an even bed with the specified notched trowel, keeping ridges parallel and grout joints clear. Do not use isolated blobs or add water to a ready-mixed product unless explicitly instructed. Work within the adhesive’s open time; if it skins over, remove and renew it rather than pressing the tile onto a dry surface.

Photorealistic illustration · Waey
7. Seat the tile, align it and let the adhesive set
Press the replacement into the fresh bed with a slight sliding motion to settle the ridges and obtain the coverage required by the adhesive and tile instructions. Check transfer by lifting and resetting while the adhesive is still workable if required. Keep the face flush with adjacent tiles and use matching spacers to maintain even joints and prevent slipping. Remove surface smears promptly without flooding the repair. Leave it undisturbed for the product’s grout-ready interval, allowing longer when its instructions require for site conditions.

Photorealistic illustration · Waey
8. Grout the joints after the adhesive is ready
Remove temporary spacers when the adhesive permits and check that the joints are clean and deep enough for the chosen compatible grout. Prepare it exactly as instructed, then work it into all four joints with a rubber float held diagonally across them. Scrape off excess diagonally rather than pulling material from the joints. At the stated cleanup stage, use a well-wrung sponge and clean water with light passes, turning and rinsing frequently. Avoid soaking fresh grout or washing away the joint profile.
Photorealistic illustration · Waey
9. Finish the haze cleanup and respect full curing times
At the grout maker’s permitted stage, buff the remaining light haze with a clean dry cloth without disturbing the joints. Check that the replacement remains flush, the gaps are filled evenly and no sharp debris or adhesive residue remains. Keep the area protected from washing, impact and water until both adhesive and grout meet their stated service conditions; grout-ready time is not necessarily full cure. Use sealer only where the selected grout requires it, and seek assessment if cracking returns. Tile and grout alone do not create waterproofing.
Video demonstrations
Complete broken-tile replacement — B&Q
Complete replacement demonstration. Includes a drilled removal option; this written guide uses controlled hand tools for an already cracked tile. Follow your adhesive and grout instructions.
B&Q · English
Watch on YouTube ↗Removal, flush fitting and grouting — Wickes
Shows isolating and removing a damaged tile, cleaning the recess, fitting flush and grouting. Its backing-repair and grout-protector advice is product/substrate dependent; do not use general filler over damaged waterproofing.
Wickes · English
Watch on YouTube ↗Single-tile replacement, chapter by chapter — Basti HW
German demonstration with chapters for grout removal, adhesive, fitting and grouting. Includes waterproofing work beyond this dry-wall repair scope; do not treat a local tile repair as a waterproofing repair.
Basti HW · German
Watch on YouTube ↗Final checks
Replacement flush and securely bonded after full specified cure; joints filled evenly; original cause addressed; no sharp waste or dust left. This does not repair a waterproofing system or prove that hidden building defects are absent.
Sources
B&Q: complete broken-tile replacement method ↗
The Home Depot: controlled hand-tool removal and replacement ↗
MAPEI: adhesive substrate preparation, trowelling and curing ↗
HSE: construction dust controls and respiratory protection ↗
Asbestos Safety: old adhesives cannot be judged by appearance ↗
Photographs are credited beside each image. Generated photorealistic illustrations by Waey; linked videos remain with their creators.