
Sew a two-hole button onto a shirt
Reattach a simple flat button by hand, keeping the shirt front aligned and the stitches secure without puckering the fabric.
What will you learn?
Reattach a simple flat button by hand, keeping the shirt front aligned and the stitches secure without puckering the fabric.
Tools
- 1 hand-sewing needle; small scissors; tailor’s chalk; optional thimbleSearch Amazon Mexico ↗
Materials
- 1 matching two-hole button; about 45 cm of suitable sewing thread; adult shirtSearch Amazon Mexico ↗
Step by step
Photorealistic illustration · Waey
1. Find the correct position
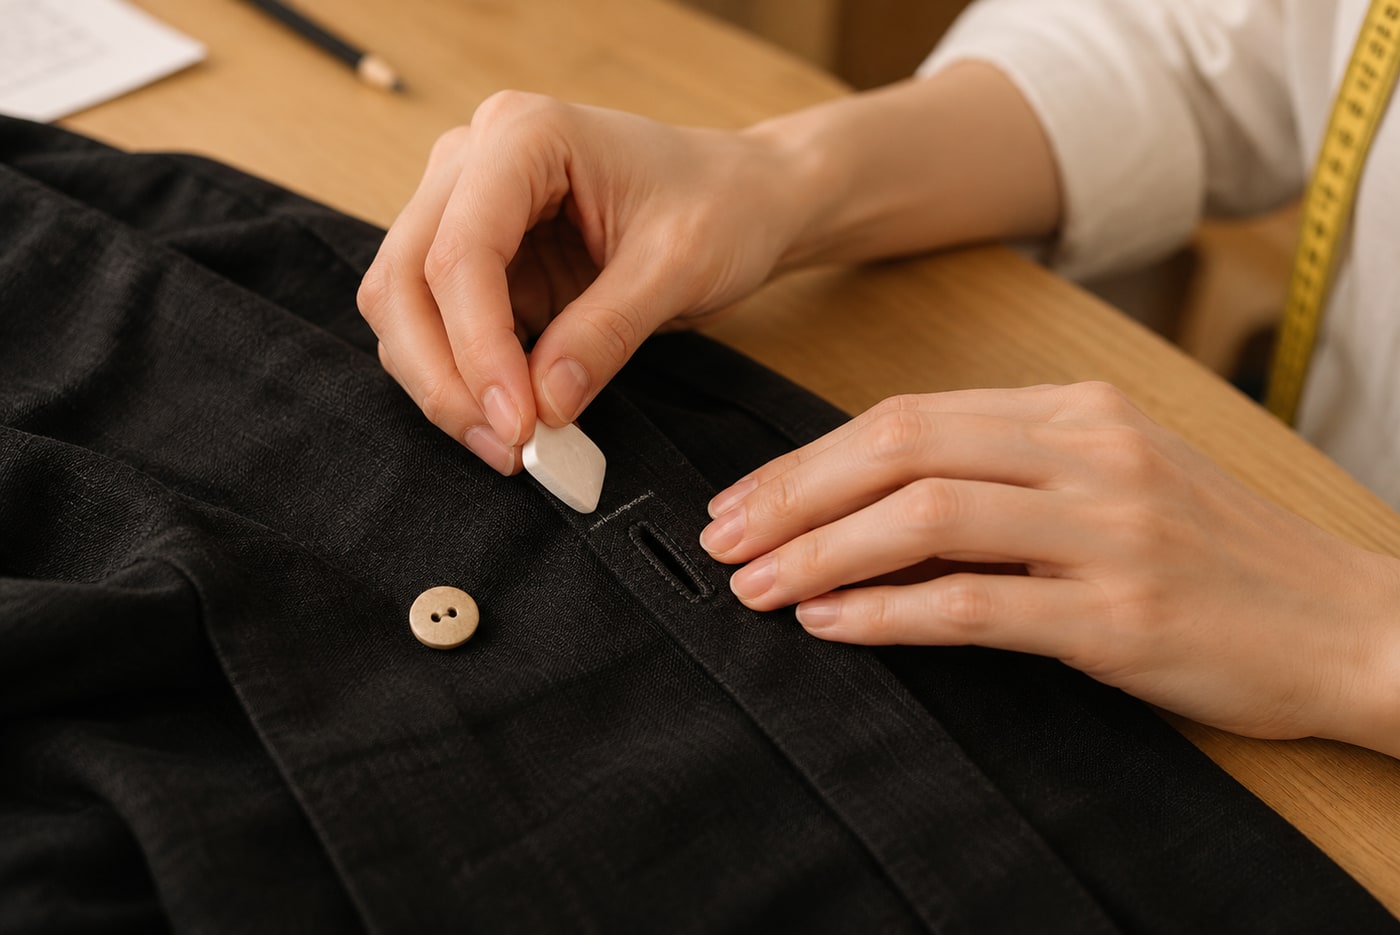
Lay the shirt flat and line up its front edges using the neighbouring buttons as a guide. Bring the empty buttonhole over the original button position and mark the fabric underneath lightly with tailor’s chalk. Check that the mark sits on sound fabric, not a torn hole. Accurate placement matters: even strong stitches will pull the shirt out of shape if the button sits too high or to one side.
Photorealistic illustration · Waey
2. Thread the needle and anchor the thread
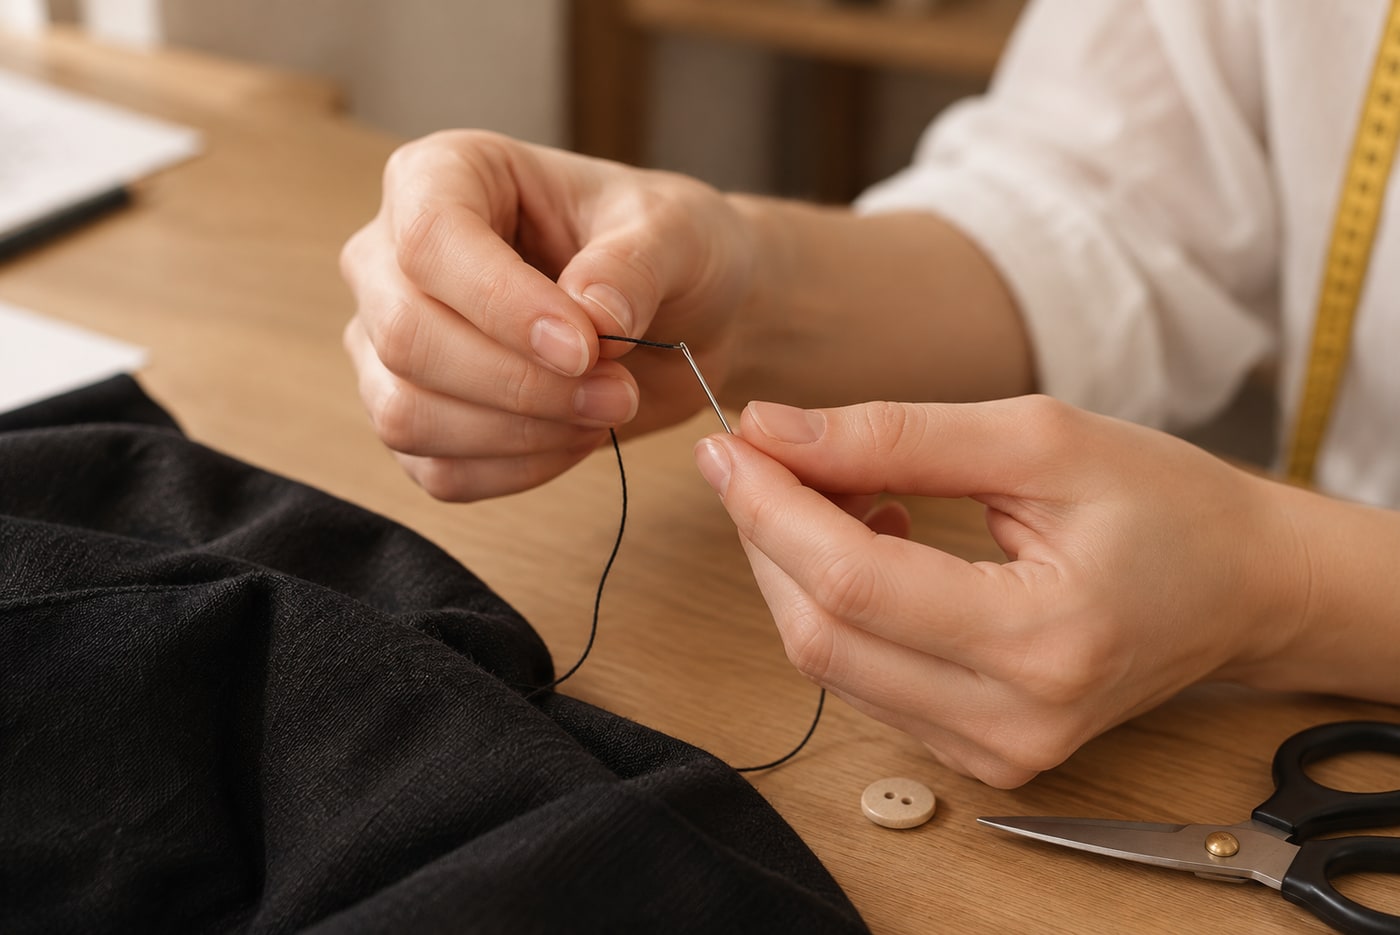
Cut a manageable length of thread, pass it through the needle and knot the ends for a doubled thread. Start from the underside of the marked fabric and bring the needle up at the mark, keeping the other shirt layer clear. Pull gently until the knot rests against the back. A short working length is easier to control and less likely to tangle than an armful of thread.
Pavel Danilyuk · Pexels License · Resized and JPEG optimized
3. Stitch through the two holes
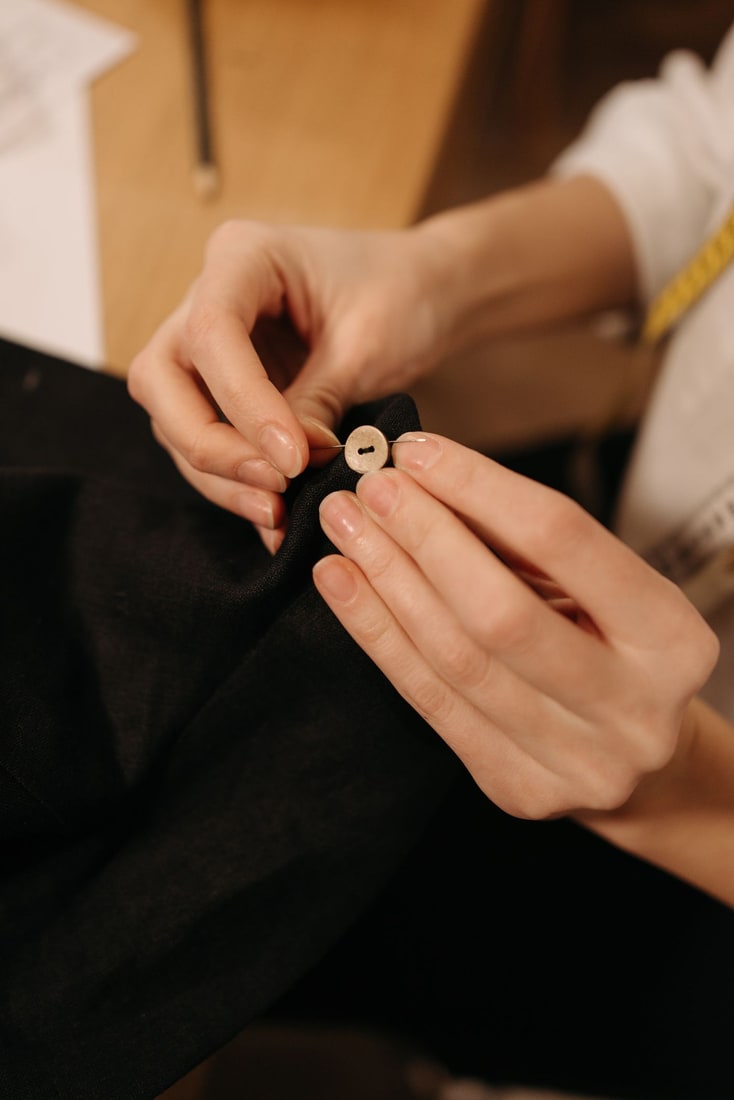
Place the button on the mark and pass the needle up through one hole, down through the other and back through the same small area of fabric. Repeat several times to build an even bundle of stitches, keeping the button aligned. Pull the thread snug without crushing the fabric into wrinkles. Work slowly with your supporting fingers clear of the needle path; consistent small stitches hold better than widely scattered ones.
Photorealistic illustration · Waey
4. Knot underneath and test the closure
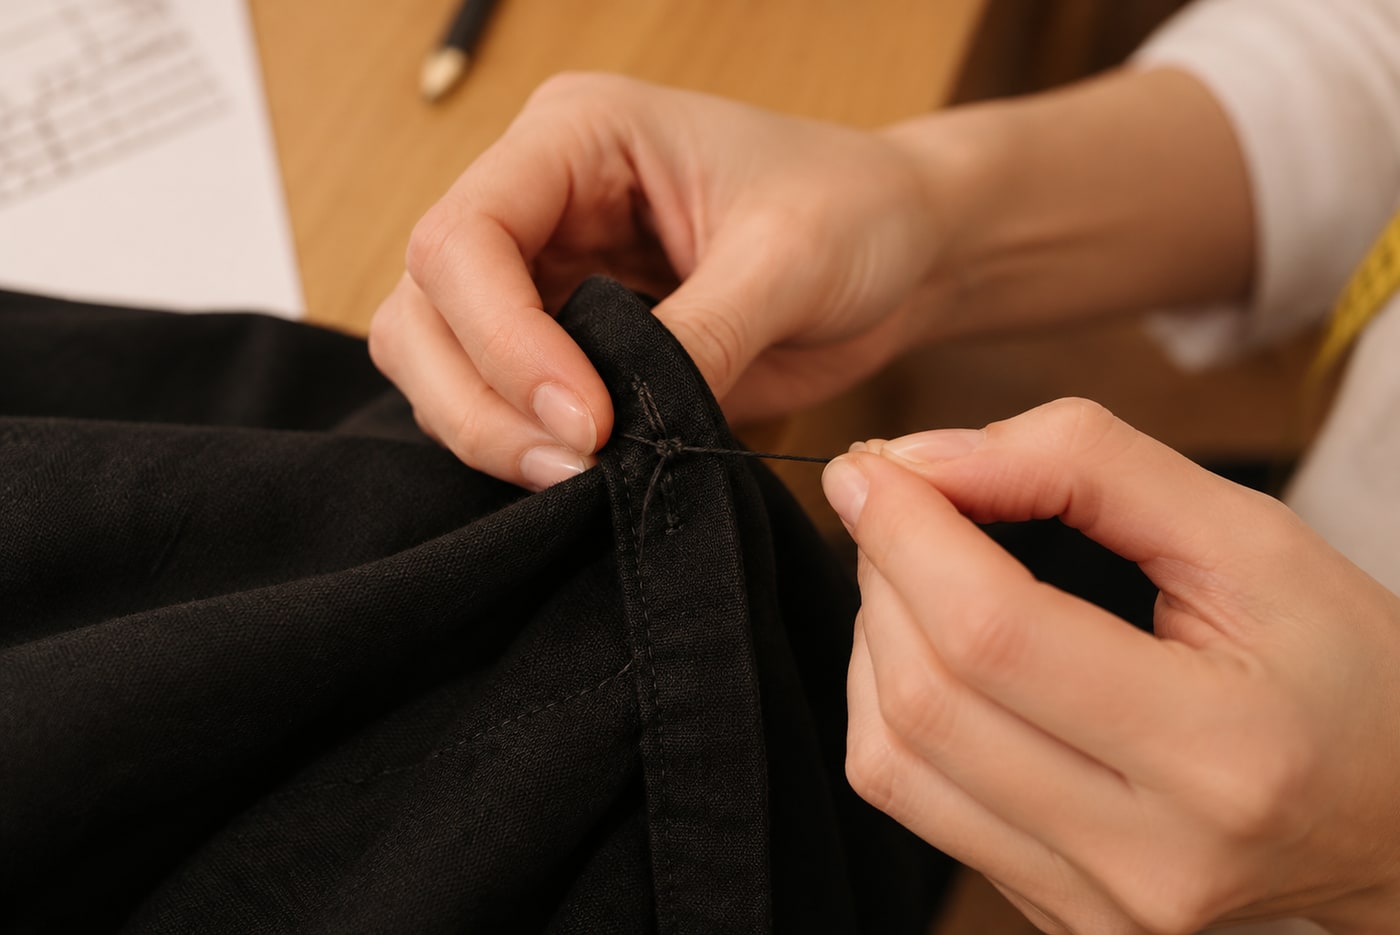
Finish with the needle on the underside. Pass it under a small existing stitch, draw the thread through the loop and repeat to secure the end. Trim the thread after the knot, then fasten the button through its hole. The front edges should meet naturally without a tight wrinkle. If the fabric gathers or the button will not pass easily, undo the repair and correct the position or tension.
Watch the method
Watch the method
Shows hand-sewing a four-hole button; the creator also explains the two-hole variation. Use only the first pair of holes for this guide.
Needlepointers / Chris Rickert · English
Watch on YouTube ↗Final checks
Give the button a gentle tug and check for movement at the stitches. Count and put away the needle, scissors and spare buttons before clearing the table.
Sources
Patagonia / iFixit: button sewing technique ↗
Photographs are credited beside each image. Generated photorealistic illustrations by Waey; linked videos remain with their creators.