
Commission an aquaBloom13300 solar irrigation kit for containers
Install the AA-NiMH aquaBloom13300 kit, route its matched drippers, measure delivery and choose a tested watering programme and reservoir for the plants.
What will you learn?
Install the AA-NiMH aquaBloom13300 kit, route its matched drippers, measure delivery and choose a tested watering programme and reservoir for the plants.
Tools
- Sharp scissors for square tube cutsView at IKEA México (TROJKA stainless-steel scissors) ↗Search Amazon Mexico ↗
- Tape measureView at ICO México (Truper 5 m, sobre pedido) ↗Search Amazon Mexico ↗
- Measuring jugView at El Crisol México (VITLAB 250 mL jug, 5 mL divisions) ↗Search Amazon Mexico ↗
- TimerView at KIK Tienda México (Taylor 5896 digital timer) ↗Search Amazon Mexico ↗
- One clean catch cup per dripperView at Henki México (Cuevas 8 oz cups, pack of 25) ↗Search Amazon Mexico ↗
- Marker for reservoir levelView at Unión Papelera de México (Uni Paint PX-20 white marker) ↗Search Amazon Mexico ↗
Materials
- Complete matched GARDENA aquaBloom Art.13300 kit with its specified three1.2V AA NiMH rechargeable cells, controller, tubing, filter, pegs, T-pieces, plugs and5–20matched0.5L/h drippersSearch Amazon Mexico ↗
- Clean suitable covered reservoir sized from measured water consumptionView at Hidroflora México (Inimex lidded reservoir, 19 L) ↗Search Amazon Mexico ↗
- Clean irrigation water within the kit’s limits
Step by step
Raimond Spekking · CC BY-SA 4.0 · Resized and JPEG optimized
1. Confirm the exact kit and group suitable plants
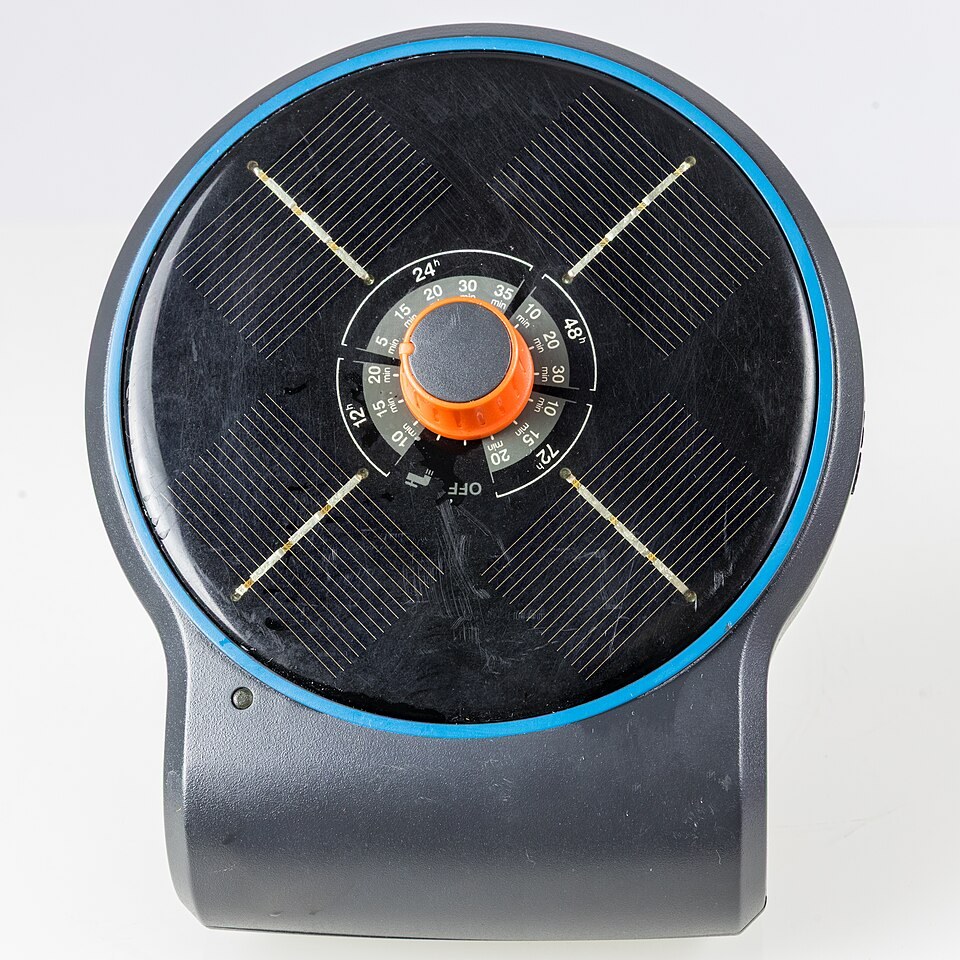
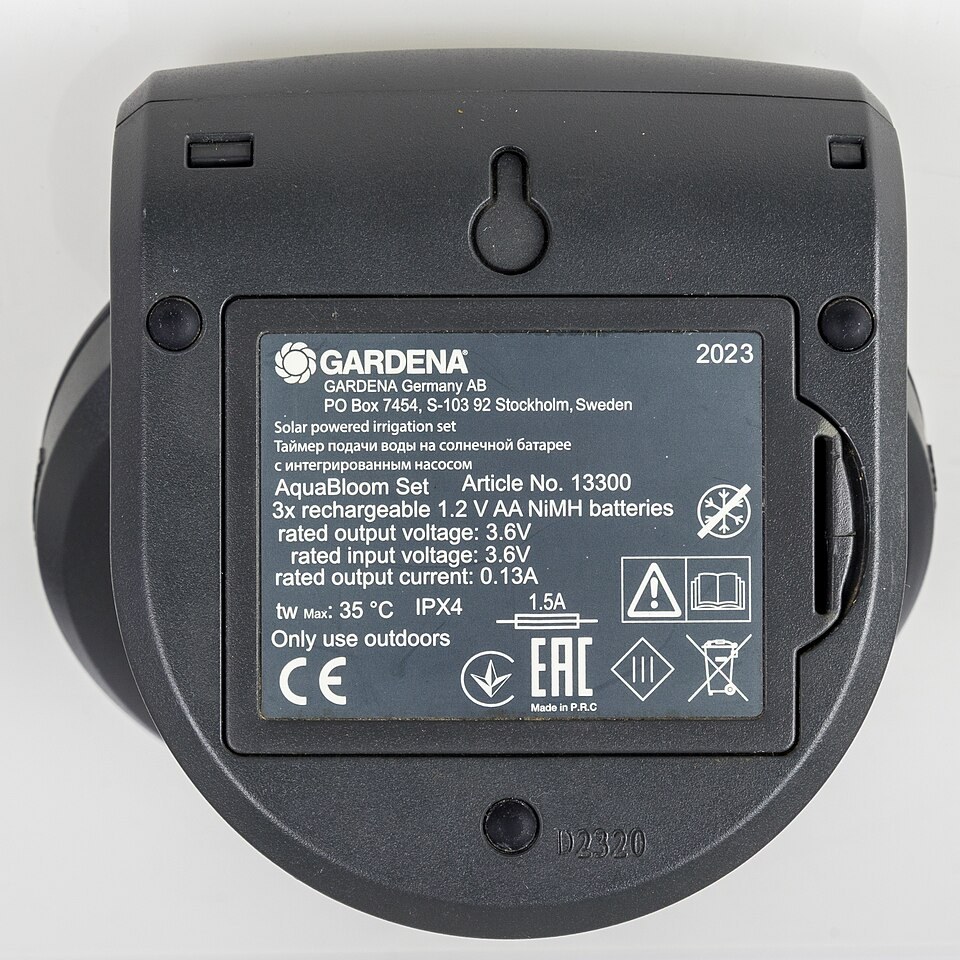
Read the article number and supplied manual, checking that this is the three-AA-NiMH13300 system with its matched0.5L/h drippers. The cited diagram requires at least five and at most twenty of these drippers; do not borrow the L-set’s different emitters or batteries. Group plants with similar water needs and draining pots. A single timed programme cannot automatically suit a drought-tolerant plant and a thirsty plant in very different conditions.
Raimond Spekking · CC BY-SA 4.0 · Resized and JPEG optimized
2. Plan safe positions and a short tube route
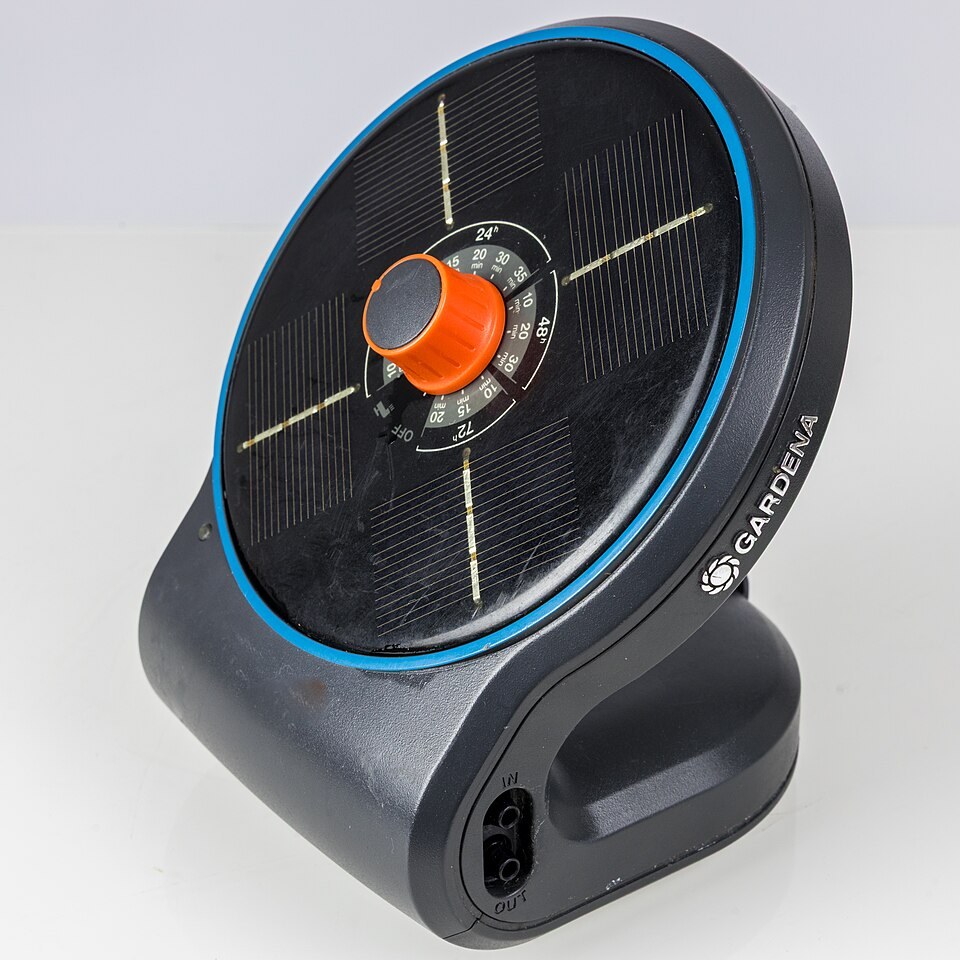
Set the covered reservoir on stable ground and the pots where overflow cannot damage property. Put the control securely in a sunny position using its intended mounting, protected from falling into the water. Keep all tubing clear of walking routes and sharp bends. Respect the13300 manual’s maximum4m delivery head and1.5m suction height, measured as its diagram shows; these limits are not a promise of identical flow through any improvised layout.
Raimond Spekking · CC BY-SA 4.0 · Resized and JPEG optimized
3. Fit the specified batteries and charge as instructed
With the selector at OFF, open only the user battery compartment and insert the three matching rechargeable1.2V AA NiMH cells with the marked polarity. Do not mix types, ages or charge states, and never use disposable alkaline cells in this charging system. Close the compartment correctly. The cited manual specifies eight hours in sun at OFF for initial operation, or separate charging with a suitable charger; use the actual kit’s current instructions if they differ.
Raimond Spekking · CC BY-SA 4.0 · Resized and JPEG optimized
4. Assemble the matched outlet network
Measure the actual route before cutting tubing square, keeping enough slack for service without leaving loops to trip over. Follow the supplied layout for the OUT connection, T-pieces, inline drippers and end plugs. Push each tube fully onto its matching fitting and place emitters with their discharge directed toward the compost. Do not substitute open tube ends for drippers or cut a tube length so short that it pulls the fitting sideways.
Raimond Spekking · CC BY-SA 4.0 · Resized and JPEG optimized
5. Connect the filtered intake and secure the reservoir
Connect the intake line to IN and the supplied filter as shown in the manual, keeping the filter submerged in clean water and clear of settled debris. Fit the cover around a safe tube entry without crushing the tube. Do not run the pump dry to see whether it works. Check the water arrangement for unwanted gravity flow when the pump is off, and follow the manufacturer’s reservoir positioning before commissioning.
Raimond Spekking · CC BY-SA 4.0 · Resized and JPEG optimized
6. Measure every emitter before watering unattended
Keep the emitters temporarily over individual catch cups and run the specified manual test. Record the run time and compare collected volumes; a dry or markedly different cup needs a check for a kink, loose fitting, blockage or wrong component. Stop if a connection leaks. Return the emitters to their pegs only after delivery is verified. Nominal0.5L/h is a component rating, not proof that your assembled system has passed a flow test.
Raimond Spekking · CC BY-SA 4.0 · Resized and JPEG optimized
7. Choose a programme and calculate usable water
Select duration and frequency from the actual dial after checking plant moisture and your measured delivery. The cited manual starts watering when a programme is selected and uses that as the future start time; OFF resets it. Estimate reservoir demand from measured litres per cycle multiplied by cycles and days, then allow a practical reserve and account for unusable water below the intake. Verify the estimate through observation rather than relying on an advertised holiday duration.
Raimond Spekking · CC BY-SA 4.0 · Resized and JPEG optimized
8. Observe several cycles and maintain the system
Watch several complete cycles while still at home, checking compost moisture, drainage, reservoir loss, emitter position and battery indication. Adjust for real weather and plant response without leaving pots permanently saturated. Recheck after moving a pot or changing the network. Clean the filter as its instructions allow and stop for damaged lines or a red low-charge warning. Arrange a human check during absence; a working commissioning test cannot guarantee future sunshine or an unclogged intake.
Watch the method
GARDENA AquaBloom Solar-powered Irrigation Set Quick Guide
Manufacturer quick guide for the original AquaBloom kit: tube assembly, intake filter and programme dial. This article covers Art.13300 with AA NiMH cells. Follow the exact manual and measure every dripper; the samples give no universal dose or unattended-use guarantee.
GardenaNewZealand · English
Watch on YouTube ↗Final checks
No leaks or off-cycle gravity flow; every dripper delivers; filter remains submerged; reservoir estimate is tested; pots drain and battery charge is sufficient. Recheck after weather or layout changes.
Where to find supplies
Sources
GARDENA: Original13300 operator manual and assembly diagrams ↗
GARDENA: AA-NiMH20-plant reservoir set components ↗
GARDENA: Different L-set components — do not mix model instructions ↗
Component photographs by Raimond Spekking, CC BY-SA4.0; resized and JPEG optimized. Each photograph links to its original and licence. External video belongs to its credited creator.