
Store T-shirts upright in a drawer
Adapt upright T-shirt folds to your fabric and drawer, then check stability, clearance and one-shirt removal.
What will you learn?
Adapt upright T-shirt folds to your fabric and drawer, then check stability, clearance and one-shirt removal.
Materials
- Clean, fully dry short-sleeved T-shirtsSearch Amazon Mexico ↗
- One drawer section; a shallow open box or drawer organiser when needed for row supportSearch Amazon Mexico ↗
Step by step
Photorealistic illustration · Waey
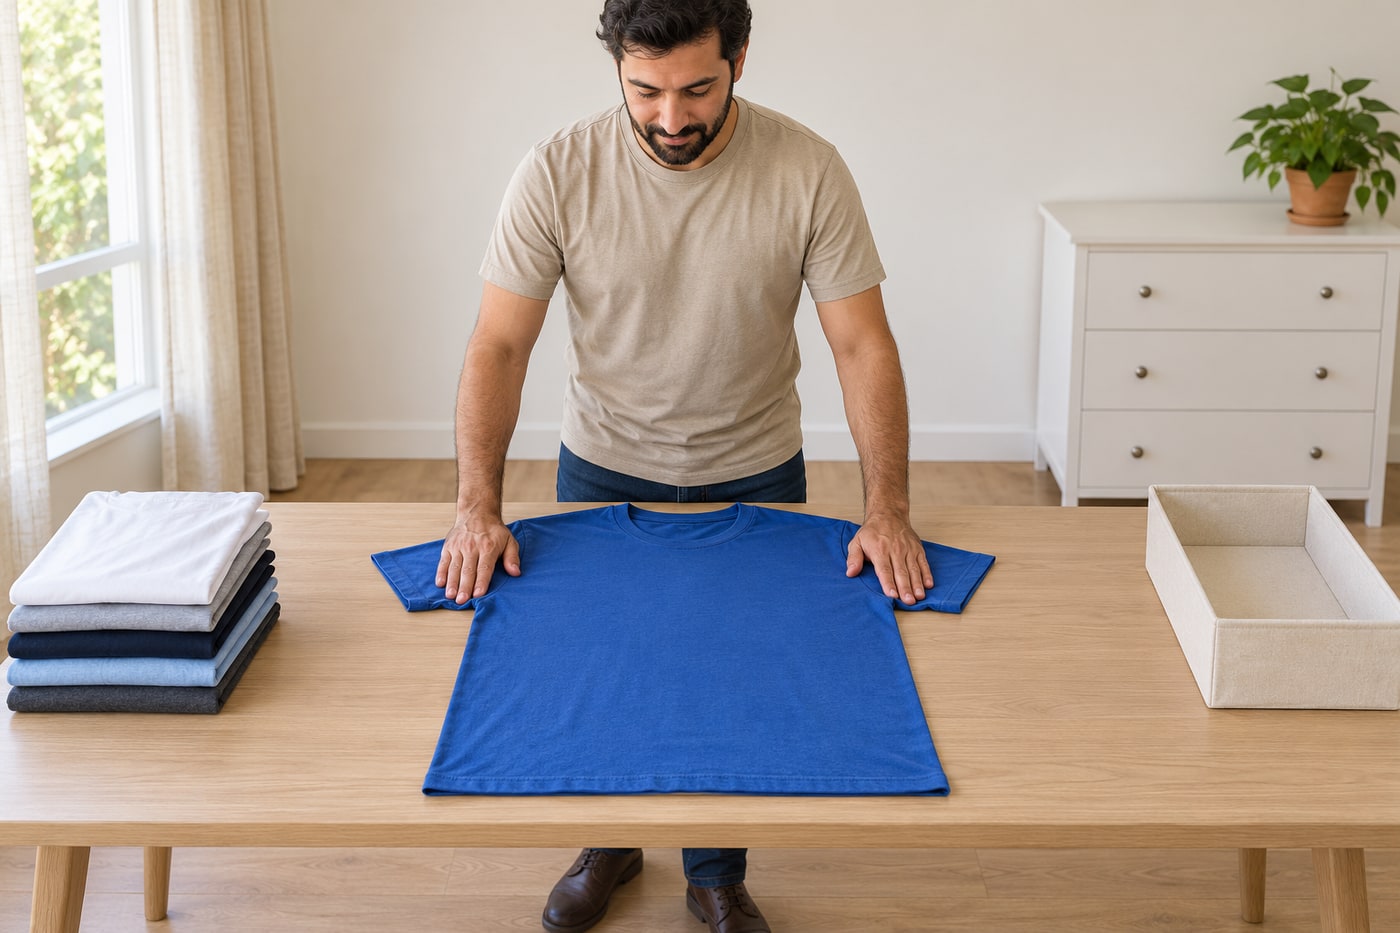
1. Prepare one shirt and its storage space
Choose a clean, completely dry everyday short-sleeved T-shirt and a clear, smooth work surface. Empty the intended drawer section so you can test one finished bundle before folding the whole load. Check the garment’s care instructions and keep delicate or highly structured clothing out of this example. Use a shallow open box if the row will need support. Keep the drawer closed while working at the table, opening it only for the fit check.
Photorealistic illustration · Waey
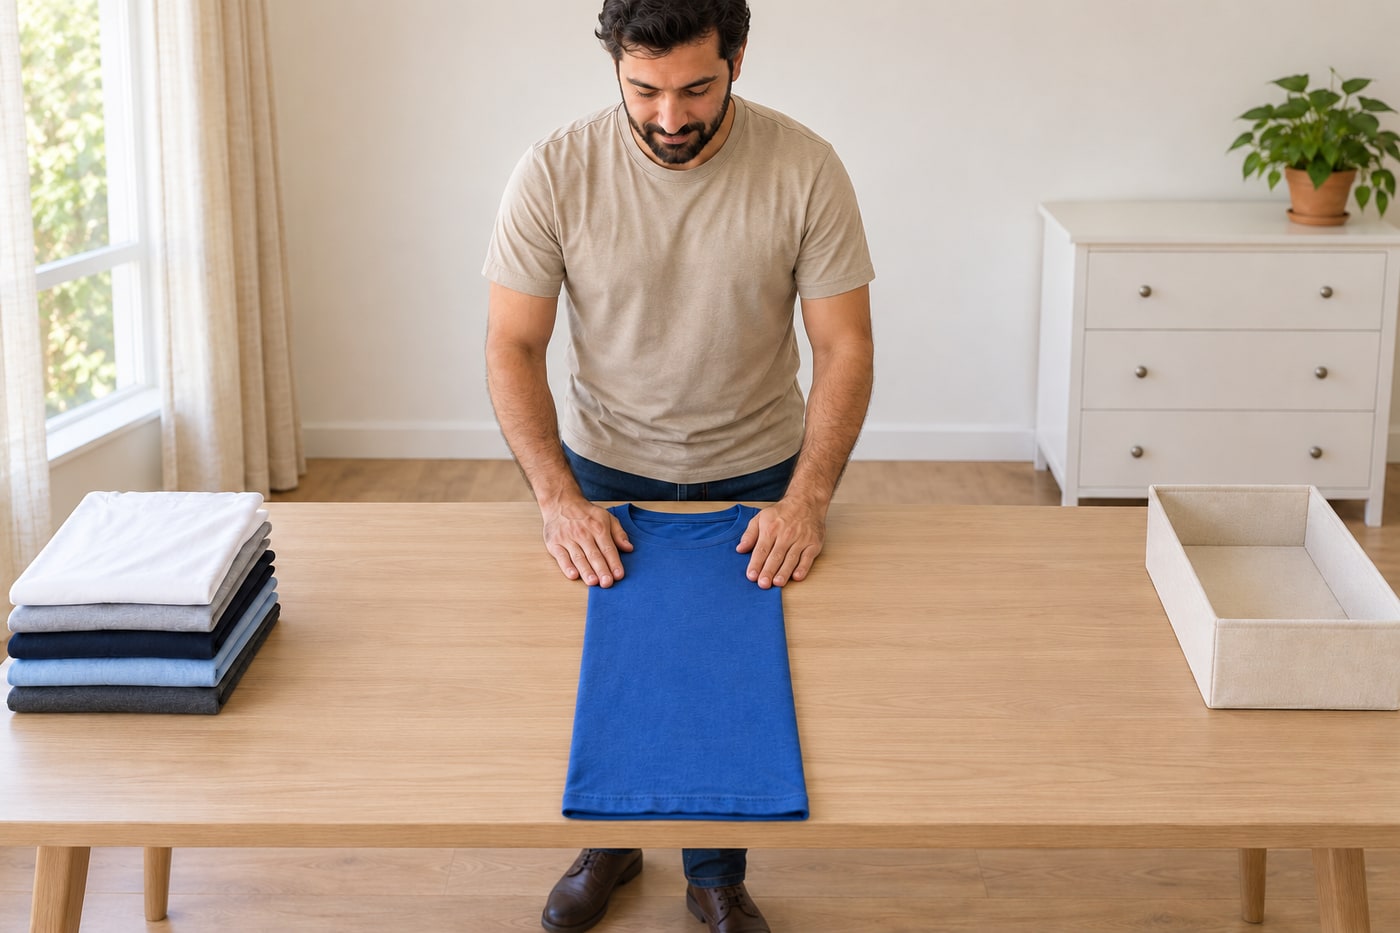
2. Build an even long rectangle
Lay the shirt flat with its front facing up and smooth the body without stretching the neck or seams. Bring one side toward the centre, then turn the sleeve back so it stays within the new straight edge. Repeat on the other side. Aim for a consistent-width rectangle from shoulder to hem, with neither sleeve protruding. If a shoulder forms a bulky lump, reopen that side and reposition the sleeve rather than hiding the lump under another fold.
Photorealistic illustration · Waey
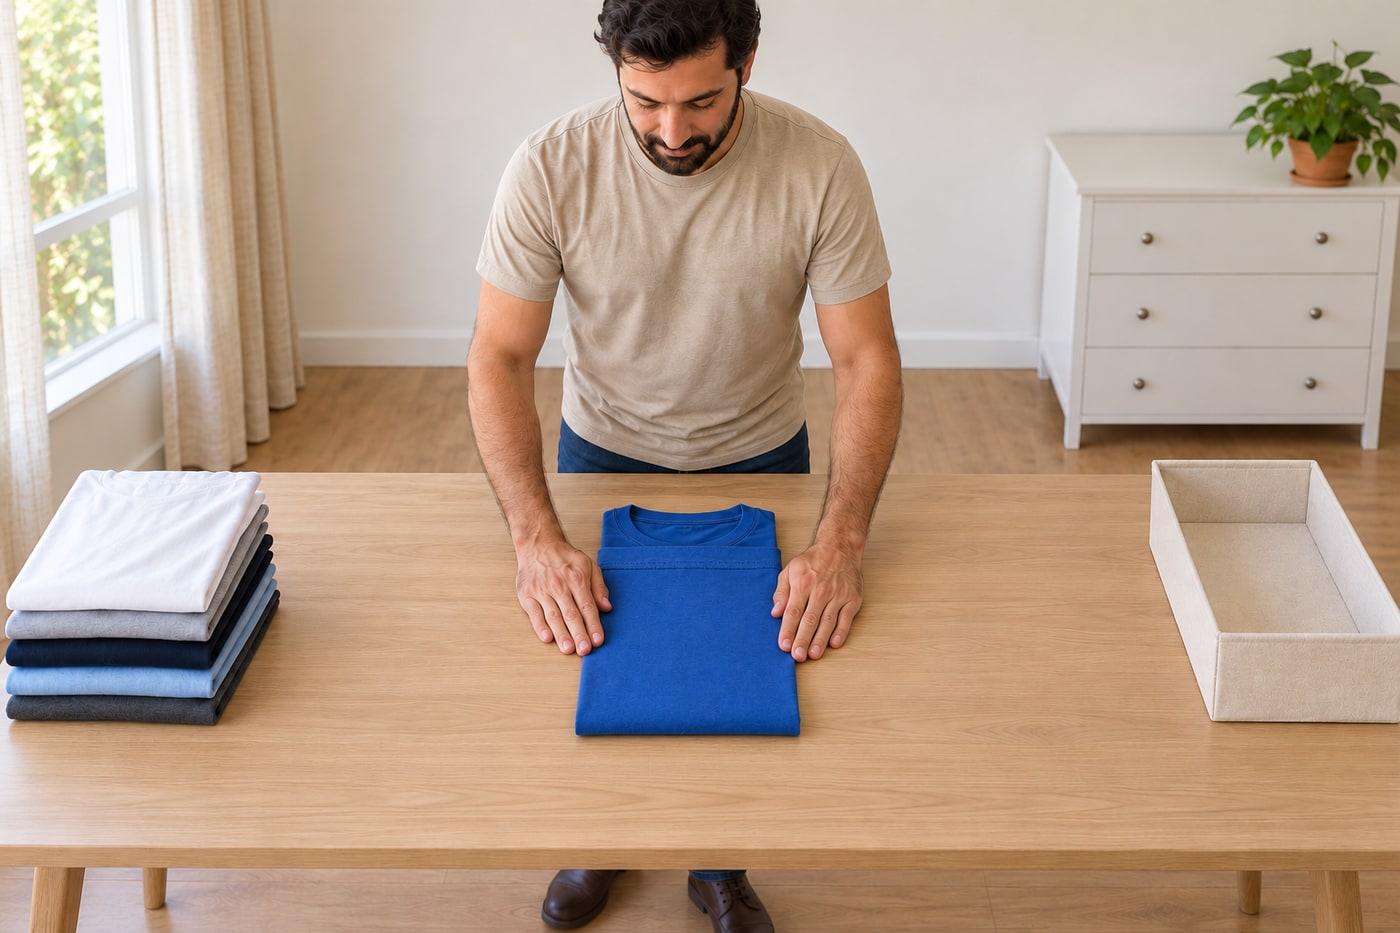
3. Shorten it with room for the next fold
Bring the hem end up toward the neckline to shorten the rectangle, leaving a small gap instead of forcing the two ends exactly together. Smooth the layers with your palm so the sides remain aligned. This follows the official KonMari gap method; the related Organizing TV video folds the collar down to the hem and then uses thirds. Keep one sequence consistent while practising. A twisted side or trapped sleeve should be corrected now, before the bundle becomes thicker.
Photorealistic illustration · Waey
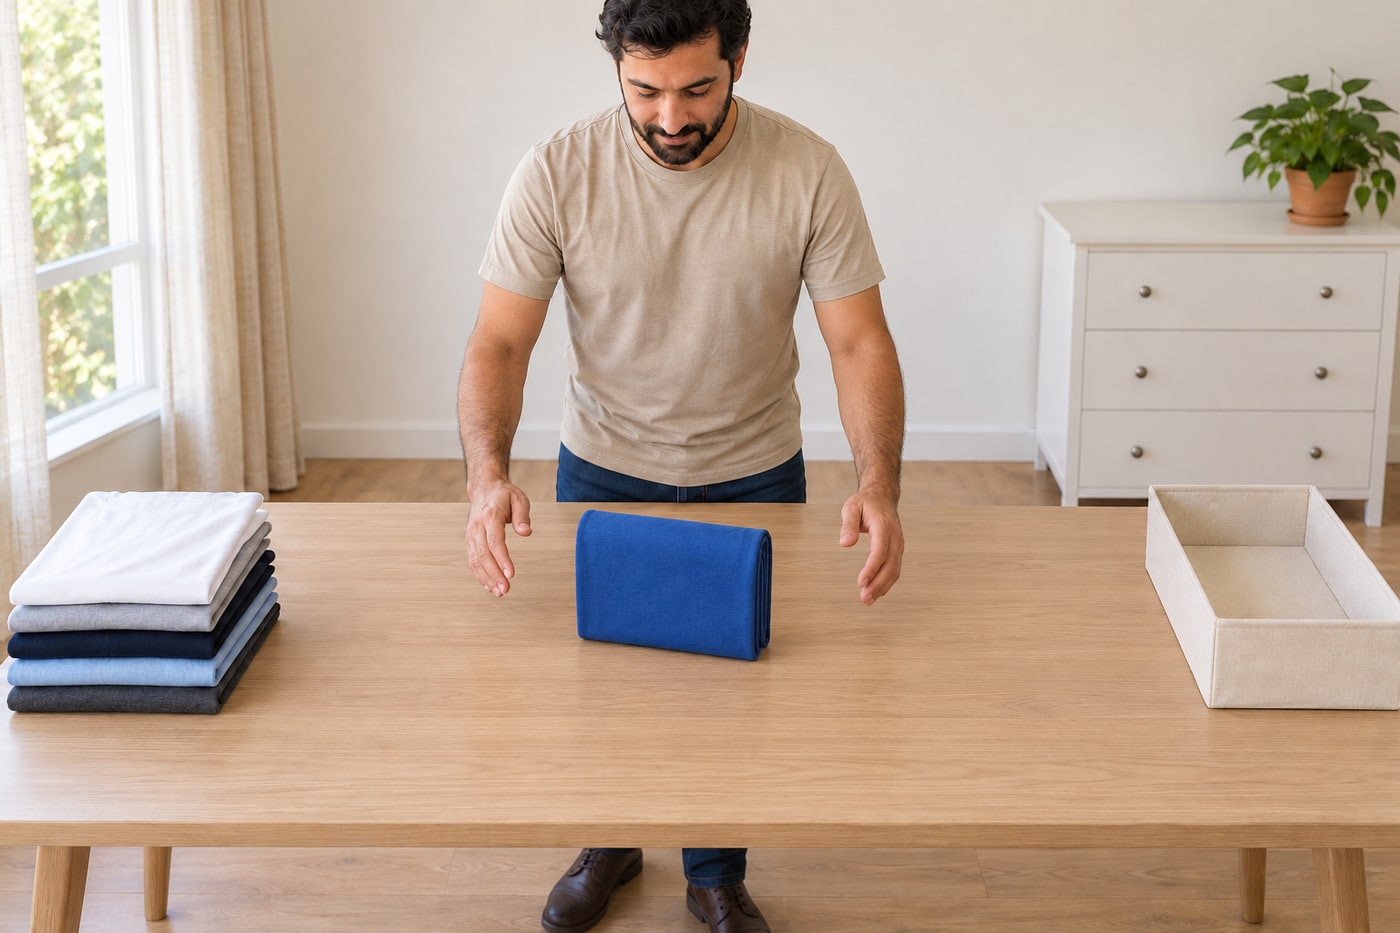
4. Choose the final fold and test balance
Fold the shortened rectangle again into halves or thirds to make a compact bundle, then stand it upright on the table. Choose the option that suits the fabric and available drawer height; extra folds are not automatically better. If it topples, open the last fold and adjust the rectangle’s width or the fold spacing. If it is hard and over-compressed, use fewer folds. Test one ordinary shirt and one thicker shirt separately instead of forcing every garment into identical dimensions.
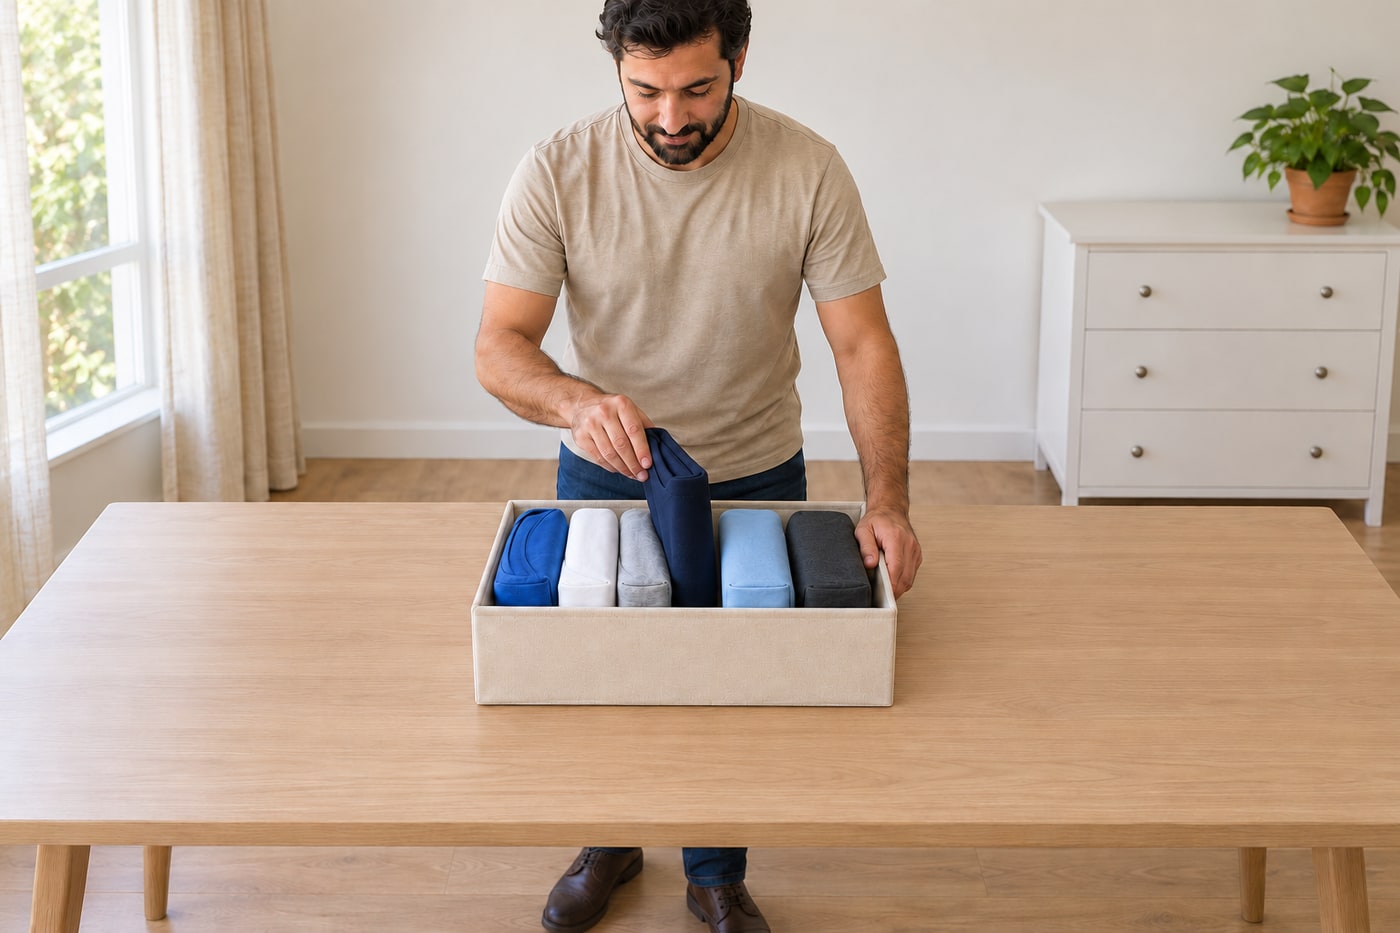
Photorealistic illustration · Waey
5. Arrange supported rows with clearance
Place the trial bundle upright in the drawer section or open box and gently close the drawer to check that the fabric does not rub or catch above it. Reopen and adjust the final fold if necessary. Fold the remaining shirts and place them side by side with their visible edges accessible from above. Support a short or floppy row with the box rather than squeezing in unrelated clothes. Leave enough room to grasp one shirt without compressing the whole row.
Photorealistic illustration · Waey
6. Prove the arrangement through use
Remove a shirt from the middle of the row, then put it back. The neighbouring bundles should stay accessible, and the drawer should still close freely. If everything lifts together, reduce crowding; if the row collapses into the empty space, shorten its section with an organiser or refold unstable bundles. Keep similar shirts together and repeat the same practical check after laundry returns. The useful result is an arrangement you can maintain, not a row that looks neat only while untouched.
Video demonstrations
こんまり流!洋服のたたみ方 〜Tシャツ編〜
Original KonMari T-shirt demonstration. The written procedure follows the official side-fold, gap and final half-or-thirds guidance.
【公式】こんまりちゃんねる · Japanese
Watch on YouTube ↗How to FILE-FOLD T-Shirts like Marie Kondo: Step-by-step
Related file-fold variant: Tor’s written method folds the collar down to the hem, then uses thirds. Compare the garment and fold direction; do not treat it as the identical gap sequence.
Tor from Organizing TV · English
Watch on YouTube ↗Final checks
A stable bundle, free drawer movement and easy removal matter more than matching every shirt’s dimensions. Adjust the last fold or row support before folding the whole load.
Sources
KonMari official folding guide ↗
KonMari official folding FAQ: stability, organisers and garment variation ↗
Tor Rydder: creator’s written file-fold variant and troubleshooting ↗
Original AI-generated photographic illustrations by Waey. Reused context is identified in captions. Videos belong to their attributed creators.