
Remove and renew failed cement grout on sound ceramic tiles
Restore suitable failed cementitious grout joints on a small sound ceramic wall, from diagnosis and controlled removal through refilling, cleaning and final checks.
What will you learn?
Restore suitable failed cementitious grout joints on a small sound ceramic wall, from diagnosis and controlled removal through refilling, cleaning and final checks.
Tools
- Manual carbide grout rake sized to the jointSearch Amazon Mexico ↗
- Ruler and narrow blunt depth gauge suitable for the jointSearch Amazon Mexico ↗
- Suitable M- or H-class extraction unit and attachmentsSearch Amazon Mexico ↗
- Protective gloves, eye protection and assessed suitable respiratory protectionSearch Amazon Mexico ↗
- Accurate scales and water measureSearch Amazon Mexico ↗
- Clean mixing container and mixing trowelSearch Amazon Mexico ↗
- Rubber-backed grout floatView at The Home Depot México (QEP 10062Q) ↗Search Amazon Mexico ↗
- Clean sponge, rinse buckets and dry clothSearch Amazon Mexico ↗
- Repair record and penSearch Amazon Mexico ↗
Materials
- Matched ARDEX-FLEX FL grout in the selected colourSearch Amazon Mexico ↗
- Clean waterSearch Amazon Mexico ↗
- Secured surface protection and waste containerSearch Amazon Mexico ↗
- Tile-compatible cleaner used according to its label for the diagnosis trialSearch Amazon Mexico ↗
Step by step
Photorealistic illustration · Waey
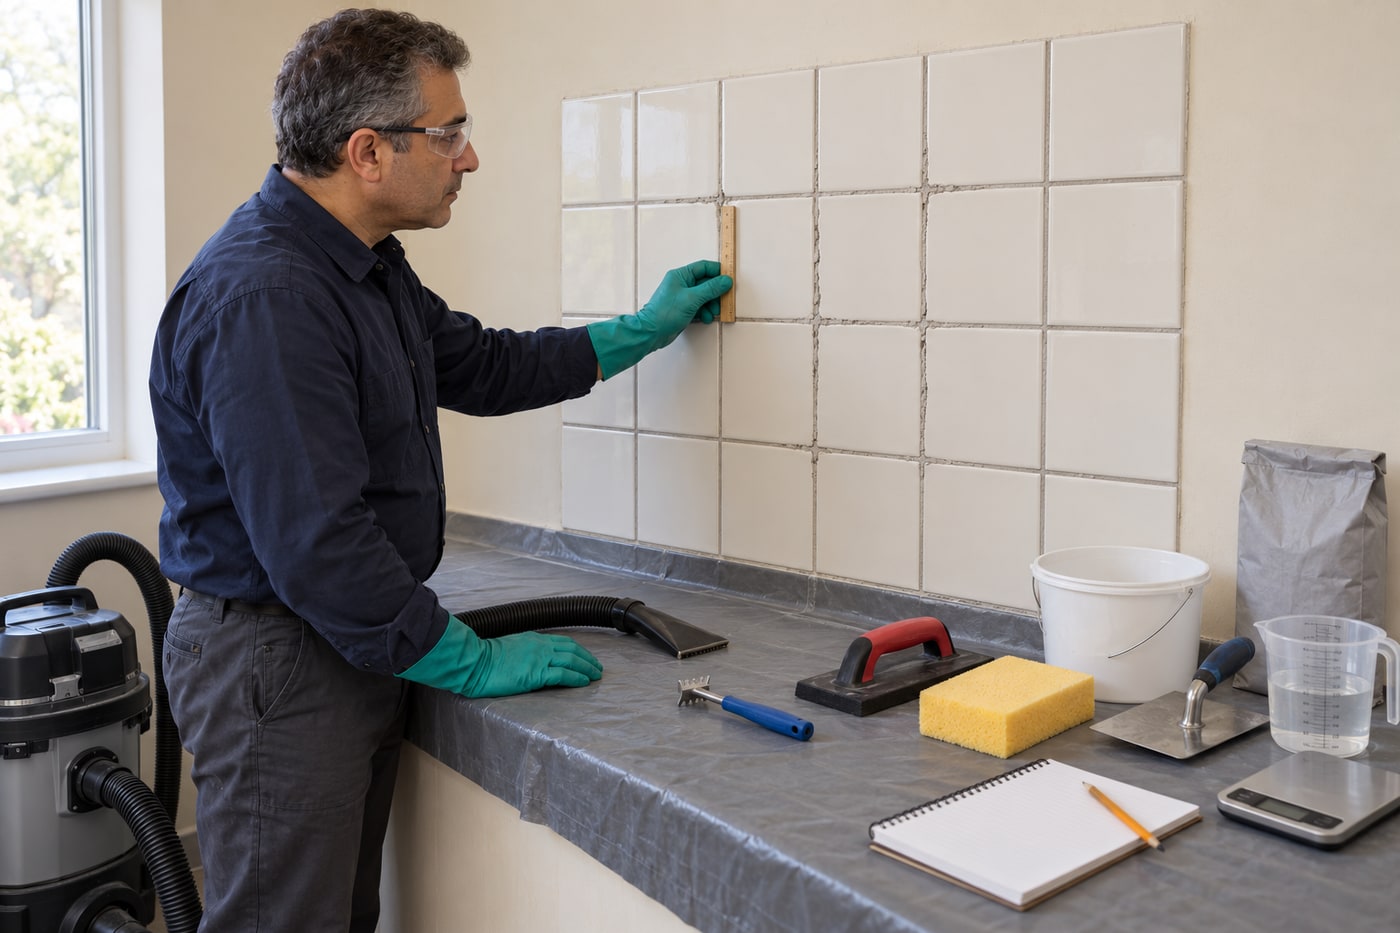
1. Confirm that regrouting addresses the defect
Choose a small area of known modern, firmly bonded, hard-glazed ceramic wall tiles in a dry interior location. Clean a trial patch first: staining alone may need compatible cleaning rather than excavation. This project replaces failed cementitious grout, not epoxy, silicone or movement joints. Stop for loose tiles, recurring cracks, damp backing, unknown old materials or a suspected waterproofing failure. Work away from electrical fittings. Establish why the grout failed before concealing the evidence; new grout cannot stabilise a moving tiled surface.
Photorealistic illustration · Waey
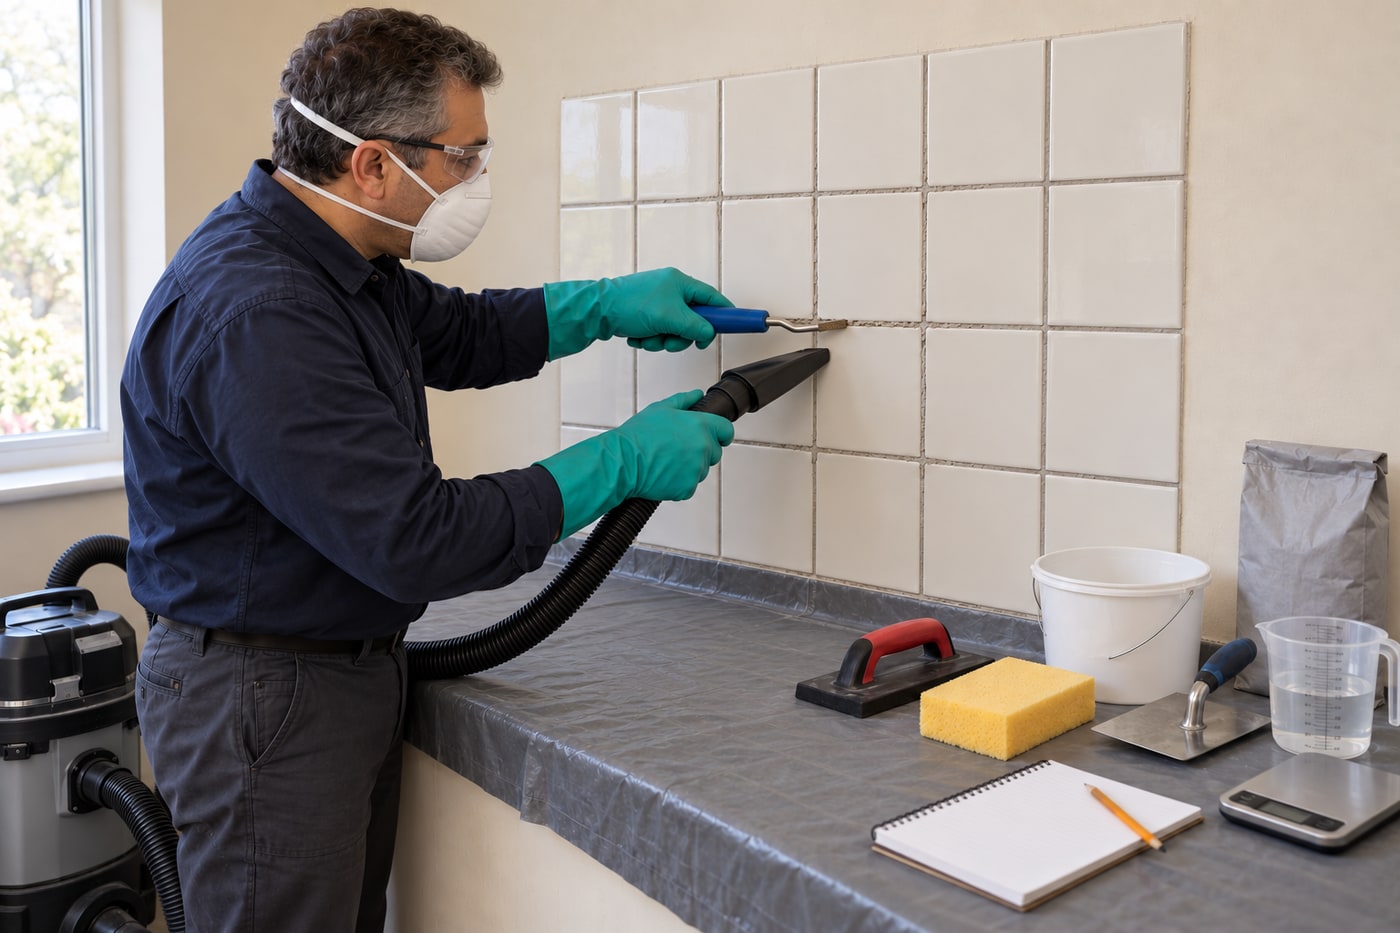
2. Protect the area and control exposure
Clear the worktop and protect it with a secured covering that collects debris. Keep other people away and ventilate the work area. Wear suitable protective gloves, eye protection and clothing for cement products. Control dust at its source and use an appropriate M- or H-class extraction unit for fine material, following its instructions. Select suitable respiratory protection for the assessed exposure; tight-fitting equipment needs appropriate fit testing and a clean-shaven seal. A loose nuisance mask is unsuitable. Do not dry-sweep debris, blow it with compressed air or use an ordinary household vacuum.
Photorealistic illustration · Waey
3. Match the grout and verify the preparation depth
Use the actual current instructions for ARDEX-FLEX FL, a cement-based product for joints 3–15 mm wide, and confirm the tile surface passes a scratch-and-staining trial. Measure the existing joint and establish tile thickness without damaging the installation. ARDEX’s regrouting guidance specifies removal depth equivalent to joint width, up to 6 mm. For example, a known 4 mm joint calls for a 4 mm recess. This is not permission to cut through a tile, adhesive bed or membrane; stop if safe clearance cannot be established.
Photorealistic illustration · Waey
4. Rake the failed grout in controlled sections
Use a manual carbide grout rake with a blade arrangement that fits comfortably inside the joint. Start in a discreet section and follow the joint with short, controlled strokes, keeping the cutting element clear of glazed edges. Hold the handle securely and keep the other hand out of its path. Remove material gradually while checking depth and collecting debris. Do not lever against a tile or force an oversized blade into the gap. Stop immediately if a tile moves, chips or reveals an unexpected backing condition.
Photorealistic illustration · Waey
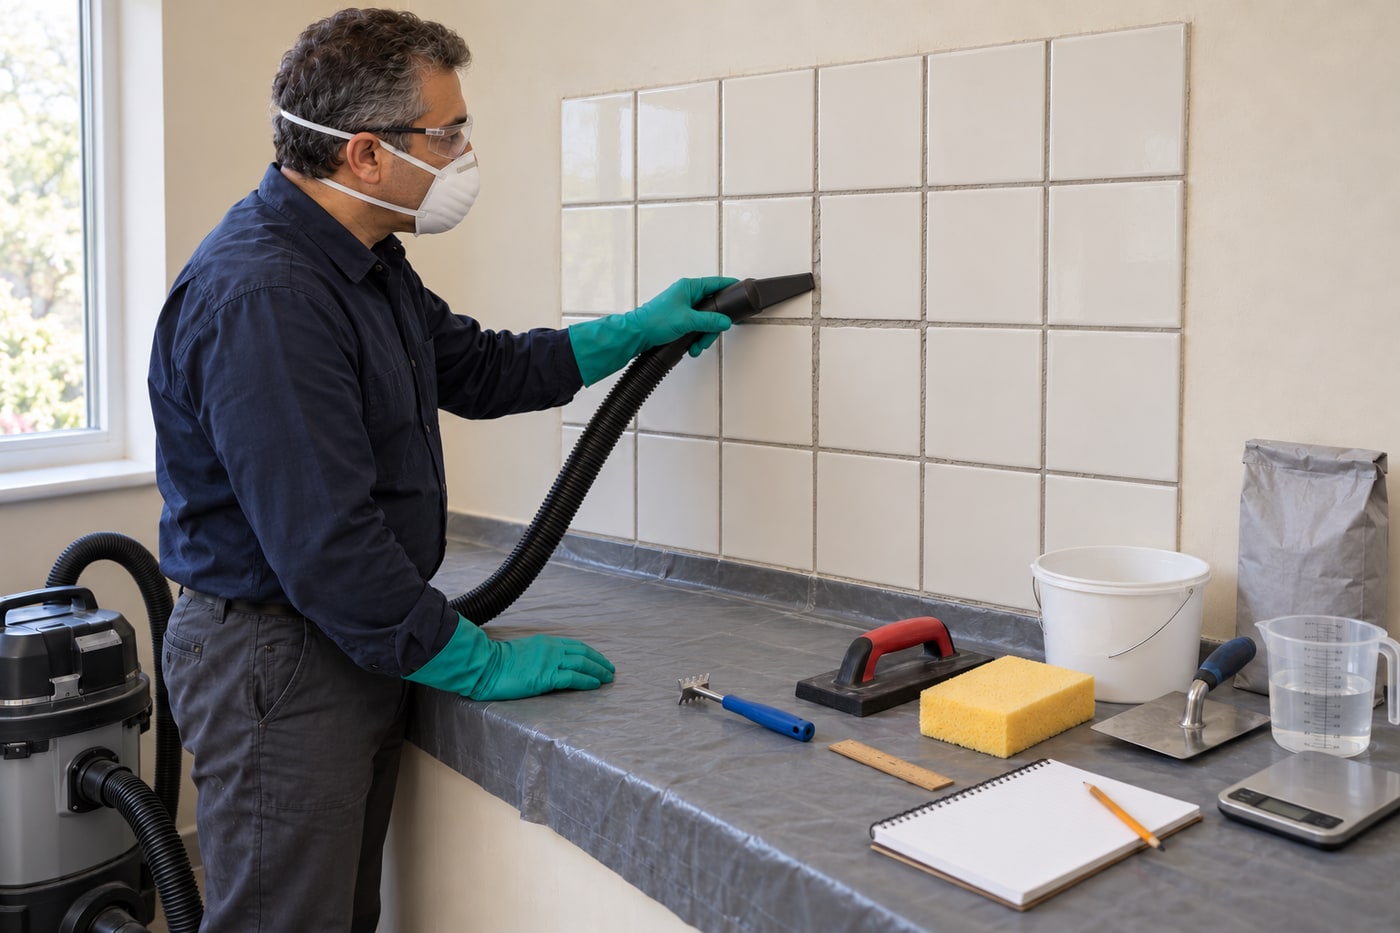
5. Clean the joint and inspect its edges
Remove loose fragments and extract fine debris using the suitable unit and attachments. Clean remaining residue from the tile edges so new grout can contact sound surfaces. Wipe the tile face with a damp sponge as needed and let the prepared area dry according to the grout instructions. Check the required recess along the whole repair, not just its easiest section. Leave intact perimeter and movement seals undisturbed. Residual dust, loose material or a shallow skim recess can undermine the new joint even when its surface looks tidy.
Photorealistic illustration · Waey
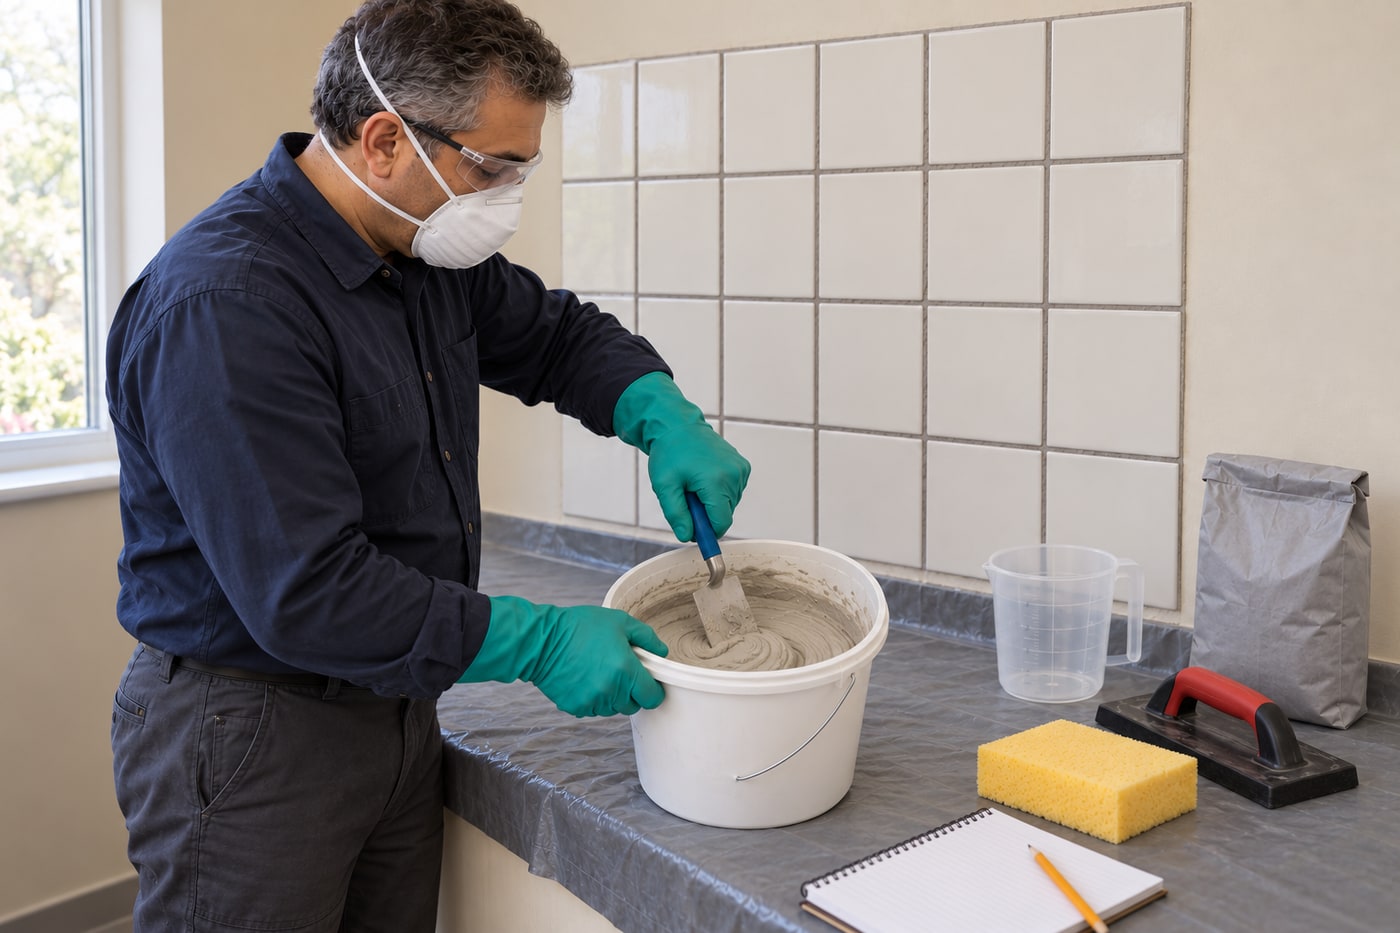
6. Measure and mix a manageable batch
Put measured clean water in a clean mixing container, then add measured ARDEX-FLEX FL powder while stirring thoroughly to a workable creamy mortar. The linked UK data sheet gives about 0.5 litres for 2.5 kg; proportional smaller batches must use reliable measurements and the actual pack’s instructions. Keep records of quantities and start time. Working time is approximately 30 minutes at 20°C and becomes shorter when warmer. Mix only what you can place and clean within that window; do not add water to rescue stiffening material.
Photorealistic illustration · Waey
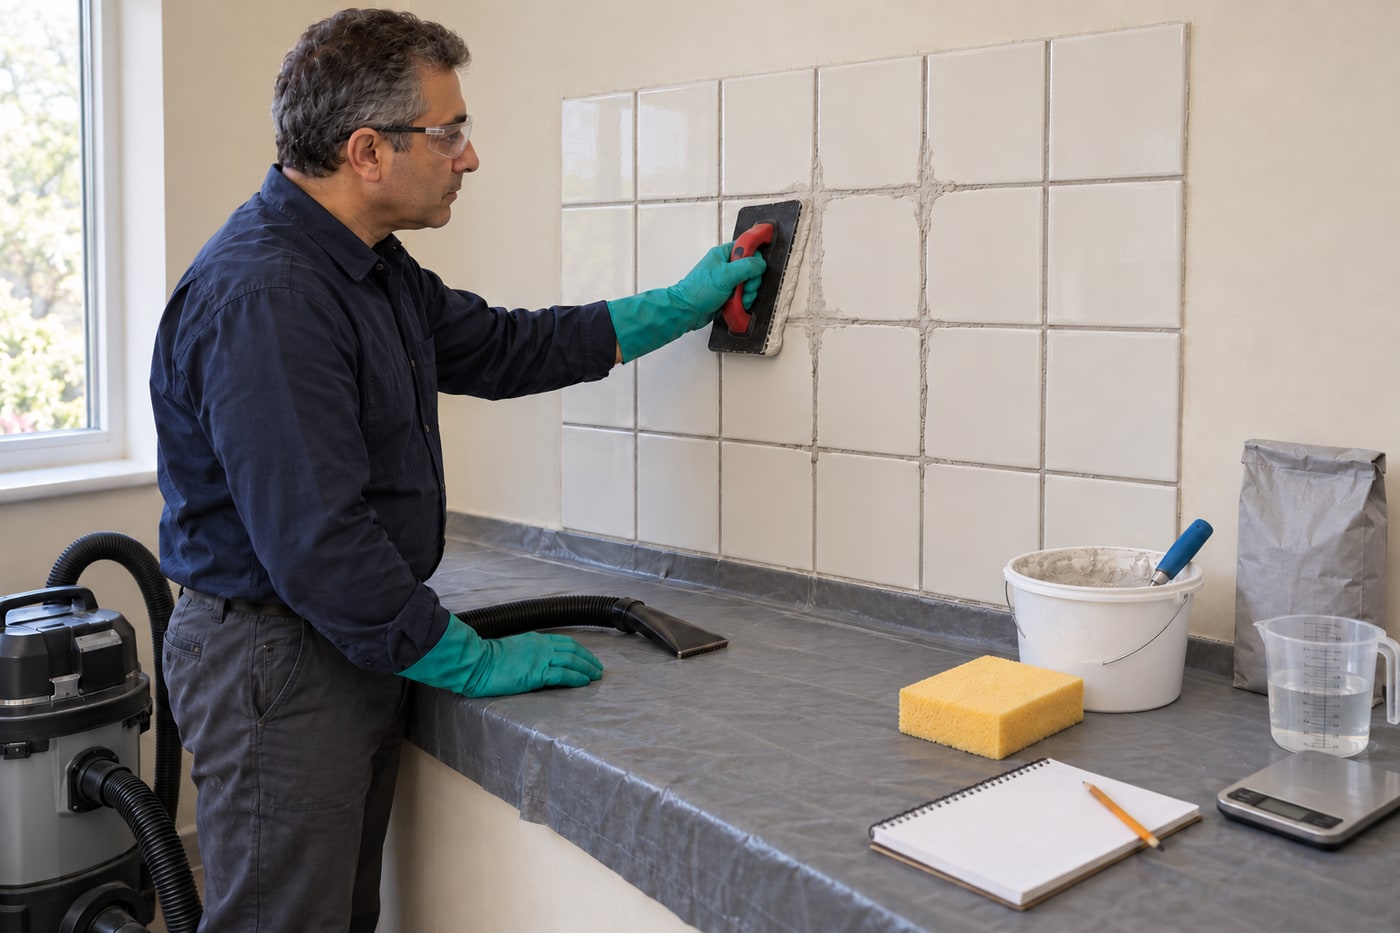
7. Pack the joints and remove surface excess
Using a rubber-backed grout float, work the fresh grout thoroughly into the prepared joints rather than merely covering their openings. Approach from more than one direction to fill the recess consistently. Keep rigid grout out of existing perimeter and movement joints. Remove excess from the tile faces as you proceed, drawing the float diagonally across the joint pattern. Work in a small enough section to retain control of cleanup. Check for voids or low spots while the material remains workable, without scraping against the glaze.
Photorealistic illustration · Waey
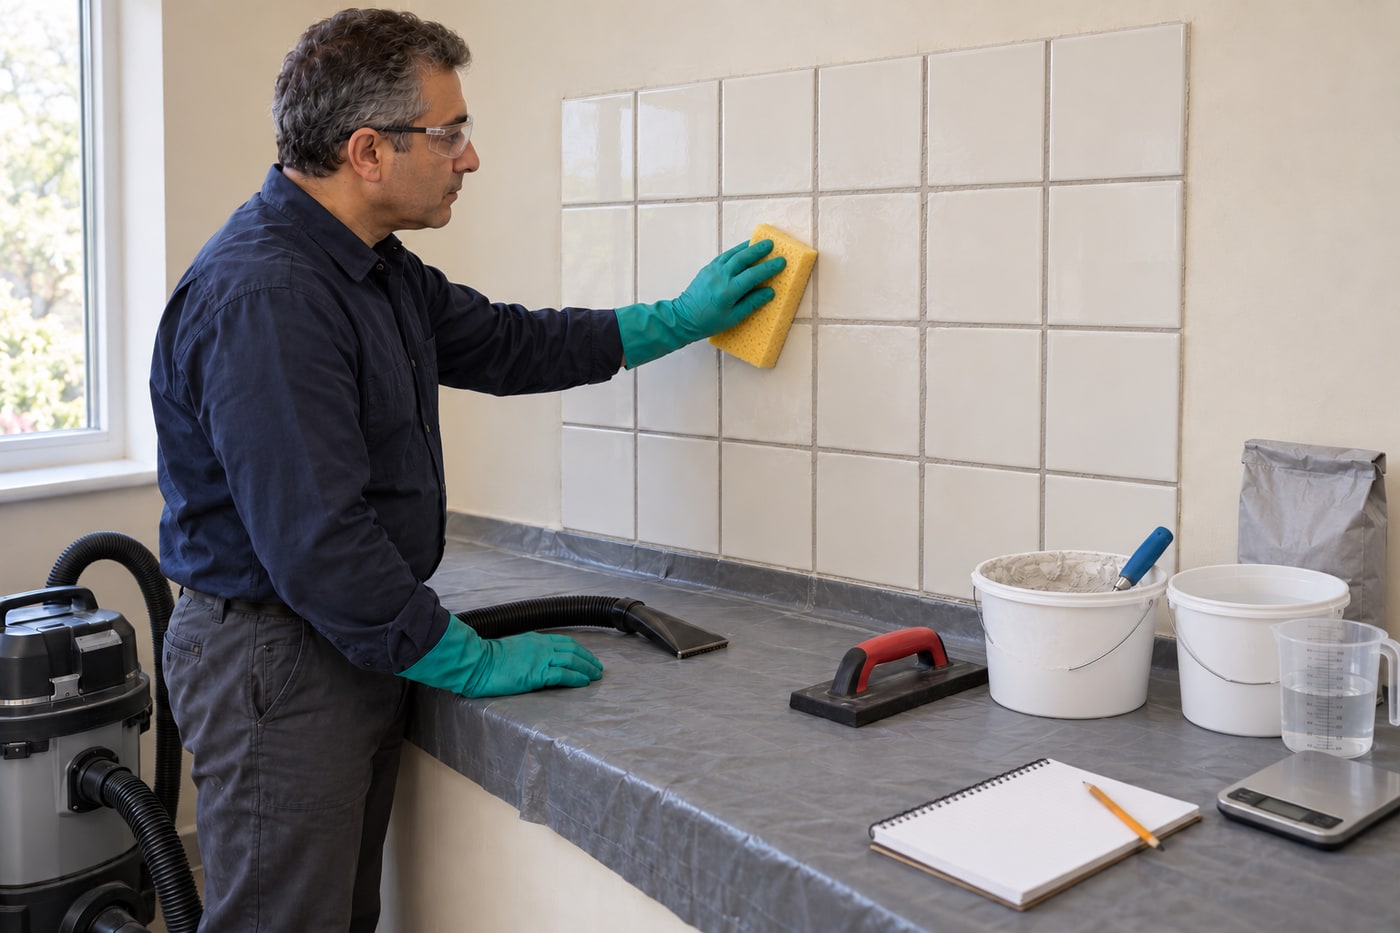
8. Clean with a damp sponge at the correct stage
Use a clean, well-wrung sponge to remove residue without flooding or washing material out of the joints. Make light diagonal passes, turning and rinsing the sponge regularly and changing dirty water. Follow the matched FL instructions, which allow damp-sponge cleanup up to 30 minutes after application under the stated conditions; do not treat this as a compulsory waiting period. If joints smear or pull out, adjust the timing and pressure. Avoid importing a different grout’s slaking, finishing-tool or cleanup schedule into this repair.
Photorealistic illustration · Waey
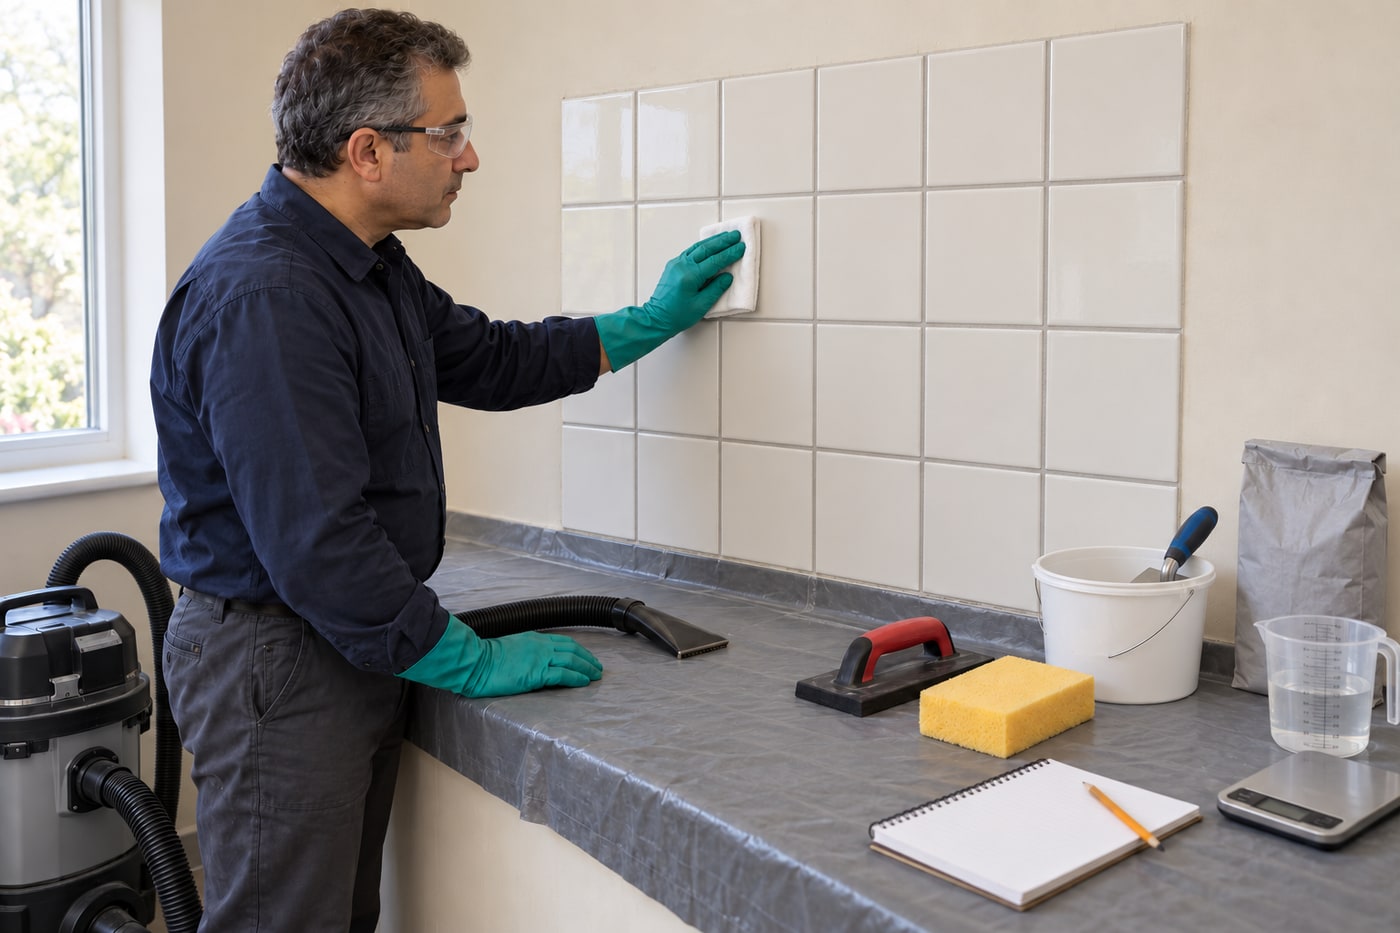
9. Buff after hardening and protect the repair
Once the grout has hardened in the joints, remove the remaining dry surface film with a clean cloth as directed by the product instructions. Do not attack fresh grout with acid, a blade or an aggressive abrasive. Protect the wall from knocks, splashes and cleaning during the specified setting and protection period. Follow the actual current product guidance before returning the area to its intended use. The advertised 90-minute foot-traffic figure does not establish a wall’s water-exposure allowance or certify a repaired waterproofing system.
Photorealistic illustration · Waey
10. Check the finished joints and retain a record
Inspect the dry repair in good light for continuous filled joints, an even profile, clean tile faces and undamaged edges. Record product, colour, batch, mixing quantities, conditions and completion time so future maintenance has a useful reference. Allow for normal colour change as grout dries before judging a match. Use compatible maintenance products after the stated protection period. If cracking, powdering, movement or dampness returns, investigate the underlying cause rather than repeating a surface repair. Keep cement residue and slurry out of drains and dispose of them appropriately.
Video demonstrations
How to grout tiles with ARDEX Flexible Tile Grouts - available in 35 colours
Original manufacturer demonstration includes FLEX FS and FL; use the written FL data for this repair.
ARDEX UK · en
Watch on YouTube ↗How to re-grout tiles
Original retailer regrouting demonstration. Tools and generic timings may differ; use the matched FL instructions.
B&Q · en
Watch on YouTube ↗Final checks
Sound tiles, correct prepared joint geometry, clean edges, measured mix, filled joints and completed product-specific protection period.
Where to find supplies
Sources
ARDEX-FLEX FL product information ↗
Seven original AI-generated photographic illustrations across ten steps, with three stage-specific context reuses. They do not prove a physical repair, measured joint depth, equipment classification, respirator fit testing or a curing time. Original videos belong to their attributed creators.