
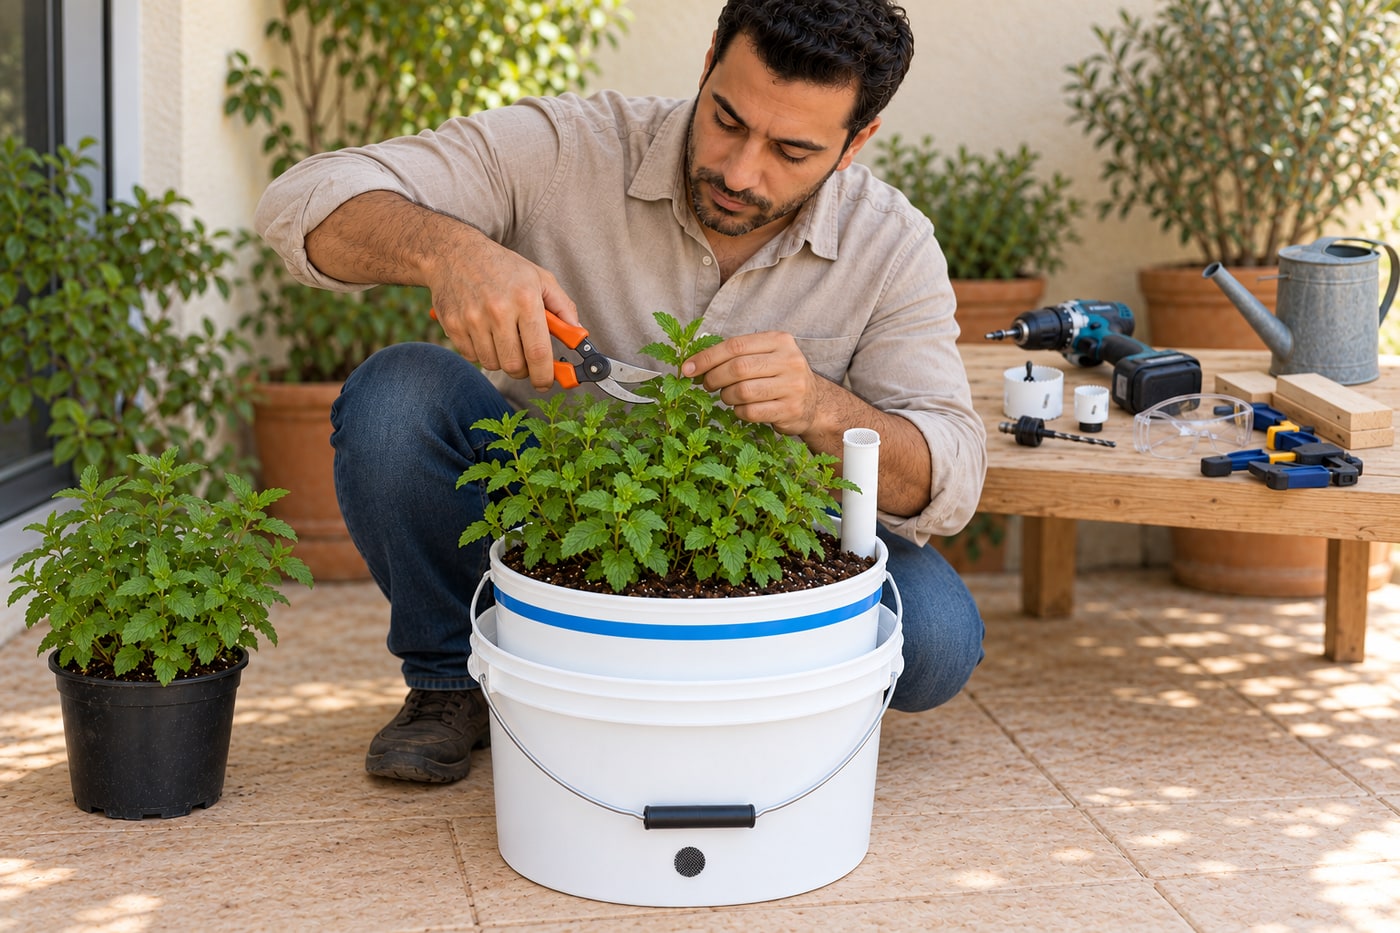
Build a self-watering mint planter and establish a divided plant
Build a two-bucket reservoir and soil wick, test its overflow and air gap, then divide, plant and maintain mint in a contained growing system.
What will you learn?
Build a two-bucket reservoir and soil wick, test its overflow and air gap, then divide, plant and maintain mint in a contained growing system.
Tools
- Tape measure; straightedge; markerSearch Amazon Spain ↗
- Cordless drill, suitable hole saws sized to the actual cup/pipe, and small drill bitsSearch Amazon Spain ↗
- Eye protection; clamps; sacrificial support; deburring tool or fine abrasiveSearch Amazon Spain ↗
- Clean secateurs; potting tray; scoop; watering can with narrow spout or clean funnel; dedicated clean water-level dipstickSearch Amazon Spain ↗
Materials
- Two matching sound food-safe opaque buckets, about20litres each, that nest with a usable reservoir gapSearch Amazon Spain ↗
- Flanged perforated net cup suitable for edible-plant growing, with body/flange dimensions matched to the opening and reservoir depthSearch Amazon Spain ↗
- Drinking-water-rated fill pipe with an unobstructed lower outlet, suitable retainers and removable insect-screen capSearch Amazon Spain ↗
- Permeable horticultural mesh and removable insect mesh/retainers for the overflowSearch Amazon Spain ↗
- Container potting mix suitable for edible herbs; a known healthy edible mint plant; clean waterSearch Amazon Spain ↗
- Separate pot and fresh mix for any retained spare division; shallow temporary overflow-test traySearch Amazon Spain ↗
Step by step
Photorealistic illustration · Waey
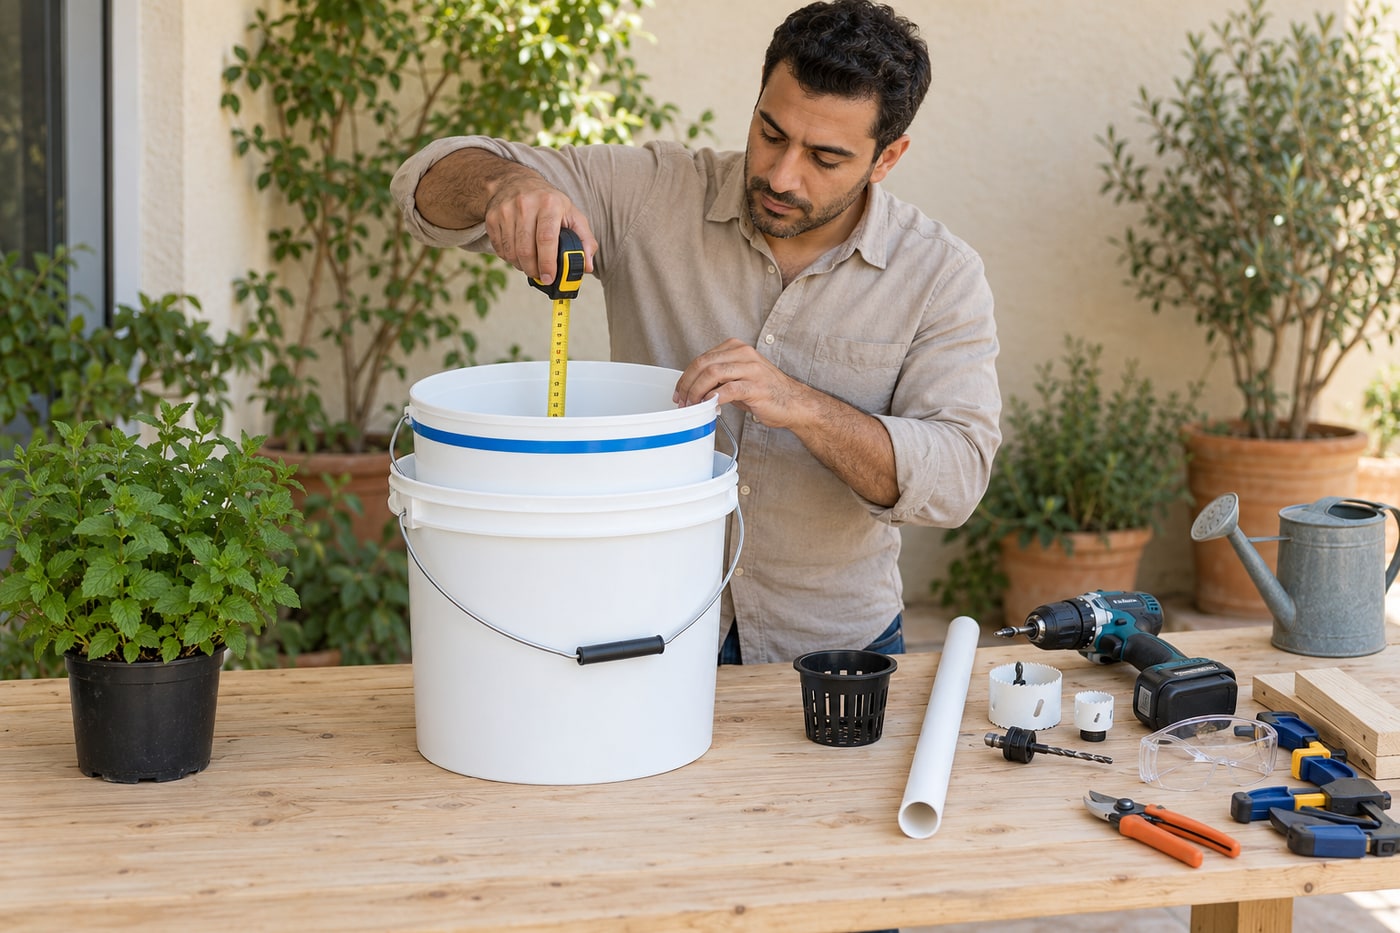
1. Plan the two-bucket planter and measure the reservoir
Choose two clean food-safe buckets that nest securely but can still separate, plus a flanged net cup suitable for edible-plant growing. Reject containers that held chemicals or have brittle, sun-damaged plastic. Measure the actual gap between the nested growing-bucket floor and reservoir bottom, and transfer the growing-floor level onto the outer bucket. The cup must hang into the future water space without holding the buckets apart. Plan a stable ground-level final position before adding heavy wet mix; never suspend the finished planter from its upper handle.
Photorealistic illustration · Waey
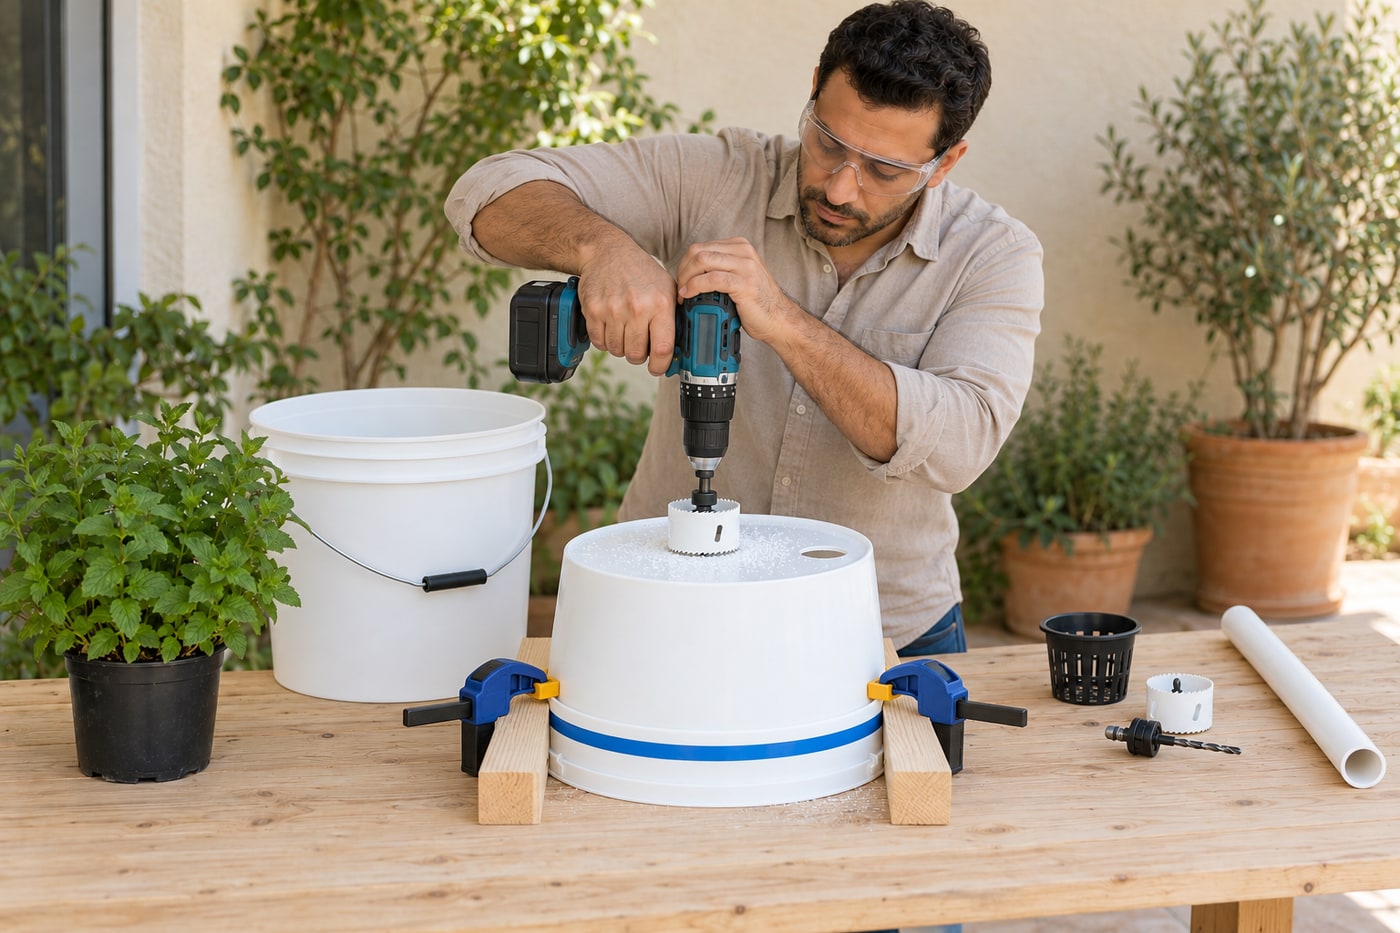
2. Cut the growing bucket’s cup and fill-pipe openings
Mark one central opening to fit the net cup’s body while retaining its supporting flange, and a separate opening near the edge for the fill pipe. Use the actual parts to size both holes rather than copying a nominal dimension. Secure the empty inner bucket on a supported work surface, wear eye protection and use suitable hole saws according to the drill instructions. Keep hands away from the cutter and remove the battery before changing bits. Do not cut the reservoir bucket’s floor: it must hold water.
Photorealistic illustration · Waey
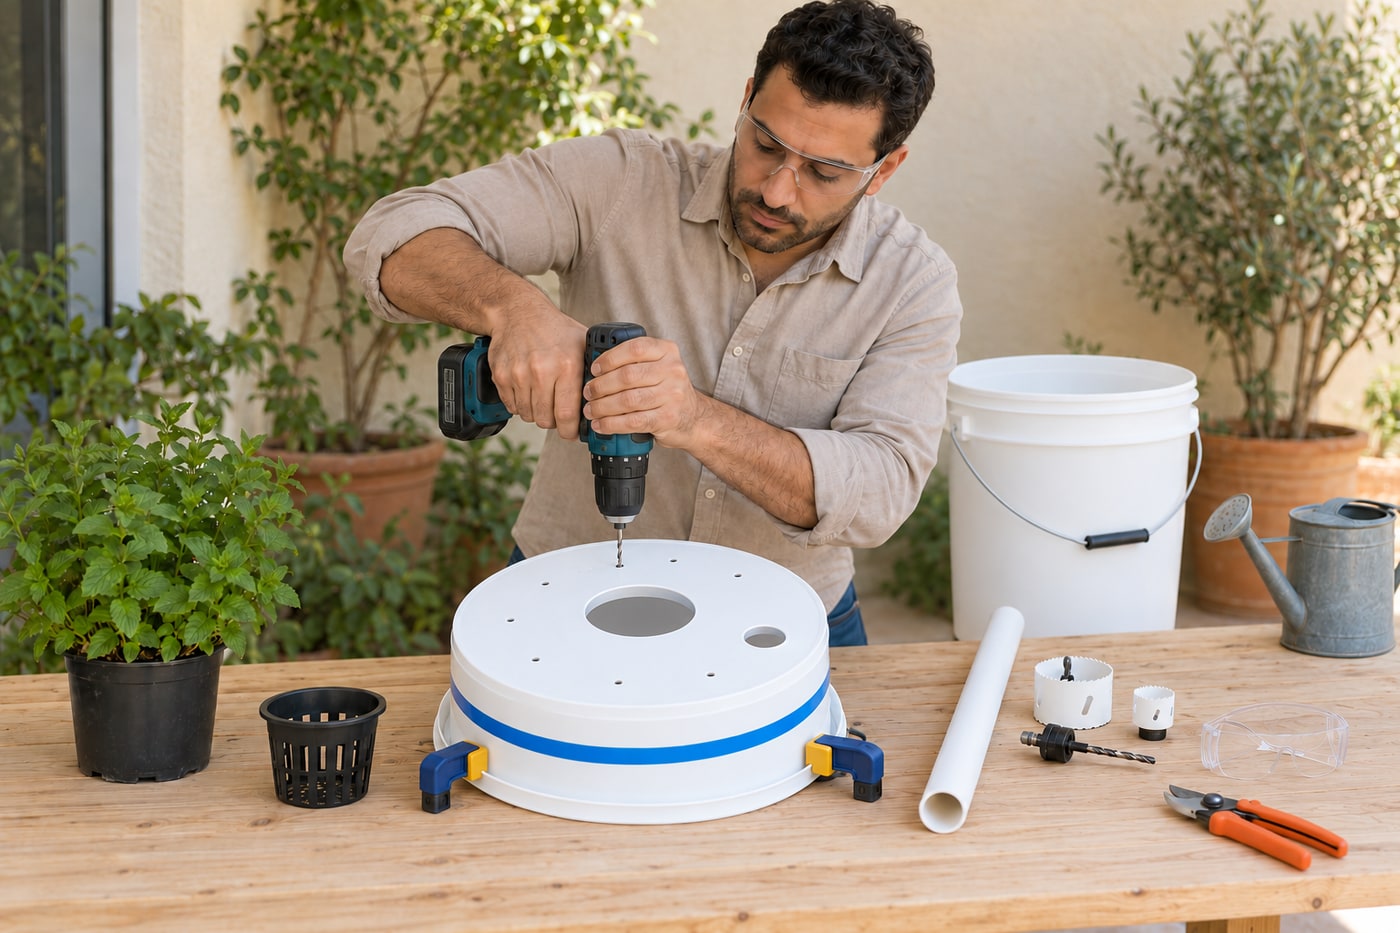
3. Add drainage holes and remove every plastic shaving
Drill several small drainage and aeration holes across the remaining growing-bucket floor, leaving generous intact material around the large openings and the bucket edge. Small holes around 6mm suit this example; the floor must remain strong enough to support wet mix. Deburr all cut edges without leaving sharp projections, then collect the shavings and rinse the parts clean. Fit permeable horticultural mesh over the small holes if needed to retain mix, cutting openings for the cup and pipe. Do not replace this with an impermeable plastic sheet.
Photorealistic illustration · Waey
4. Set the overflow below the main growing floor
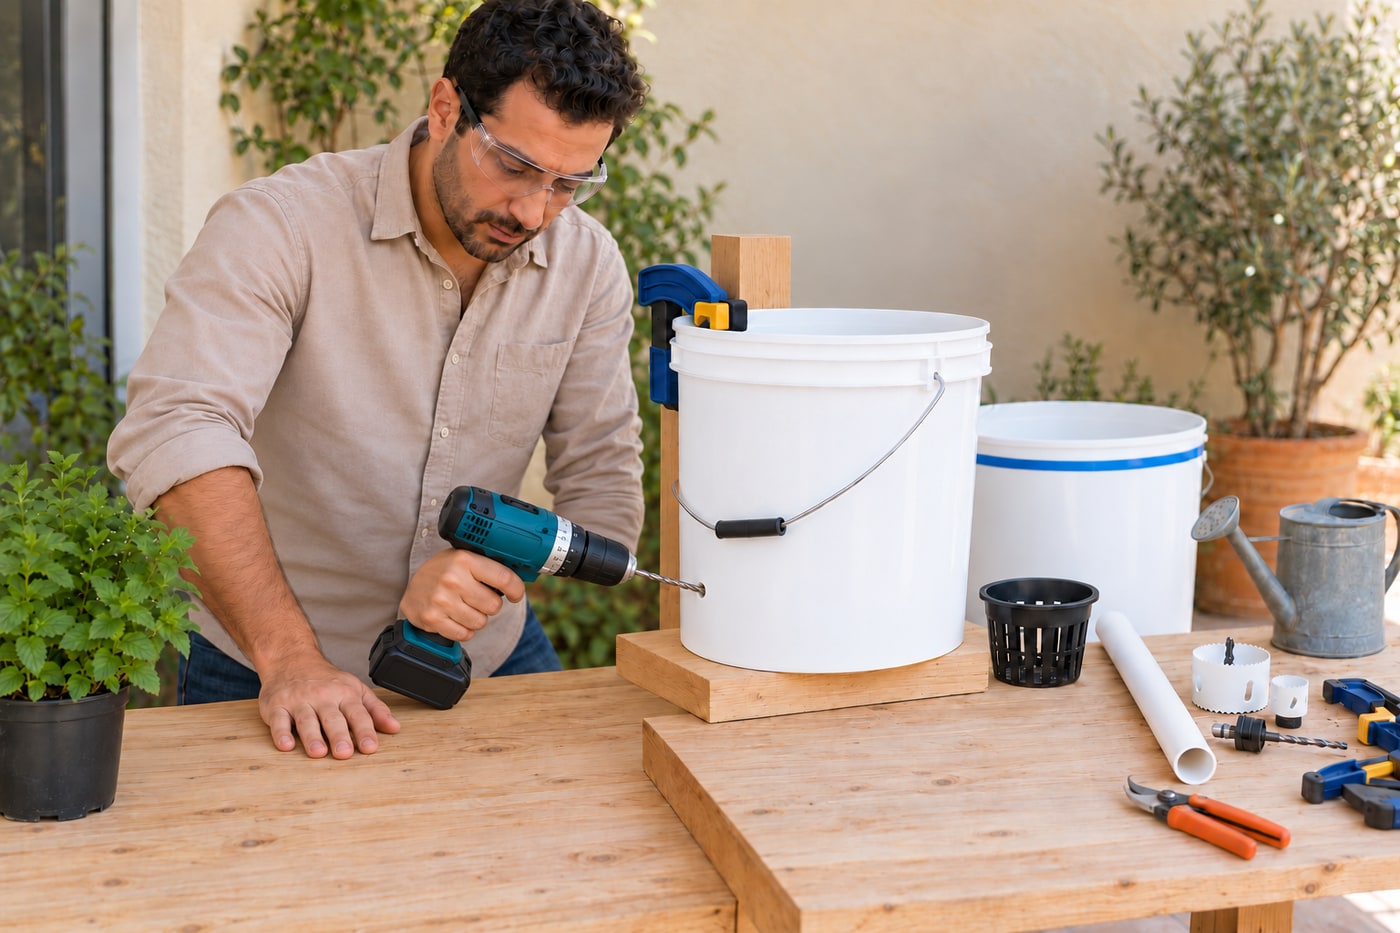
With the buckets nested at their working depth, use the transferred floor line to position a side overflow in the outer reservoir. Leave at least a clear 10mm air space below the main growing floor; for the illustrated small overflow, place its top edge below that level. Separate and support the empty reservoir before drilling, then deburr and clean it. Fit insect mesh over the opening without blocking flow. A bottom drainage hole would empty the reservoir, while an overflow too high would leave the main root zone sitting in water.
Photorealistic illustration · Waey
5. Dry-assemble the soil wick and filling tube
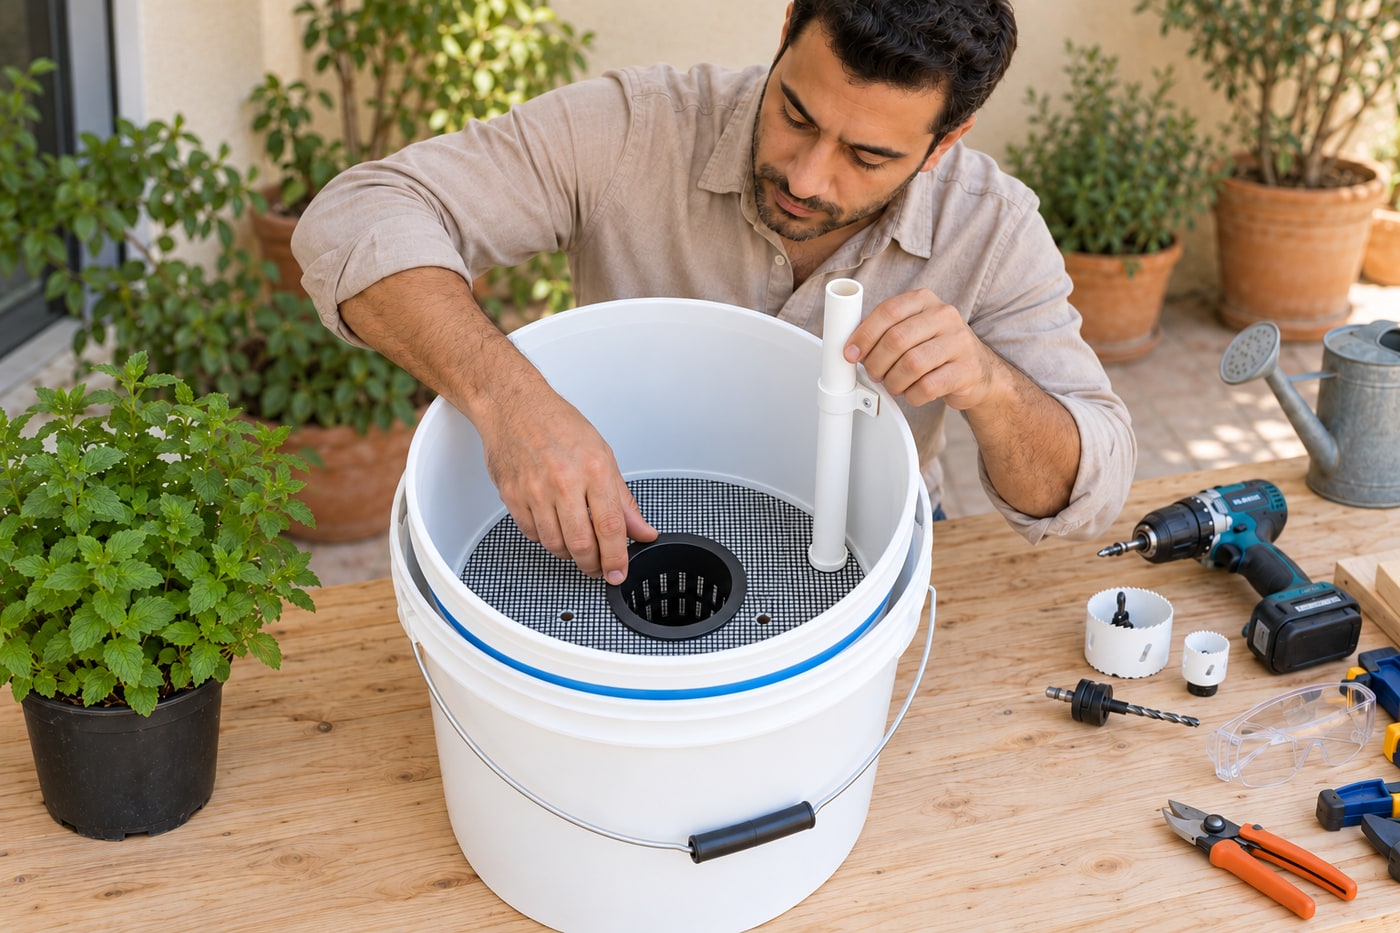
Seat the net cup in the central opening with its flange fully supported and its perforated body hanging into the reservoir. Check that it reaches below the maximum water level while clearing the reservoir bottom. Fit the fill tube through the side opening, with a clear lower outlet and its top accessible above the future mix. Secure it with suitable clips so filling cannot push it down. Nest the buckets fully and check that neither cup nor tube distorts the assembly. The cup will hold moist mix, which forms the wick; loose gravel is not a substitute.
Photorealistic illustration · Waey
6. Water-test the empty assembly before adding soil
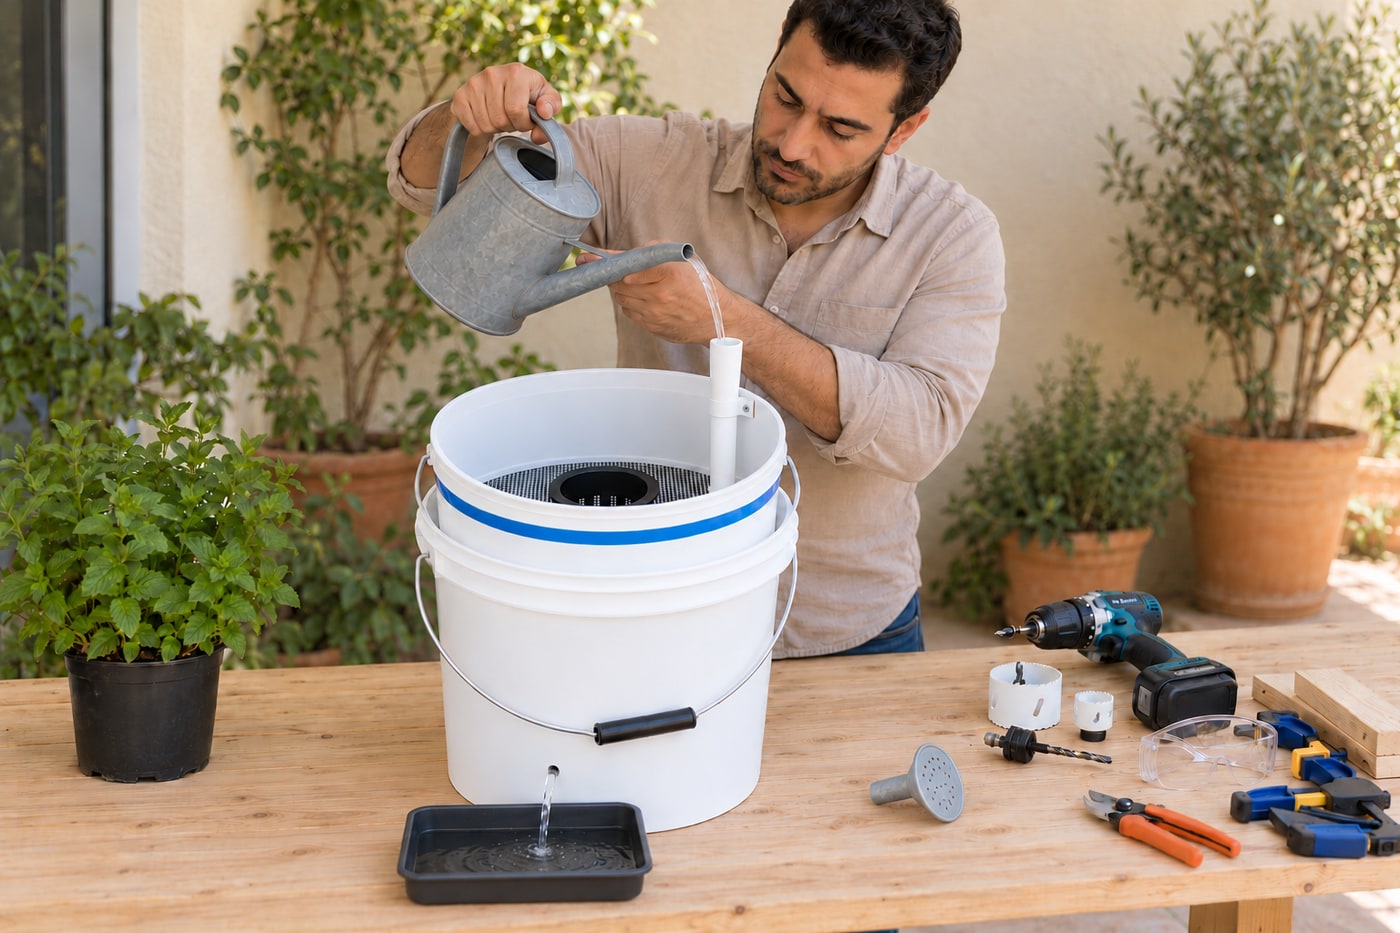
Pour water slowly through the fill tube and watch the overflow discharge into a shallow catch tray. Confirm that the maximum water level stays below the main growing floor and reaches the lower part of the net cup. Stop and correct leaks, a blocked outlet, unstable nesting or an inadequate air gap before planting. Drain the test water and empty the tray promptly. Fit removable insect screens to the filling opening and overflow while preserving ventilation and drainage, then move the empty planter to its stable final position. Before planting, mark the tested full level and cup-bottom refill threshold on a dedicated clean dipstick. Use a narrow spout or clean funnel for controlled filling.
Photorealistic illustration · Waey
7. Moisten the mix and pack the wick first
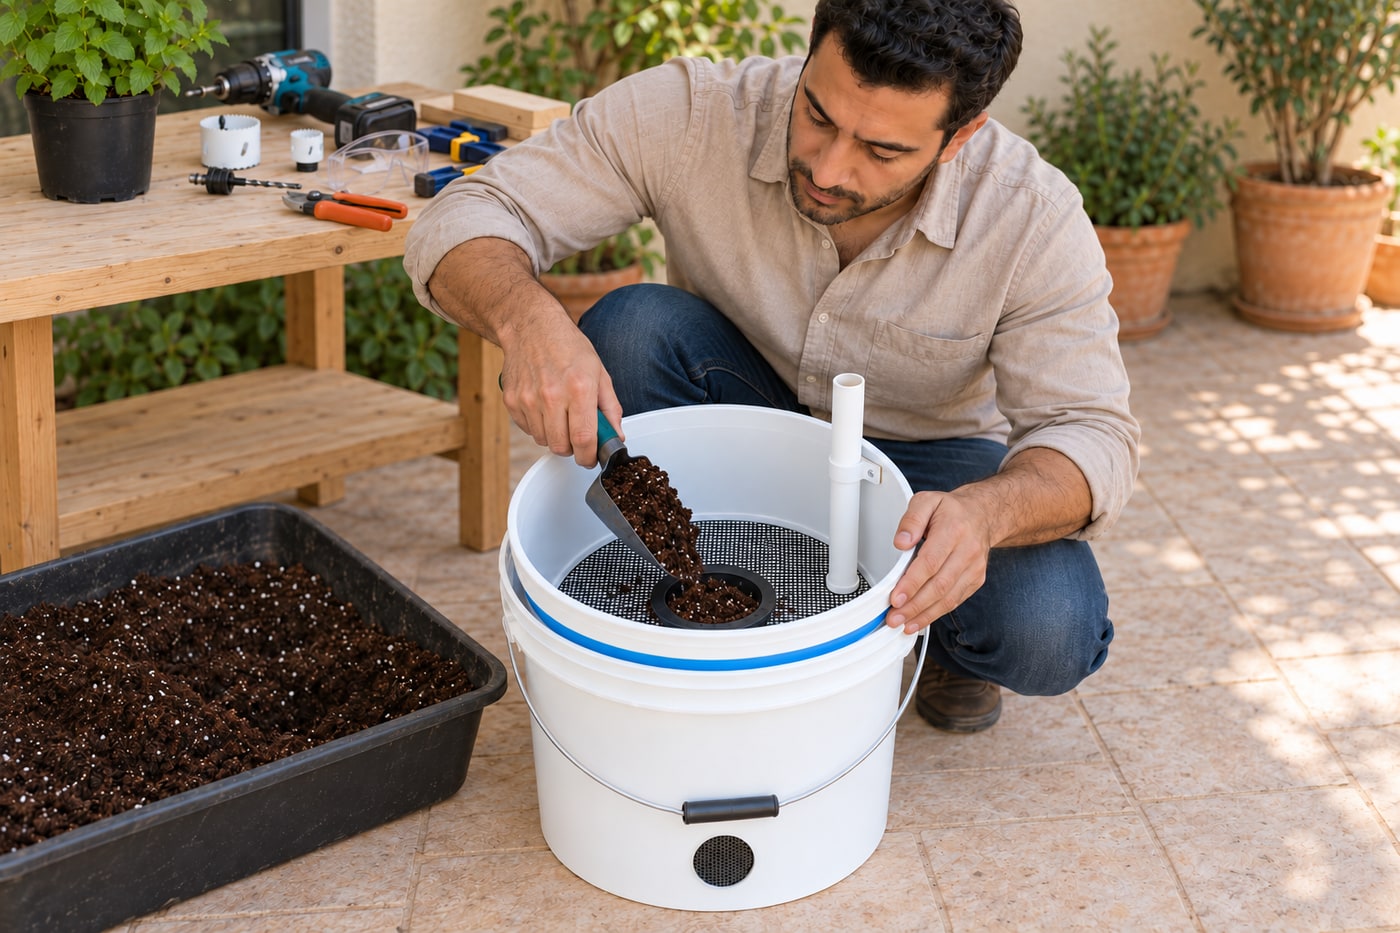
Use a suitable container potting mix for edible herbs, following its label for handling and any included fertiliser. Moisten it evenly in a tray so it holds together lightly without being saturated. Fill the net cup firmly enough to remove large air gaps and establish continuous contact, then add mix above it in the growing bucket. Keep the main mix open and airy rather than compressing it hard. Do not add a gravel layer or garden soil that becomes dense and fails to wick properly. Leave room for the mint rootball and a watering margin.
Photorealistic illustration · Waey
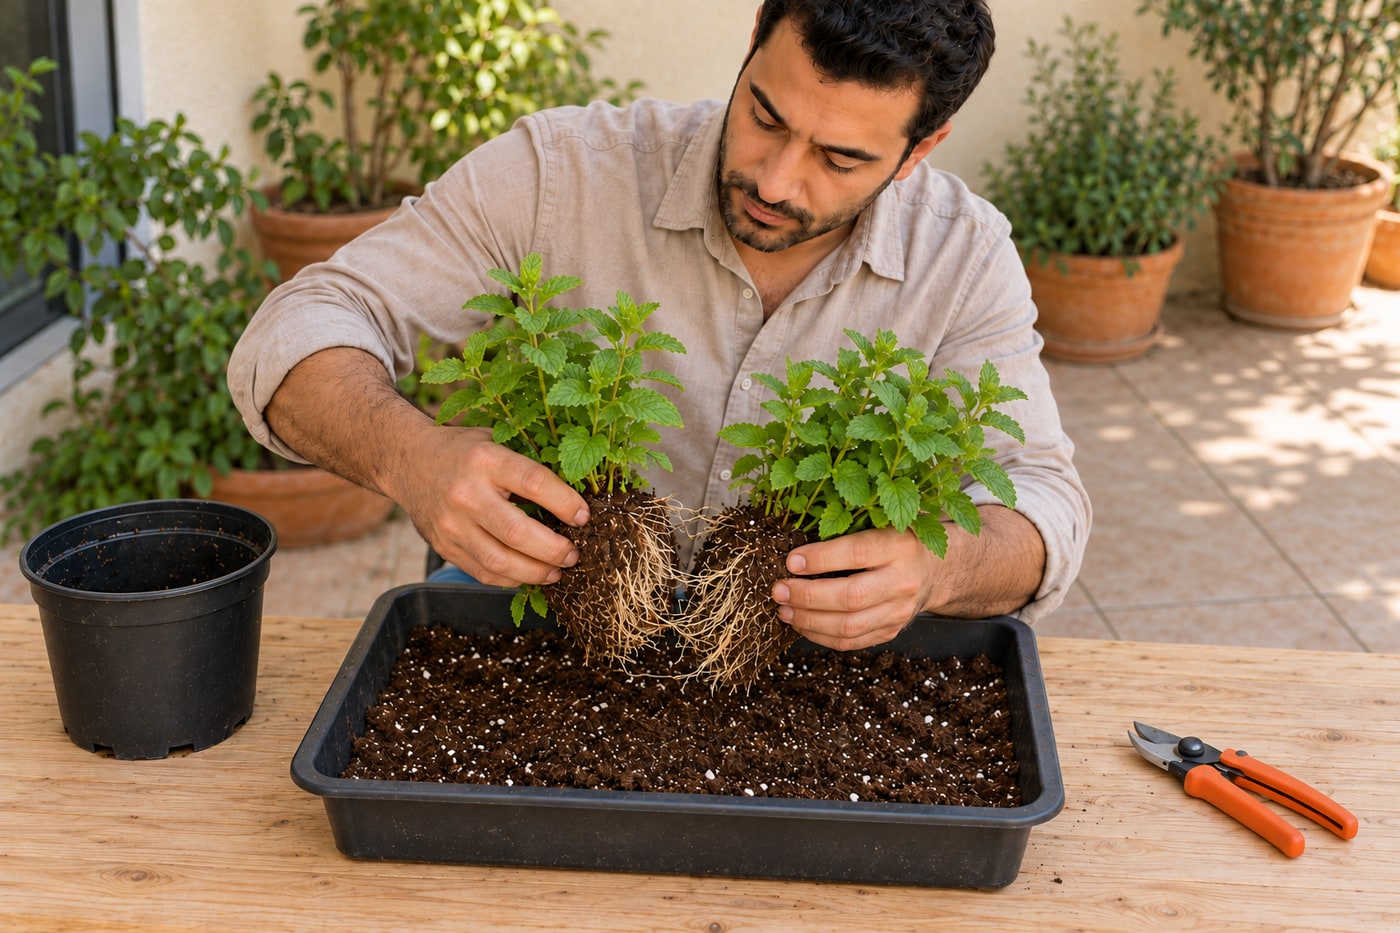
8. Divide a healthy known mint plant
Start with a correctly identified cultivated edible mint, such as spearmint, rather than identifying a wild plant from a photograph. Choose mild local conditions, avoiding extreme heat or frost; UK spring and autumn advice is not a universal calendar for Egypt or Saudi Arabia. Water the parent beforehand if dry and let it drain, then lift it from its nursery pot over a tray. Separate a vigorous outer section with healthy shoots and roots, using clean secateurs only where needed. Discard dead material and pot any retained spare division separately; do not use a diseased clump.
Photorealistic illustration · Waey
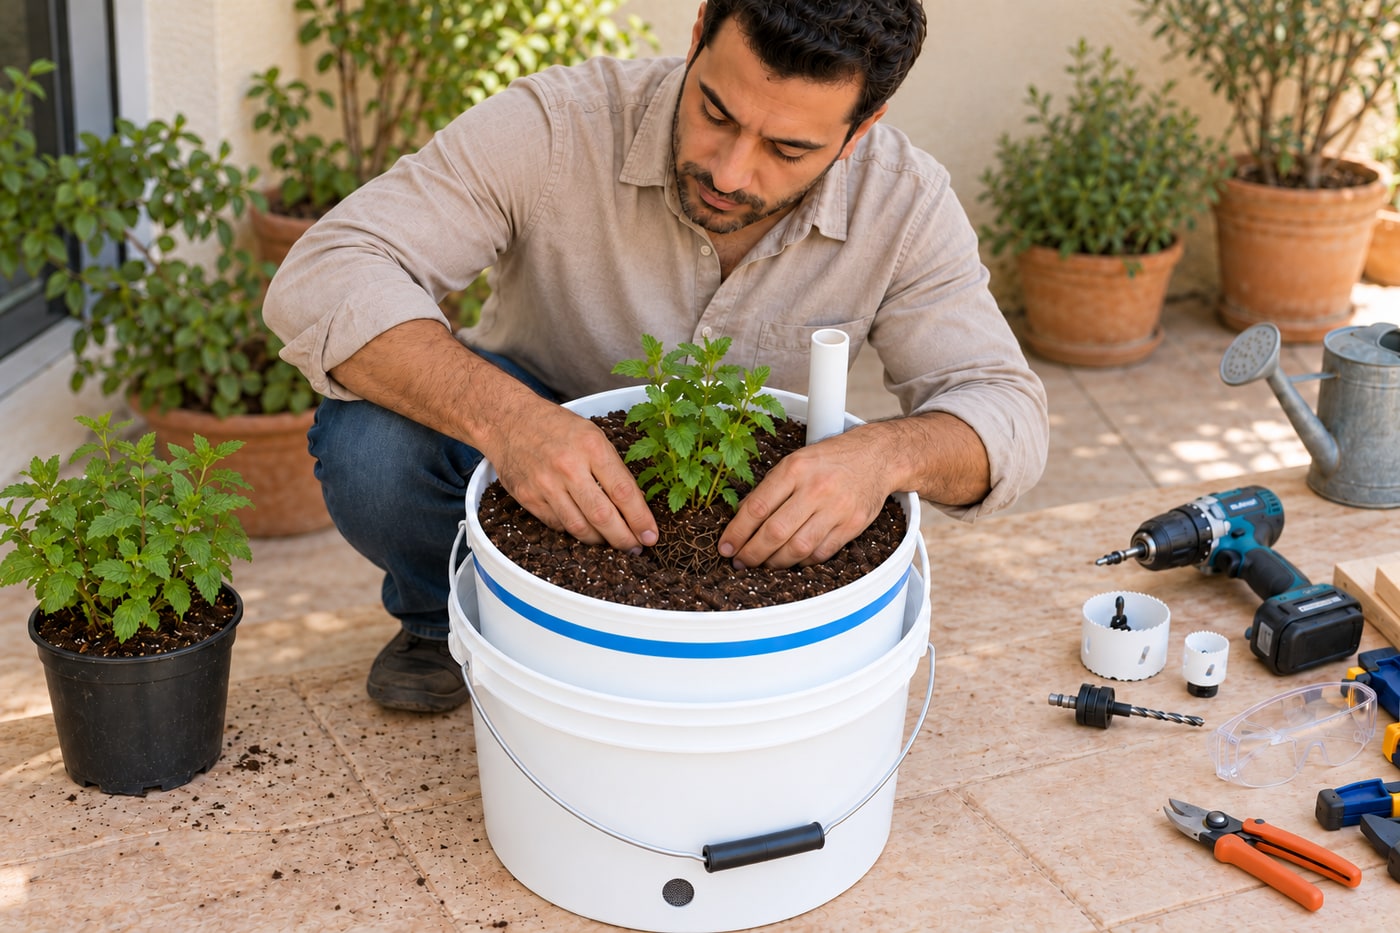
9. Plant at the original depth and settle the roots
Make a planting space that accommodates the division’s roots without folding them into a tight knot. Set it at its previous growing depth, then bring the moist mix around the roots with gentle hand pressure. Keep the fill tube and overflow accessible and leave a practical gap below the rim for watering. Mint should have this container to itself because its spreading underground stems can crowd other herbs. Water from the top to settle the new root zone; a filled reservoir alone may not wet dry mix around a newly planted division.
Photorealistic illustration · Waey
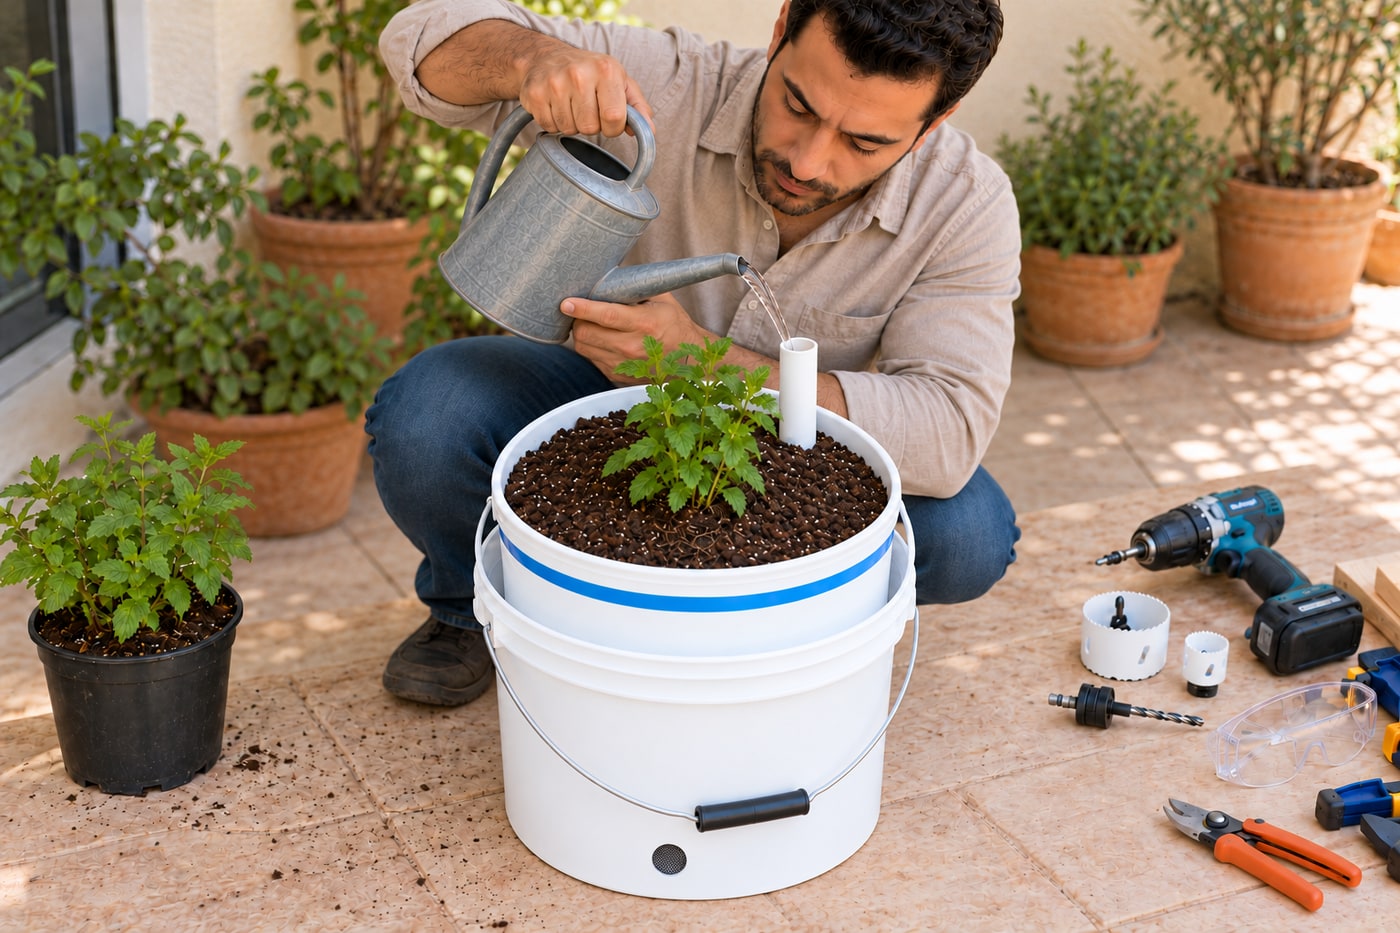
10. Prime the reservoir and establish a refill routine
After top watering has settled the mix, refill slowly through the tube until the overflow begins to run, then stop and replace the insect screen. Check moisture near the plant and inspect the water level with a clean dipstick through the filling tube, using the measured reservoir depth as your reference. Refill before the water falls below the wick cup’s reach. In hot weather, check daily until you understand the actual demand. This stores water; it does not guarantee a fixed number of unattended days or replace checking a newly transplanted plant.
Photorealistic illustration · Waey
11. Establish the mint before taking regular harvests
Give the newly divided plant bright sheltered light and protection from intense afternoon heat, gradually adjusting its position as it recovers. Keep the mix evenly moist without raising the reservoir level above the overflow. Wait for clear fresh growth before harvesting, then cut small shoot tips just above a leaf pair to encourage branching. Avoid stripping the whole recovering plant at once. Feed only as the potting mix and edible-herb fertiliser instructions require; extra fertiliser is not a cure for wilting, damaged roots or blocked drainage.
Photorealistic illustration · Waey
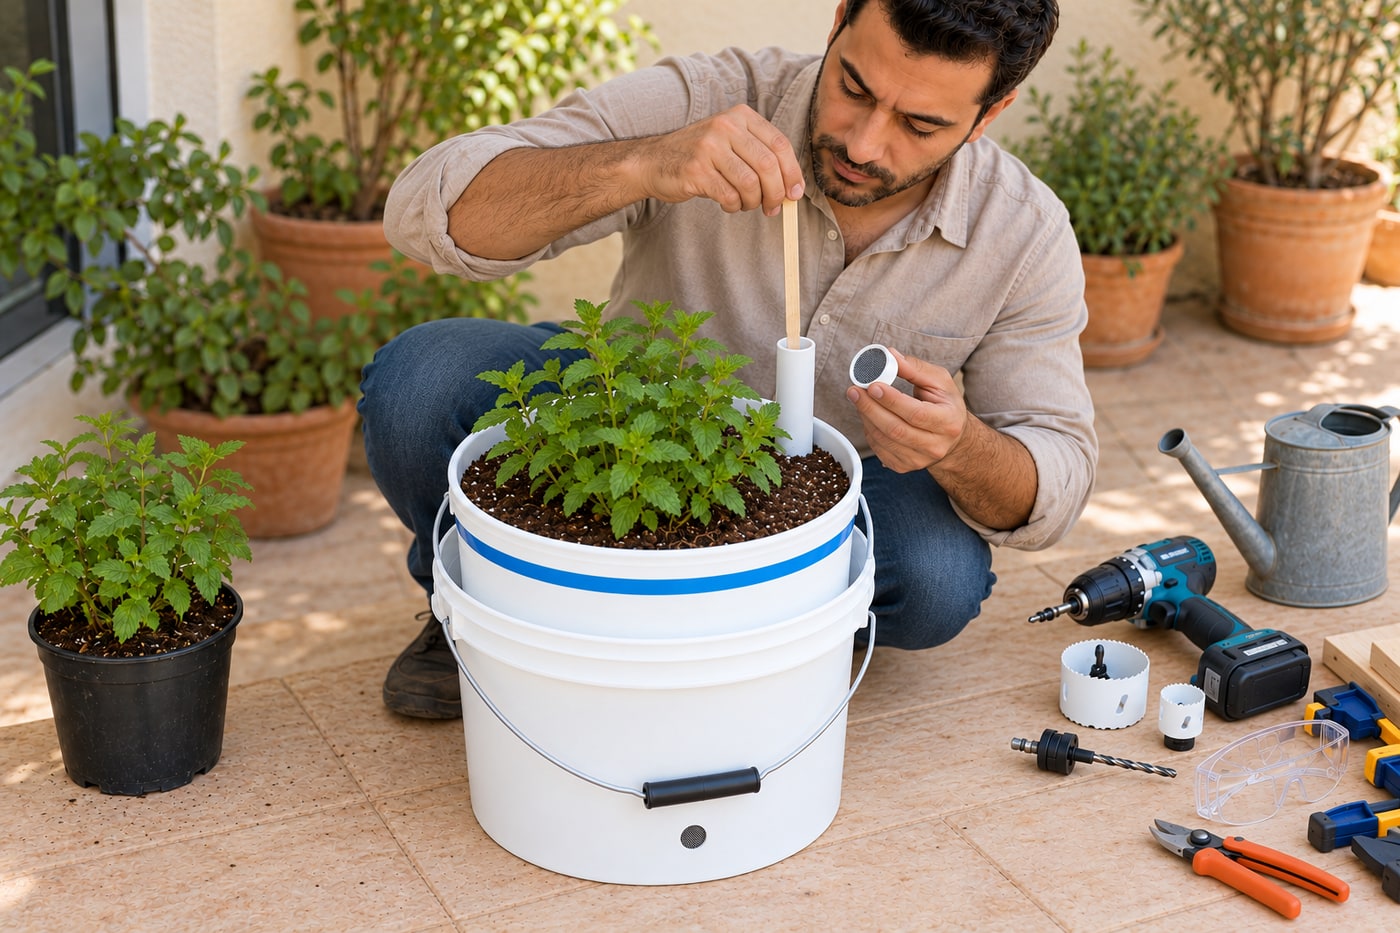
12. Maintain the screens, overflow and spreading roots
Check the overflow and fill-tube screen regularly for debris, algae, insects and roots, keeping both functional without leaving exposed standing water. Empty any catch tray promptly and clean the reservoir when practical maintenance or repotting allows. Trim runners before they root outside the container. When growth becomes crowded or declines, plan division and fresh mix in a suitable mild period rather than continually adding water or feed. The full planter is heavy: reduce its load or use suitable assistance before moving it, and inspect the plastic for cracks or UV deterioration. Keep the planter sheltered from rainfall that exceeds its overflow capacity.
Video demonstrations
Build and plant a self-watering bucket garden — Maryland Extension
Maryland Extension demonstrates a self-watering bucket garden for vegetables and herbs. Separator, outlet and bucket arrangements can differ between versions; follow one coherent measured design rather than mixing their parts.
UMDHGIC · English
Watch on YouTube ↗Two-bucket self-watering construction — Learn & Grow
The Learn & Grow class linked from its construction guide explains the two-bucket reservoir and soil-wick principle. This tutorial uses a suitably fitted flanged planting cup; match your actual parts and retain the overflow air gap.
KPS4Parents · English
Watch on YouTube ↗Propagate mint by root division — Logan Keister
Shows root division of mint and other rhizomatous plants, matching the propagation method here. Use a healthy known edible mint and choose locally mild conditions; the video is a demonstration, not a regional planting calendar.
Logan Keister · English
Watch on YouTube ↗Final checks
Buckets supported and separable; cup reaches water without distorting nesting; main growing floor above maximum water level; overflow drains and screens remain clear; wick moist; plant at original depth; no exposed stagnant water or escaping runners.
Sources
Virginia Cooperative Extension: two-bucket planter construction and mosquito screens ↗
Learn & Grow: two-bucket soil wick, fill tube and overflow air gap ↗
Maryland Extension: self-watering principles and alternative bucket design ↗
Illinois Extension: reservoir, wick basket and overflow ↗
Maryland Extension: mint container conditions and spreading runners ↗