
Back and hand-stitch a small hole in a denim knee
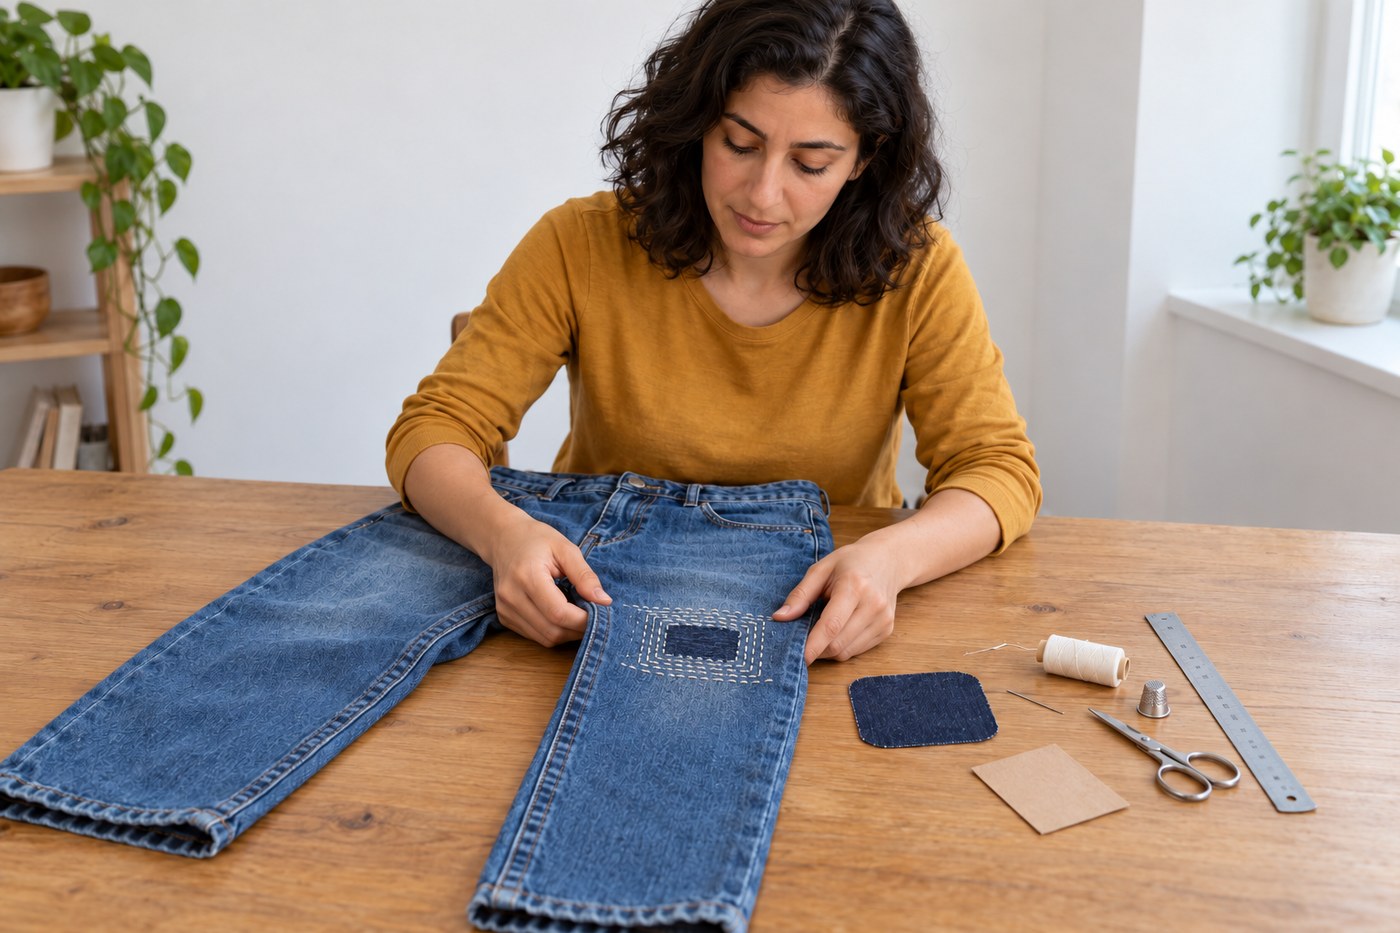
Fit a woven backing behind an isolated knee hole and reinforce the surrounding sound denim with controlled rows of hand stitches, keeping the trouser leg open.
What will you learn?
Fit a woven backing behind an isolated knee hole and reinforce the surrounding sound denim with controlled rows of hand stitches, keeping the trouser leg open.
Tools
- Hand-sewing needle suitable for denim and threadSearch Amazon Egypt ↗
- ThimbleSearch Amazon Egypt ↗
- Small fabric scissorsSearch Amazon Egypt ↗
- RulerSearch Amazon Egypt ↗
- Washable fabric markerSearch Amazon Egypt ↗
- Sewing clipsSearch Amazon Egypt ↗
- Smooth scrap card to separate the trouser-leg layers
Materials
- Clean non-stretch jeans with a small knee hole and sound surrounding fabric
- Prewashed woven cotton or light denim backing: 10 × 10 cm is a starting size for a 4 × 3 cm hole; cover all weakened fabric and a sound stitching borderSearch Amazon Egypt ↗
- Strong cotton mending thread compatible with the fabricSearch Amazon Egypt ↗
- Temporary basting threadSearch Amazon Egypt ↗
Step by step
Photorealistic illustration · Waey
1. Map the weakened fabric before choosing a patch
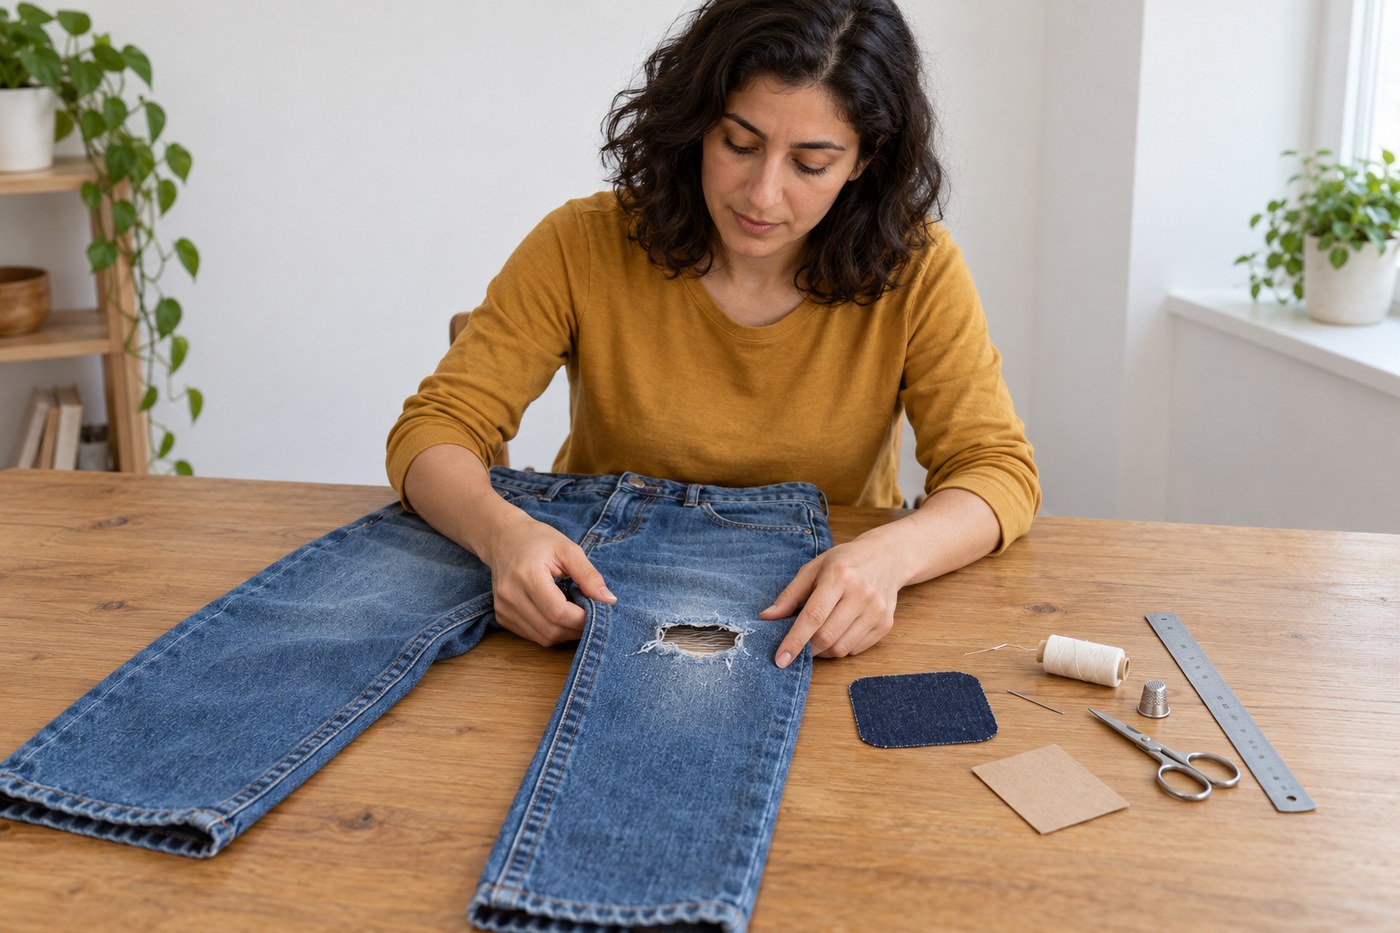
Lay the clean dry jeans flat and examine the hole from both sides, feeling beyond its visible edge for thin fabric. The patch must extend into denim that can hold stitches, not merely cover the opening. For the illustrated small hole, a10cm square is a starting size only. If weakness spreads widely or into the crotch or a seam, choose a different repair rather than concentrating stitches on a fragile border.
Photorealistic illustration · Waey
2. Prepare a soft compatible backing
Choose backing with similar wash behaviour and enough flexibility for the knee to bend. Prewash it if its care allows, then cut it to cover the damaged area and a generous sound border. Round sharp patch corners slightly and overcast or zigzag the edges so they will not shed threads inside the leg. Avoid a very stiff or bulky patch that forms a hard ridge against the skin.
Photorealistic illustration · Waey
3. Position the patch without closing the leg
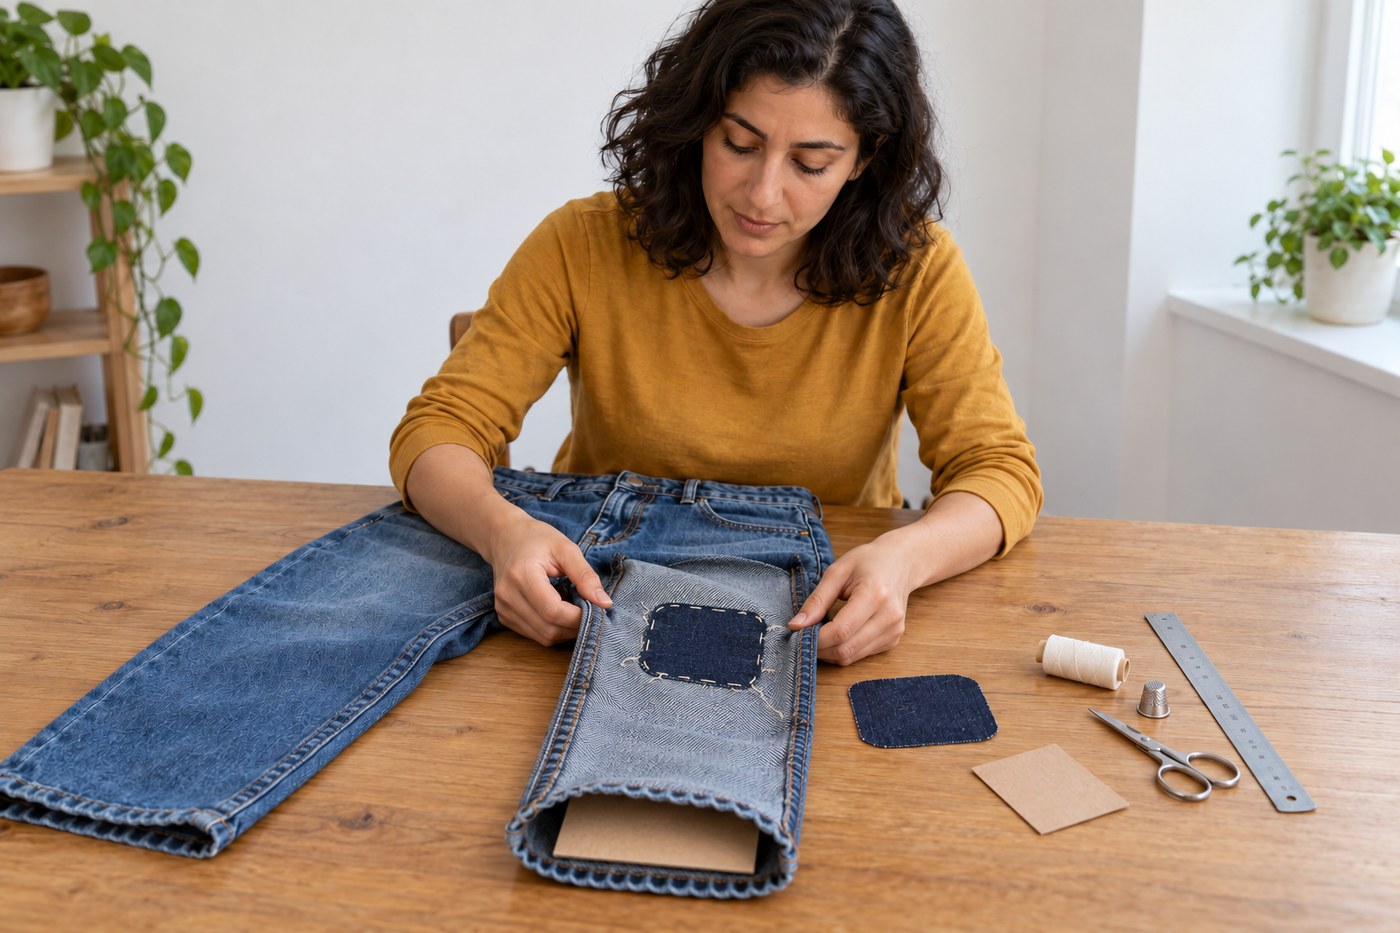
Turn the working leg inside out and centre the backing over the hole with its grain aligned sensibly to the jeans. Smooth both layers without stretching the knee. Put smooth card inside the leg between the repair and the opposite fabric layer, then check that the patch lies flat when the leg returns to its normal shape. The card is a separator, not something to stitch through.
Photorealistic illustration · Waey
4. Baste the backing and check from the front
Use long removable stitches around the patch border to hold the layers together. Keep knots and loose tails away from the hole, then turn the leg right side out and inspect the visible backing through the opening. Check its margin all around and slide a hand along the open leg to confirm the opposite layer is free. Reposition now if the patch is crooked; decorative rows will not correct a twisted backing.
Photorealistic illustration · Waey
5. Plan rows that reinforce sound denim
Mark a modest repair field that covers the worn area and extends into sound denim on every side. Lay out parallel running-stitch rows, using spacing that suits the cloth and thread rather than a fixed universal pattern. Start with short manageable lengths of thread to reduce tangles. Keep the backing supported underneath and leave the opposite layer separated; the stitch must catch denim and backing together wherever both are present.
Photorealistic illustration · Waey
6. Sew with even stitches and relaxed tension
Work small running stitches through the repair layers, taking only a few stitches on the needle at a time. Use the thimble instead of pushing the needle with an unprotected fingertip. Across the open hole, the backing supplies the missing fabric; avoid pulling its stitches tight enough to pucker the surface. Check beneath frequently and release any accidental stitch into the other leg layer immediately.
Photorealistic illustration · Waey
7. Secure ends and remove temporary basting
Finish each working thread with a secure small backstitch arrangement in the sound repair area, keeping bulky knots away from skin contact. Remove the long temporary basting without cutting the permanent stitches. Inspect the inside for a flat patch with no curled corners or long snagging tails. If an edge lifts, secure it to sound fabric with additional neat stitches rather than leaving it to peel during washing.
Photorealistic illustration · Waey
8. Test bending and check after the first wash
Remove the card and every needle, pin and clip, then put the jeans on and bend the knee normally. The repair should flex without pulling tight or scratching. Remove the jeans again to correct any hard ridge or puckering. Wash according to the jeans and backing care limits, then inspect the stitch border after the first wash; new tearing outside it means the damaged area was larger than the repair covered.
Watch the method
How to Repair Jeans with a Fabric Patch | Levi’s
Levi’s shows patch placement and hand stitching around a hole. This guide keeps the leg layers separate; it does not use the video’s later pocket-seam opening or machine-sewing method.
Levi's® · Automatic caption metadata only; spoken language unconfirmed
Watch on YouTube ↗Final checks
Both leg layers remain separate; patch edges lie flat; the knee bends without pulling; no needles or pins remain. Inspect after washing and repair new weakness before it spreads.
Sources
Original generated instruction illustrations created for Waey. Video belongs to its credited creator.