
Clean a washable split AC filter
Service the removable filters on a matching Cora FTXV50/60/71WVMA: separate insert types, clean and dry the mesh, refit it securely and check operation.
What will you learn?
Service the removable filters on a matching Cora FTXV50/60/71WVMA: separate insert types, clean and dry the mesh, refit it securely and check operation.
Tools
- Vacuum cleaner with soft brush attachmentSearch Amazon Canada ↗
- Basin, clean drying support and dry traySearch Amazon Canada ↗
- Stable access platform suited to the location, if requiredSearch Amazon Canada ↗
Materials
- Clean lukewarm water below 40°CSearch Amazon Canada ↗
- Neutral detergent for stubborn dirtSearch Amazon Canada ↗
- Correct model-specific replacement filter only if inspection finds damage or a scheduled insert replacement is dueSearch Amazon Canada ↗
Step by step
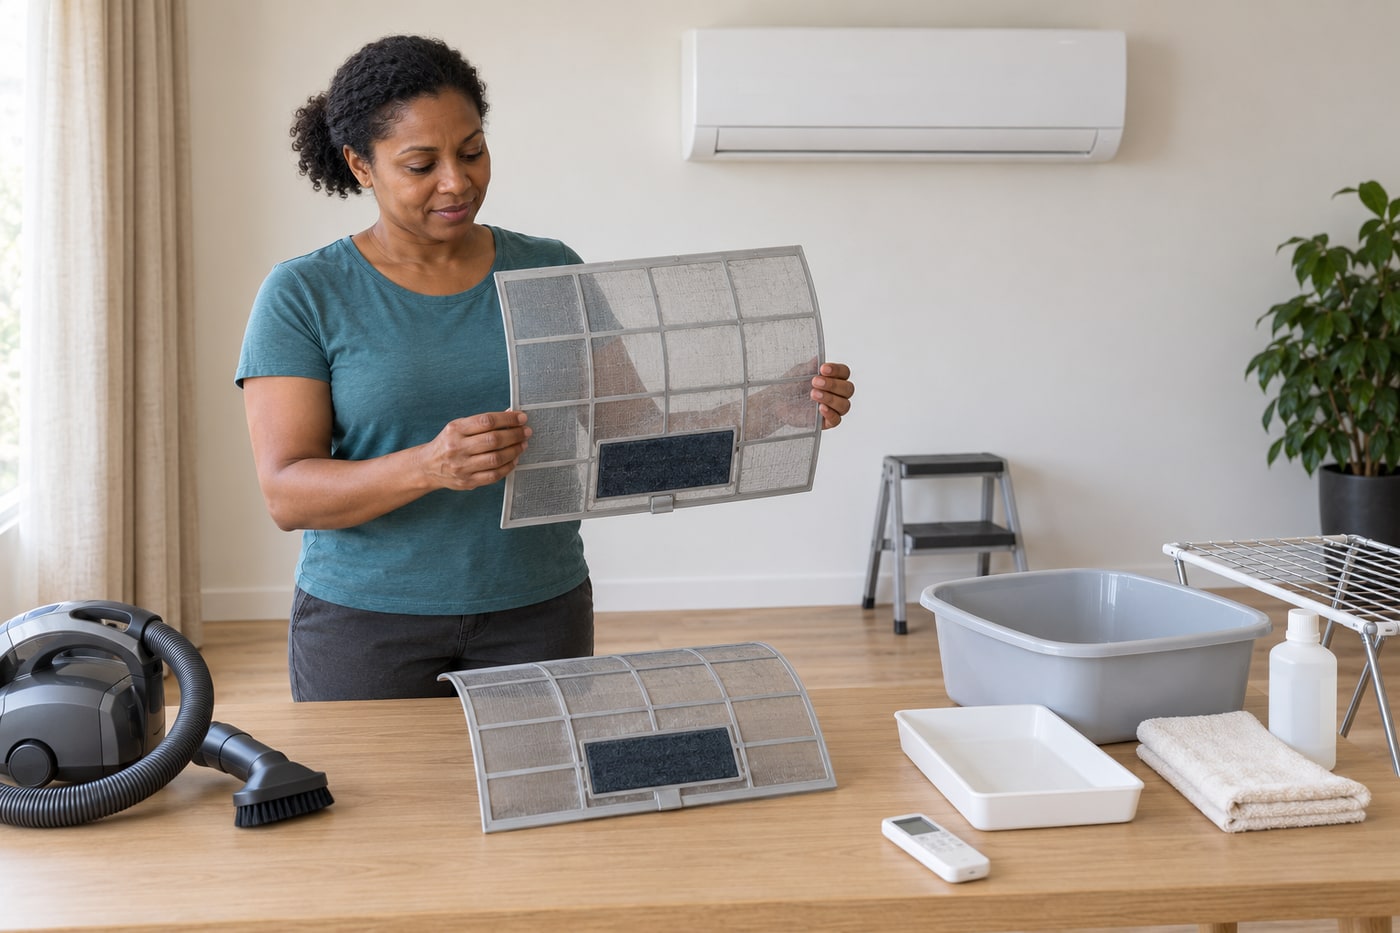
Photorealistic illustration · Waey
1. Match the unit and filter types
Read the indoor unit’s model label and obtain its operation manual before opening the panel. This worked method uses Daikin Cora FTXV50/60/71WVMA, booklet 3P651499-4. Locate the two large mesh filters and identify any small supplementary filters from their label or part number. Their cleaning rules differ; colour alone is insufficient. If the model, access arrangement or filter instructions differ, follow that unit’s manual instead. A damaged panel, insecure mounting or inaccessible unit needs service before this job.
Photorealistic illustration · Waey
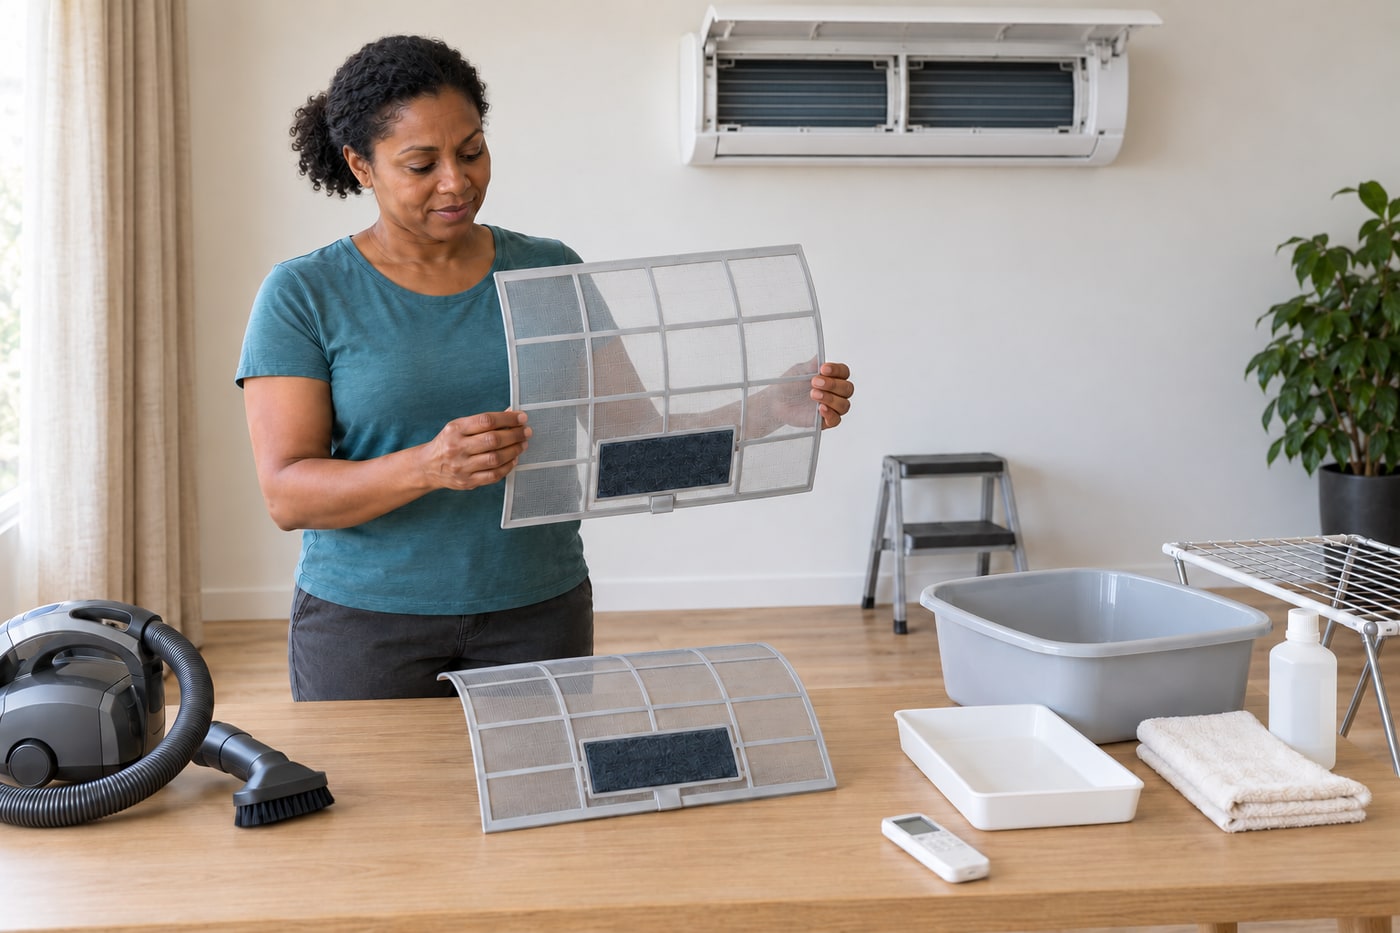
2. Stop, isolate and remove the mesh
Stop operation with the controller, then turn off the air conditioner’s circuit breaker as the manual directs; the remote’s off button alone is insufficient. Keep others from restarting it. Use stable access that lets you work without stretching; never stand on furniture. With dry hands, hold both sides of the front panel and open it gently. Lift each mesh filter’s centre tab slightly, then draw the filter down. Support its frame and note its orientation. Do not touch the aluminium fins or reach into the outlet.
Photorealistic illustration · Waey
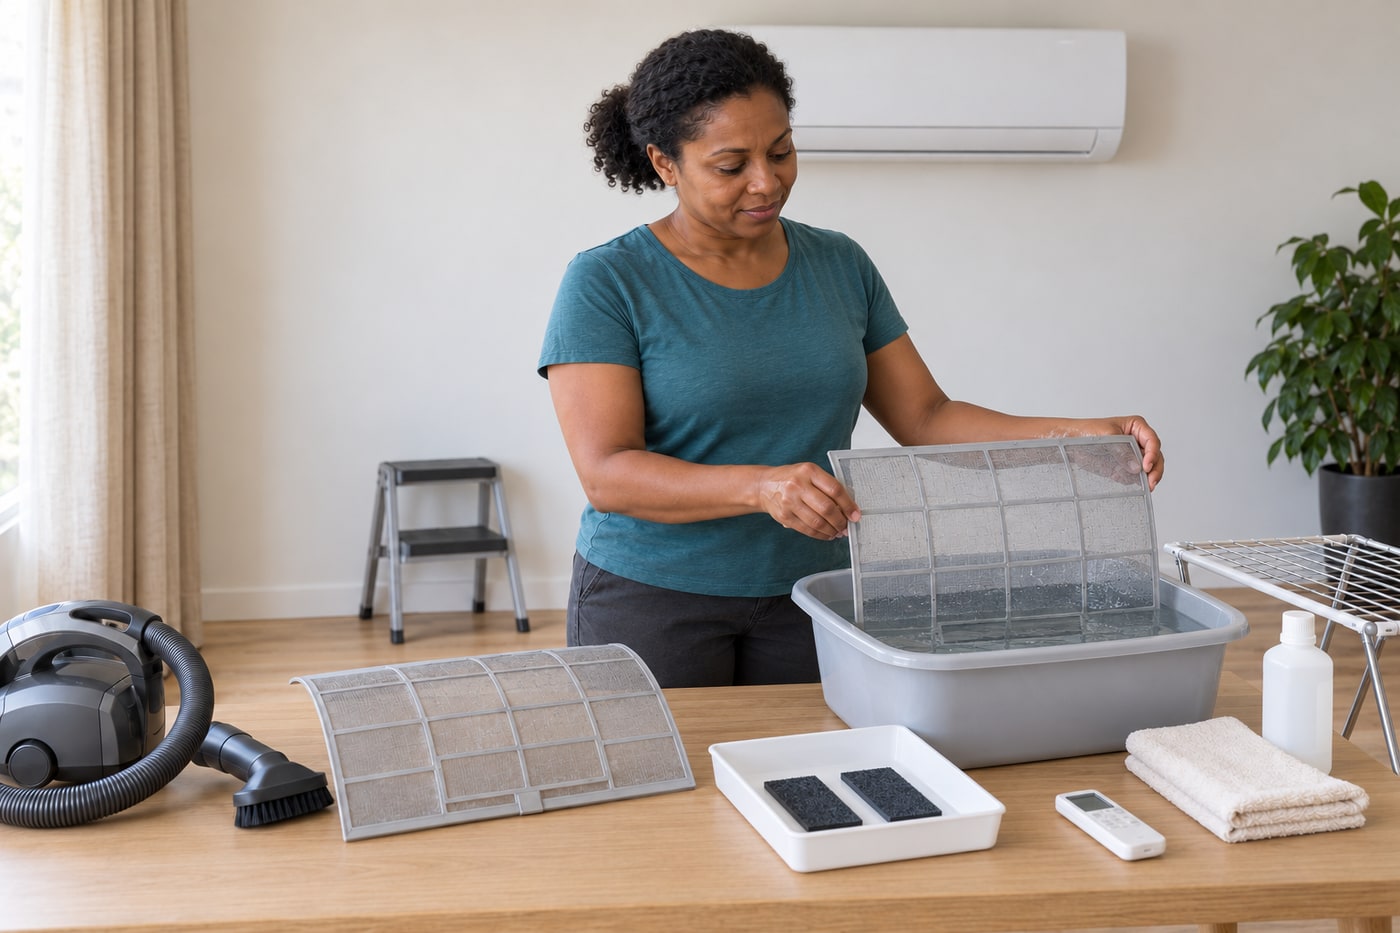
3. Separate supplementary filters before water
Place the mesh frames on a clean dry surface. If small filters are fitted, record their position and release them as the matching manual shows, supporting the frame while unhooking its four claws and tabs. Keep these parts in a separate dry tray. This procedure washes only the large mesh: PM2.5 filters must not be washed, while specified deodorising filters have a separate care schedule. Do not assume every small insert is washable, discard its reusable frame, or force a brittle retaining claw.
Photorealistic illustration · Waey
4. Clean the supported mesh
Vacuum loose dust gently with a soft brush attachment while supporting the mesh frame; avoid dragging a hard nozzle across the fabric. Water washing is also permitted for these main filters. For dirt that remains, use neutral detergent diluted in lukewarm water, then rinse away the detergent. Keep water below 40°C and handle the frame without twisting it. Avoid stiff scrubbing brushes, solvents and polishing products. Work at the basin away from the indoor unit; washing the filters does not authorize spraying or cleaning its internal coil.
Photorealistic illustration · Waey
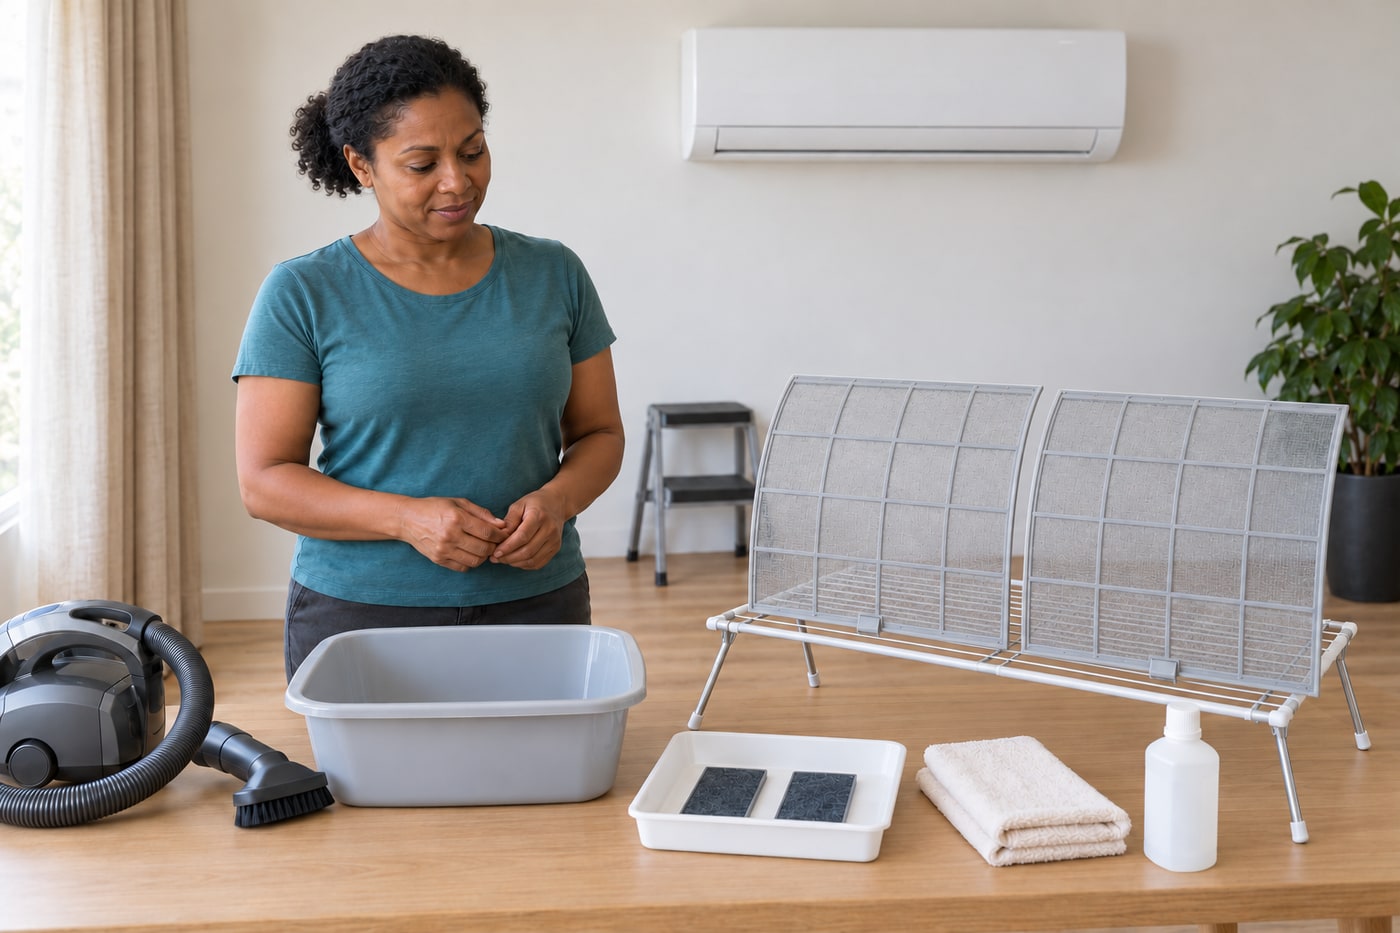
5. Dry fully and check the frames
Gently shake off remaining water and leave the filters to dry fully in the shade, supported where the mesh cannot be crushed. Do not use a heater, hairdryer or direct sun to hurry the process. Check both faces, frame channels and retaining tabs for moisture before refitting; elapsed time alone does not establish dryness. Look for torn mesh, distortion or broken tabs. Replace a damaged filter with the correct part through the dealer rather than taping holes or installing a frame that cannot seat securely.
Photorealistic illustration · Waey
6. Refit inserts, guides and panel
With power still off, return the correctly identified small filters to their original positions, securely under their retaining tabs. Any insert due for replacement needs the specified part; keep a reusable frame as its instructions require. Reinstall each completely dry mesh filter in its original guides and ensure it seats without bending or leaving an edge outside the track. Close the front panel slowly, then press both sides and the centre as shown in the manual. If it will not close normally, reopen and check seating instead of forcing it.
Photorealistic illustration · Waey
7. Restore operation and assess the result
Clear the access equipment and wet cleaning items, dry your hands, restore the breaker and operate the unit with its normal controller. Observe from outside the unit: the panel should remain secure and operation should be free of unusual noise or indoor water leakage. Stop and switch off the breaker for a burning smell, abnormal sound, leakage or repeated tripping, then contact the dealer. Persistent poor cooling or odour needs assessment rather than deeper DIY cleaning. Record the cleaning date; this manual recommends checking and cleaning the main filters every two weeks.
Video demonstrations
Daikin Australia: How to clean your Cora Split System filter
Original maker demonstration for older FTXM20–71QVMA Cora units. Related filter-care mechanism; use the written FTXV50–71WVMA manual for this example.
Daikin Australia Pty Ltd · English
Watch on YouTube ↗How to Clean Filter on Daikin Cora Split System | Quick DIY Maintenance Guide
Installer demonstration of Cora filter cleaning. Exact model is not established by the description; insert eligibility, access and refitting follow the matching manual.
Morphett Air · English
Watch on YouTube ↗Final checks
Both mesh filters and any retained inserts must be dry, correctly located and secure before power returns. A closed panel and cleaner mesh do not prove refrigeration performance. Follow the exact unit and insert instructions; the two-week main-filter interval does not apply to every supplementary filter.
Sources
Daikin: cleaning air filters; use the unit operation manual for panel access ↗
Original AI-generated photographic illustrations by Waey. Reused preparation views are identified in captions. Videos belong to their attributed creators. The historical Gerardolagunes CC BY-SA4.0 portable-filter photo is not used in this revised sequence.