
Replace a compatible exposed shower hose
Replace the accessible flexible hose on a sound conventional mixer shower, keeping the correct end orientation, seals and retaining-ring route. This guide does not open or install the mixer, rail or water-supply connections.
What will you learn?
Replace the accessible flexible hose on a sound conventional mixer shower, keeping the correct end orientation, seals and retaining-ring route. This guide does not open or install the mixer, rail or water-supply connections.
Tools
- Soft gripping clothSearch Amazon Australia ↗
- TowelSearch Amazon Australia ↗
- Small parts dishSearch Amazon Australia ↗
- Tape measureSearch Amazon Australia ↗
- Dry cloth or tissue for leak checksSearch Amazon Australia ↗
- Instructions for your exact shower and hose
Materials
- Approved shower hose matching the specified length, bore, end fittings and thread typeSearch Amazon Australia ↗
- New specified seals for both hose ends, preserving any required filter or regulator functionSearch Amazon Australia ↗
Step by step

Photorealistic illustration · Waey
1. Match the replacement to the actual shower
Identify the shower and hose before buying parts. Compare approved length, thread type, bore and the conical nut that seats in the handset holder; matching threads alone do not prove compatibility. As a worked reference, the Mira Reflex EV guide 1310897-W2-A lists hose 150.58 and two 632.73 hose seals. Use the instructions for your exact current parts, and exclude special air-tube hoses rather than treating them as ordinary replacements.
Photorealistic illustration · Waey
2. Cool, switch off and protect small parts
Turn the mixer fully off and allow the handset, hose and controls to cool. Confirm the flow has stopped; if it continues, stop and arrange proper isolation or repair before disconnecting anything. Follow any service-isolation instruction in the shower manual. Lay a towel over the drain to catch washers and prepare a parts dish. Photograph the existing end orientation and retaining-ring route so they can be checked against the replacement instructions.
Photorealistic illustration · Waey
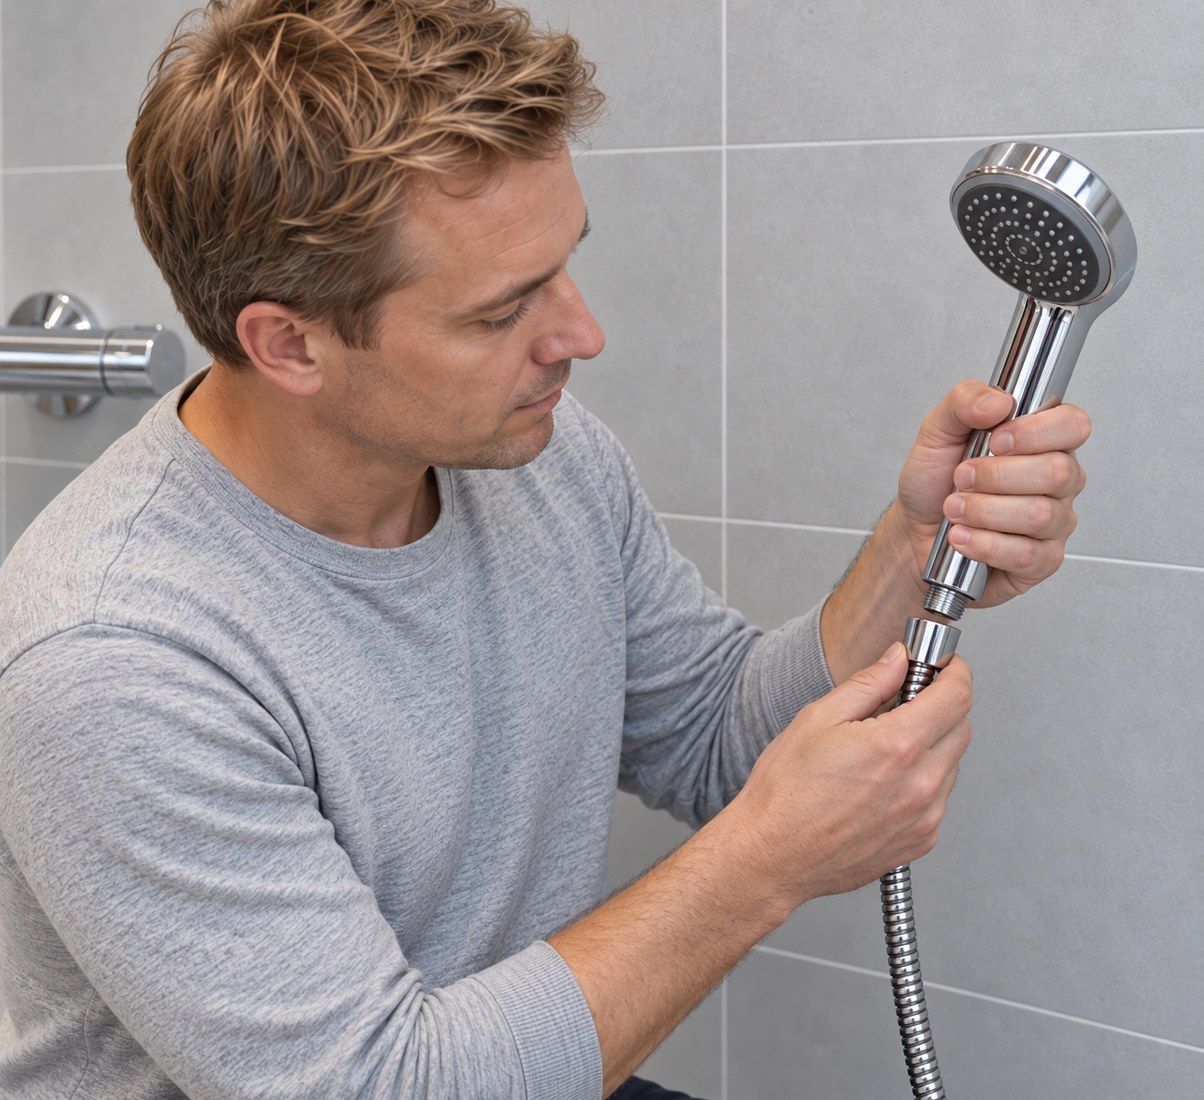
3. Support the handset and undo its hose nut
Lift the handset from its holder while supporting its weight. Hold the handset steady and turn only the hose’s swivel nut anticlockwise, using a soft cloth for grip if needed. Catch the old washer and note whether a screen seal or regulator is present. Do not twist the hose to force the thread loose. If the nut is seized, cracked or pulls an insert out of the handset, stop for compatible parts or professional assistance.
Photorealistic illustration · Waey
4. Remove the outlet end without moving the mixer
Keep the hose directed into the tray for residual water, then undo its nut at the mixer outlet by hand. Stabilise the accessible fitting without turning the mixer or its wall connections. Catch the second seal, release the old hose from its retaining ring and place it aside. Stop if the outlet itself rotates or water emerges from the wall. Replacing an external hose cannot correct a loose concealed fitting or a defective mixer shut-off.

Photorealistic illustration · Waey
5. Inspect sealing faces and fit the specified seals
Wipe the accessible mating faces with a soft damp cloth and inspect for cracks, sharp damage or remaining fragments of old rubber. Put one correct new seal in each new hose nut, seated flat without folding or stacking old and new washers. Retain any screen-seal or flow-regulator function required by that handset. A plain washer cannot replace a required filtering seal. These joints seal at the specified seal, so do not add thread tape or sealant as a substitute for damaged parts.
Photorealistic illustration · Waey
6. Orient the outlet end and restore the restraint route
Identify both ends from the actual hose instructions rather than assuming a cone shape always means the same thing. In the cited Reflex guide, the smaller-diameter longer cone, marked by a red cover or white label, goes to the handset; the clear-marked end goes to the mixer. Remove protective packaging, start the outlet nut square by hand and tighten only as directed. Feed the free handset end through the existing hose-retaining ring before attaching the handset.
Photorealistic illustration · Waey
7. Attach the handset and check the holder fit
Hold the handset steady and start its hose nut square on the inlet threads, turning freely for the first turns before tightening by hand. If it catches immediately, back off and realign rather than forcing a crossed thread. Seat the correct cone in the existing holder and check that it grips securely without wedging or slipping. Let the hose hang naturally through the retaining ring, with no tight bend at either nut and no twist stored along its length.
Photorealistic illustration · Waey
8. Test gently, recheck the joints and maintain the hose
Remove the drain-covering towel, direct the handset into the tray and start a controlled low flow at a cool setting before checking normal operation. Dry both joints and watch for fresh beads of water, then check again after a few minutes. For a leak, switch off and reseat the correct seal; do not keep tightening a damaged joint. Confirm the handset stays above the fixture’s spill level as required by the original restraint arrangement. Keep the hose clean with maker-approved mild cleaner and inspect for kinks or damage. If the existing hose can place the handset below a spill rim, get the restraint/backflow arrangement checked rather than moving the ring or accepting the unsafe reach.
Watch the method
How To: Replace a shower hose
Shows exposed hose removal with the handset supported. It uses a Mira Response reference; select the hose, seals and end orientation for your exact shower. Sampled frames do not prove isolation, tightening force, safe routing or a passed leak test.
Shower Spares TV · English
Watch on YouTube ↗Final checks
Both joints remain dry during operation, holder and hose routing remain secure, flow is unobstructed, and original restraints/backflow components remain effective. Ongoing leaks, loose fittings or abnormal temperature need the maker or a plumber, not more tightening.
Sources
Mira: external hose replacement and fit checks ↗
Kohler Mira: Reflex EV installation/user guide 1310897-W2-A, hose-only reference ↗
National Shower Spares: demonstrated external hose replacement ↗
AI-generated representative photographic illustrations by Waey, created with built-in image_gen from Waey-generated references only. Manufacturer diagrams are private research, not reused as public images or generator inputs. External video remains the credited creator’s work.